Ghee is a pure fat widely used in Indian kitchens since ancient times. It is considered to be very healthy and perfect for cooking and deep frying. This is a detailed post with many tips and tricks to make traditional ghee at home. This beginner-friendly ghee recipe is fail-proof. If you’re going keto, here is another form of butter to make keto-friendly recipes more flavorful. It is also great for the paleo diet.
Homemade Ghee Recipe
Ghee is widely available in Indian grocery stores but homemade ghee is super easy to make. Pure unadulterated homemade ghee is the best in taste and flavor. With detailed tips and tricks, this ghee recipe is a great beginner-friendly recipe to try.
Ghee in Indian culture
Ghee is widely used for many south Indian and north Indian recipes. Be it sweet or savory, ghee occupies a special place in Indian cooking. It is also used to light diyas. It’s also frequently used in Ayurveda and other healing practices. Ghee is widely known as nei in Tamil, neyyi in Telugu, neyy in Malayalam, tuppa in Kannada, tup in Marathi.
Can I add flavors to the ghee recipe?
I generally prepare the ghee with one ingredient- butter, as it can be easily used for Indian sweet recipes. Also comes in handy for rasam varieties and other Indian rice and curries. If you prefer the spicy version of ghee add red chilli to hot ghee, roast for a few seconds, and discard. You can also add curry leaves or moringa leaves and make curry leaf flavored ghee or moringa flavored ghee.
Can I use salted butter?
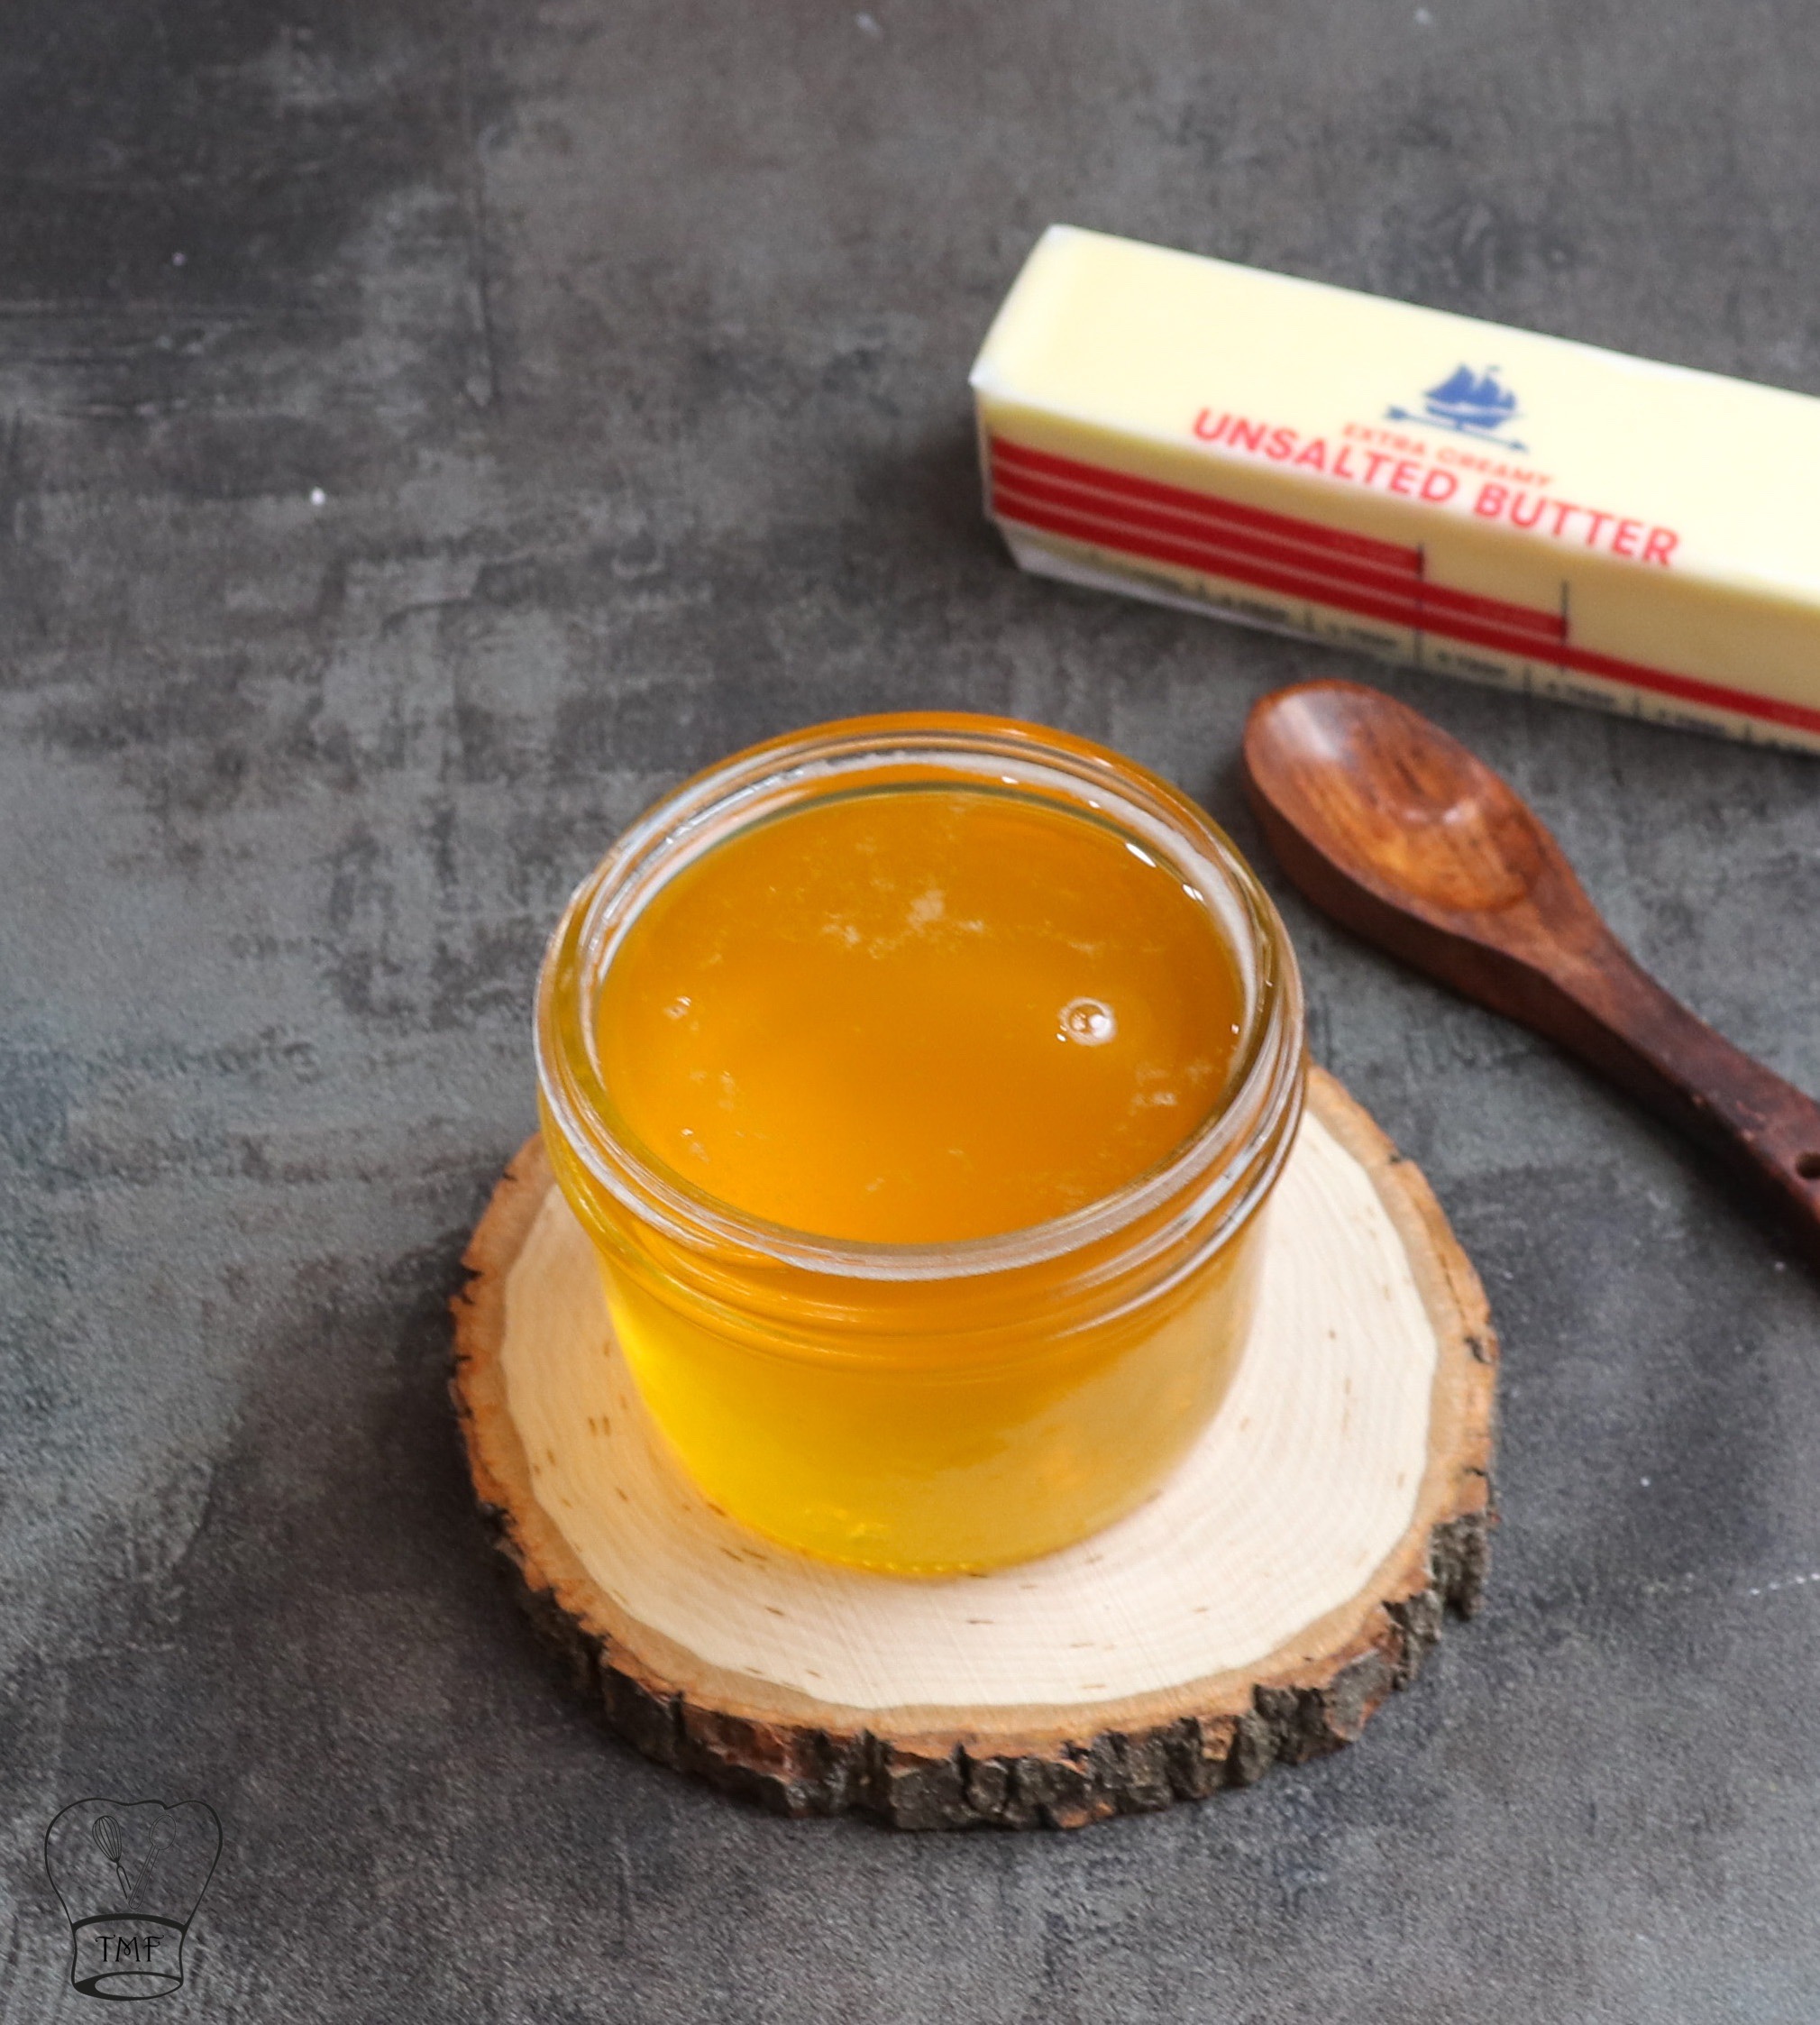
You can use salted or unsalted butter for making homemade ghee. I generally prefer using unsalted butter. If you are using salted butter be mindful of the salt in your savory dish. Always use creamy butter with full-fat content for preparing ghee.
Should I skim the whey off?
After the butter melts, it will start to froth and separate. It’s just the whey from the butter floating to the surface. Some people prefer skimming the whey off but in our home, we generally don’t do that for the ghee recipe so I skip it. You can skim according to your preference.
How to store ghee?
Always use a clean and dry stainless/glass container with a lid. Even if the lid is not airtight, it doesn’t really matter. I just keep it in my pantry with the rest of the oils. When you pour the Ghee into the jar, make sure to close it only after it has cooled. If you close the lid while the Ghee is hot, the steam will spoil it quickly. To retain the freshness of the homemade Ghee, keep it away from water and moisture. Always use a clean and dry spoon.
The shelf life of ghee?
You can store the ghee at room temperature (away from direct light) for a few months. If you plan to keep it longer, better to store it in the refrigerator where it will last about a year.
Patience is the key to perfect ghee
It takes less time to make aromatic homemade ghee. Always avoid increasing the heat or leaving the pan unsupervised as ghee might burn. Use low to medium heat for the perfect ghee.
What kind of pan should I use while making ghee?
Always use a heavy-bottomed pan. I prefer using stainless steel pan as it is clear to see when milk solids turn brown. Preferably use a pan with a white or light-colored bottom.
Should I stir ghee continuously
No, avoid continuous stirring as it might disturb the milk solids from getting settled. To check if the milk solids are settled, stir once in a while. Always avoid keeping the ladle on the pan for a long time as the ladle will become hot and it will become difficult to touch.
Indian sweet recipe collections in TMF
Rasam recipe collections in TMF
Nei residue laddu
Ingredients
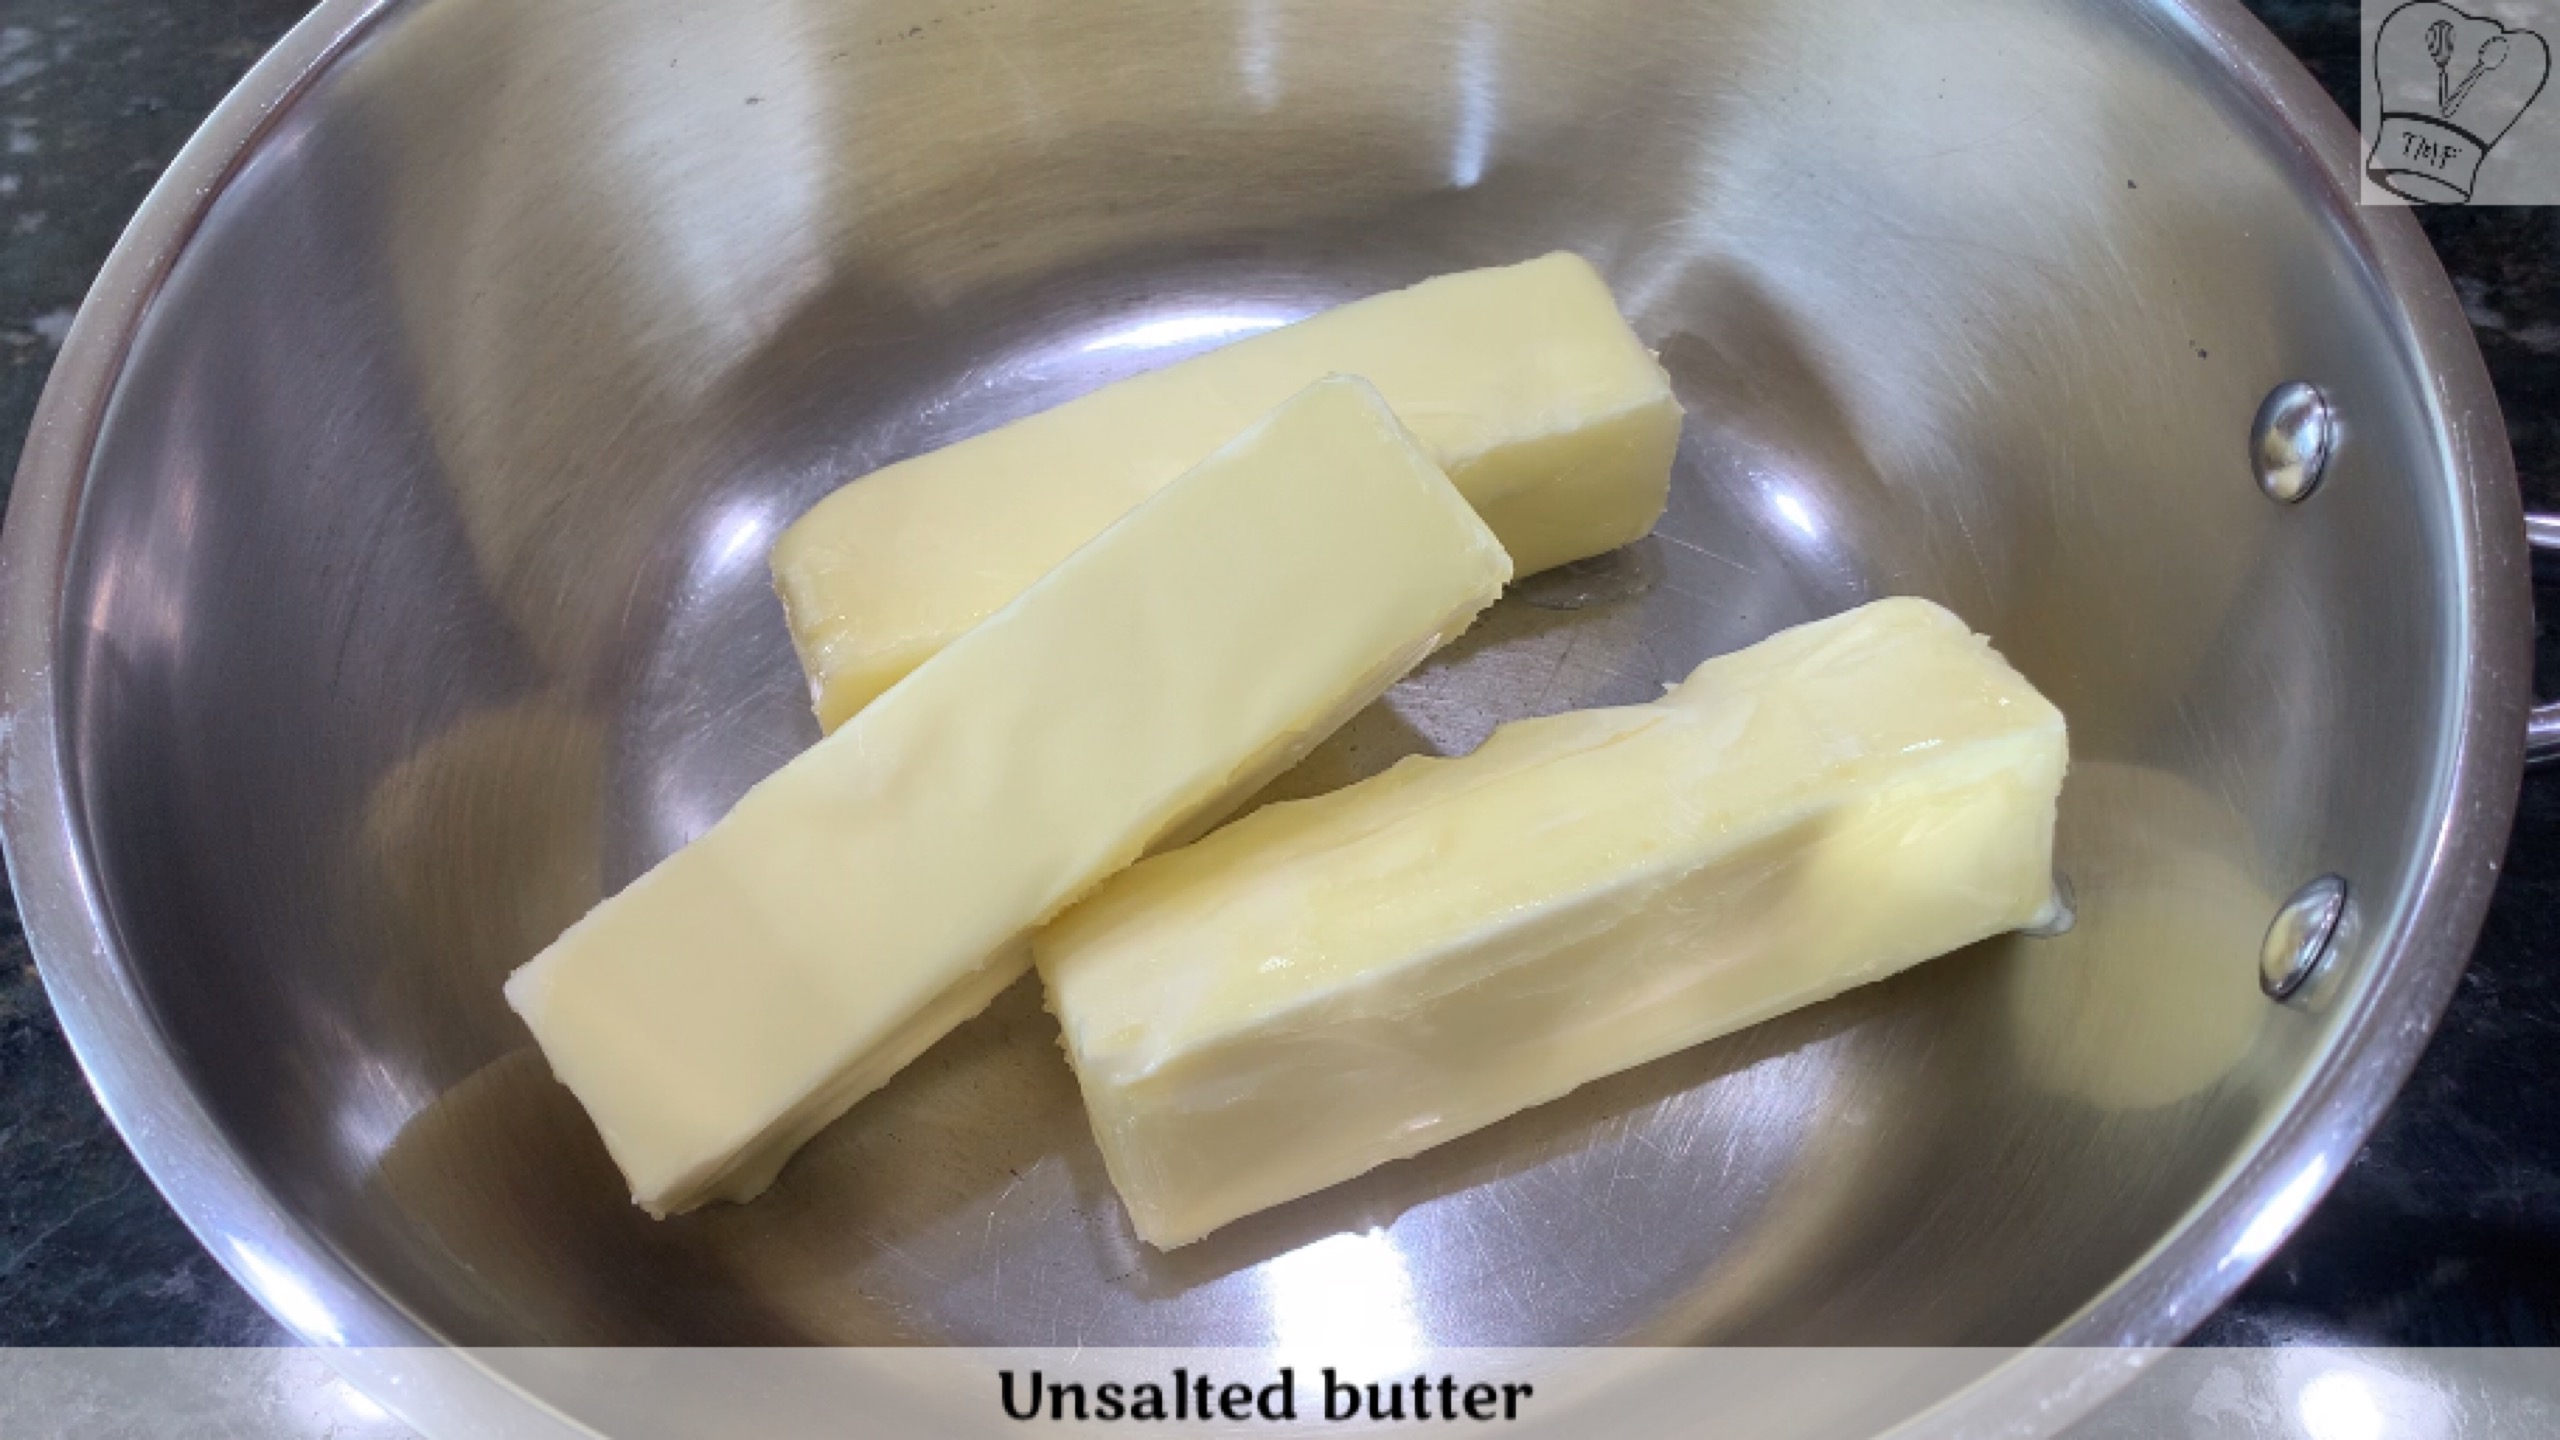
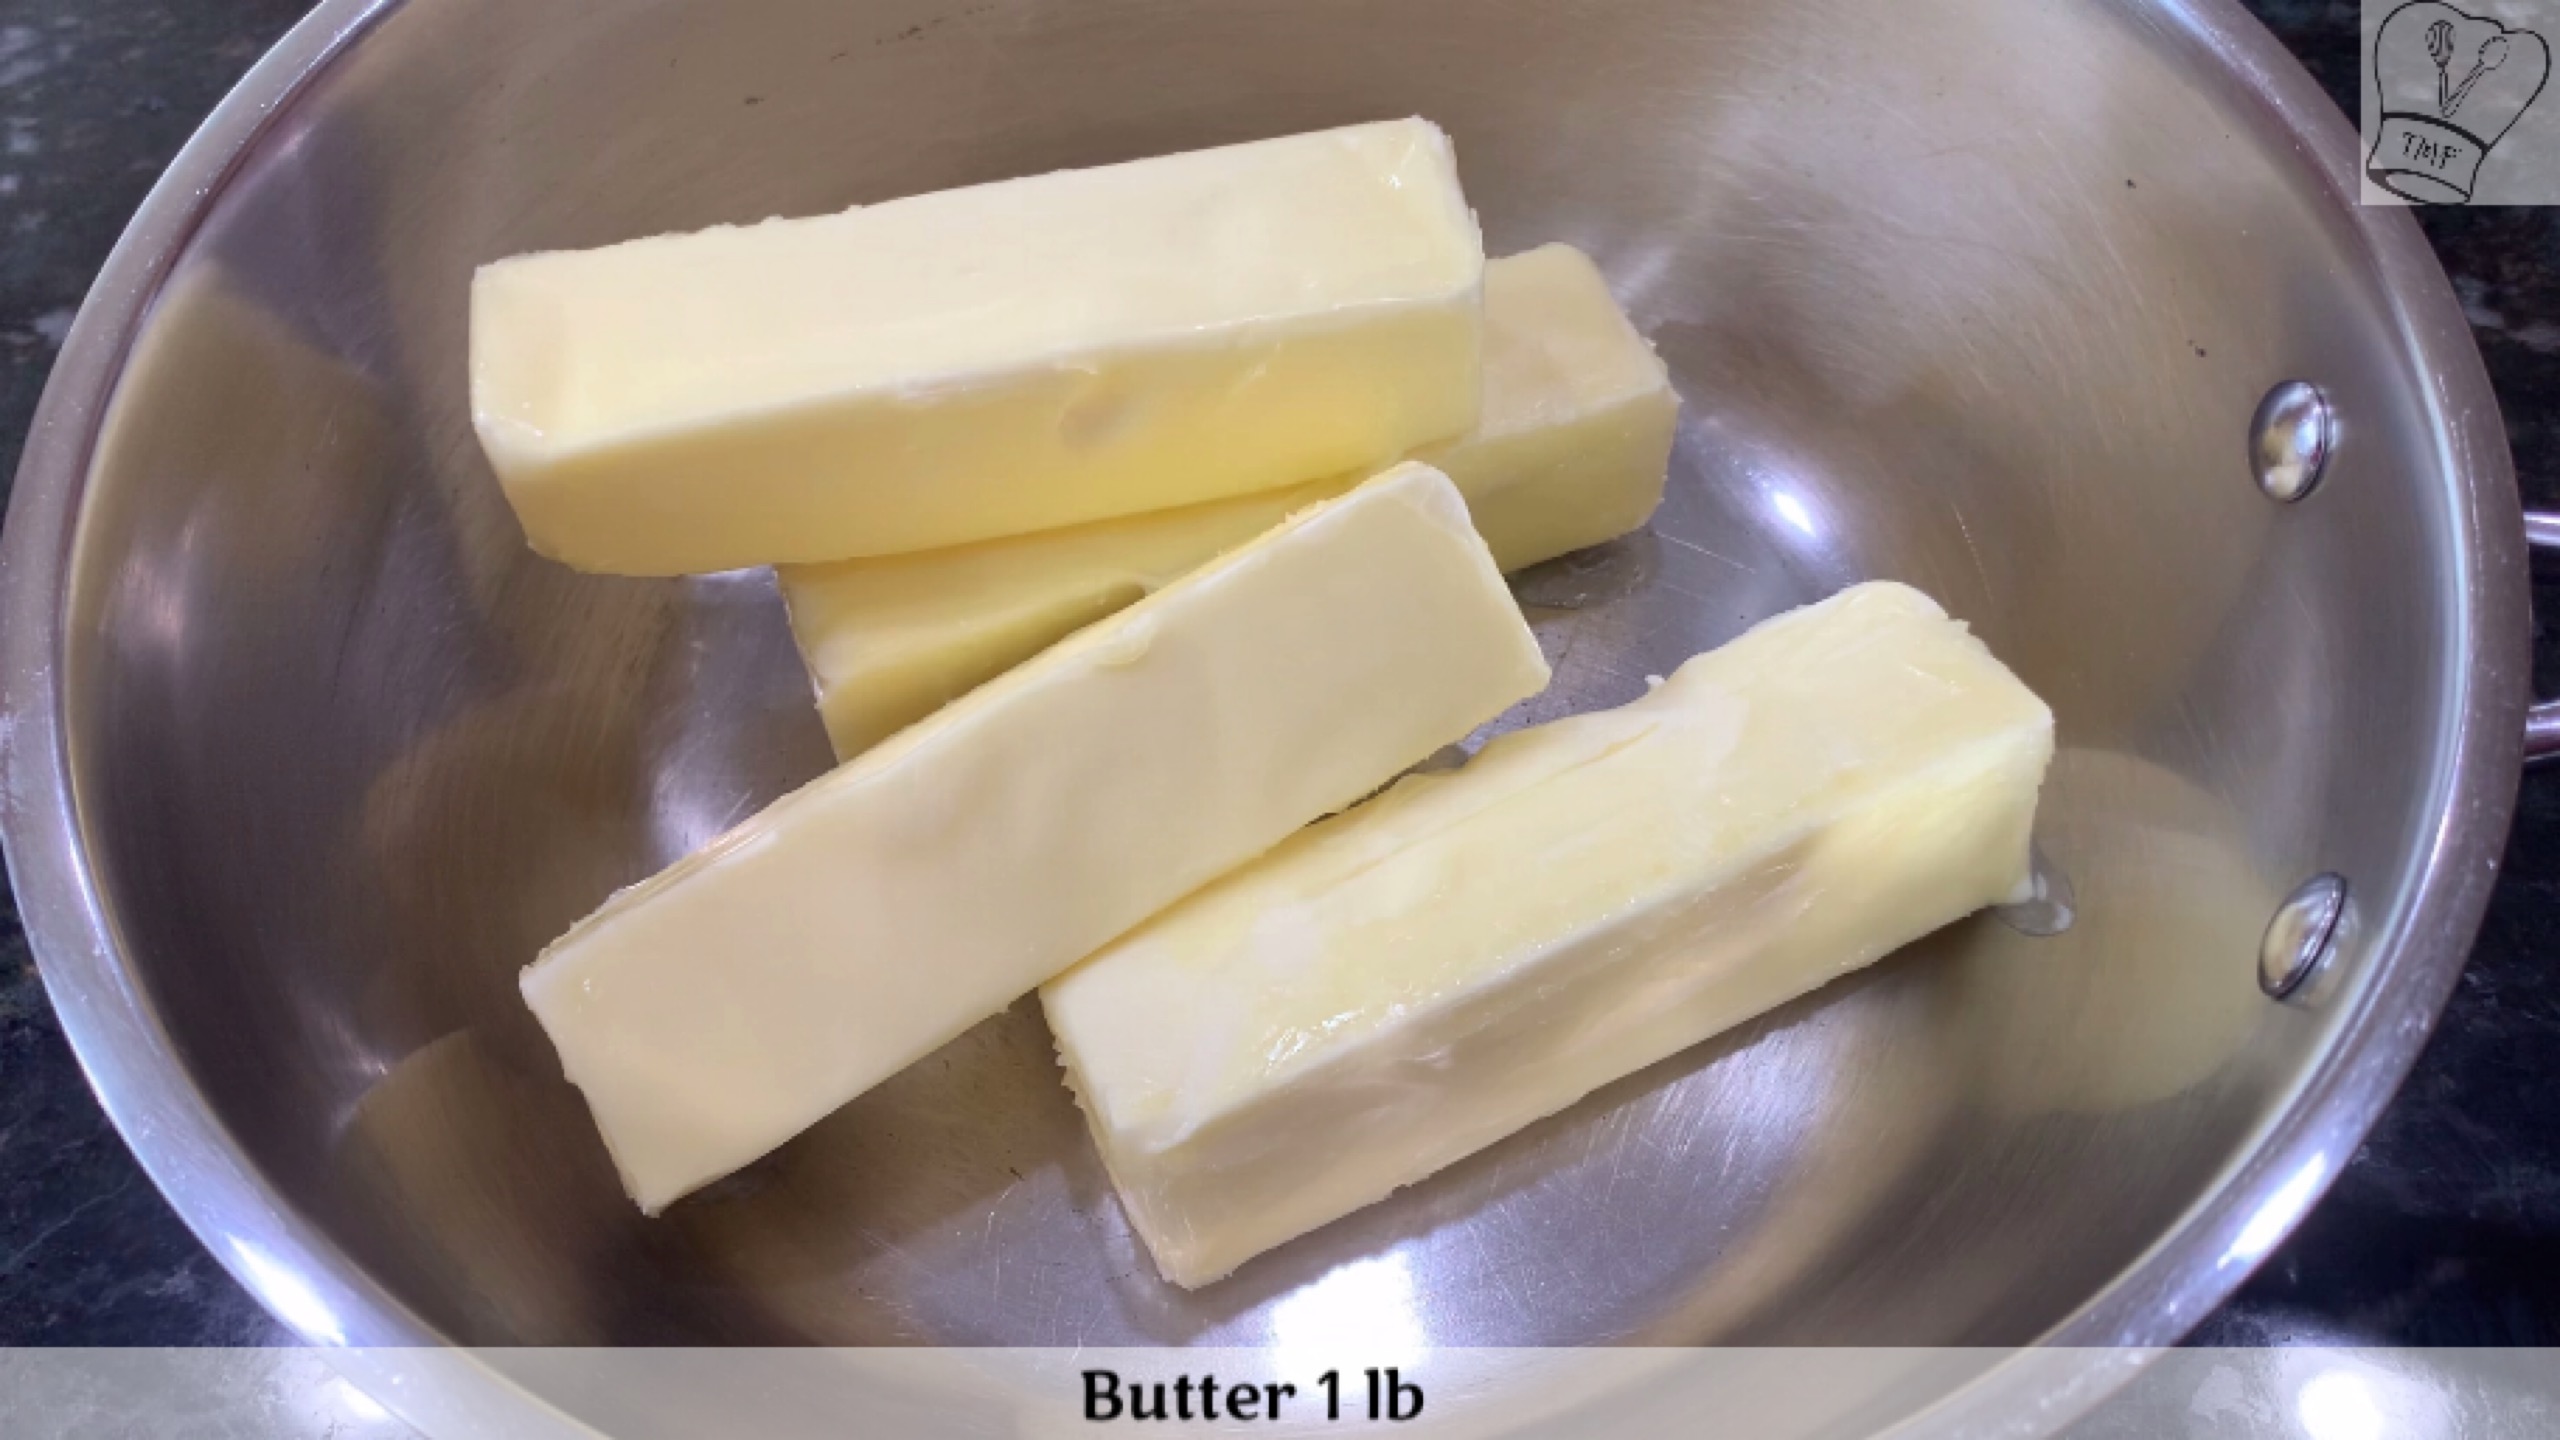
1 lb butter, unsalted and softened to room temperature
How to make homemade ghee recipe
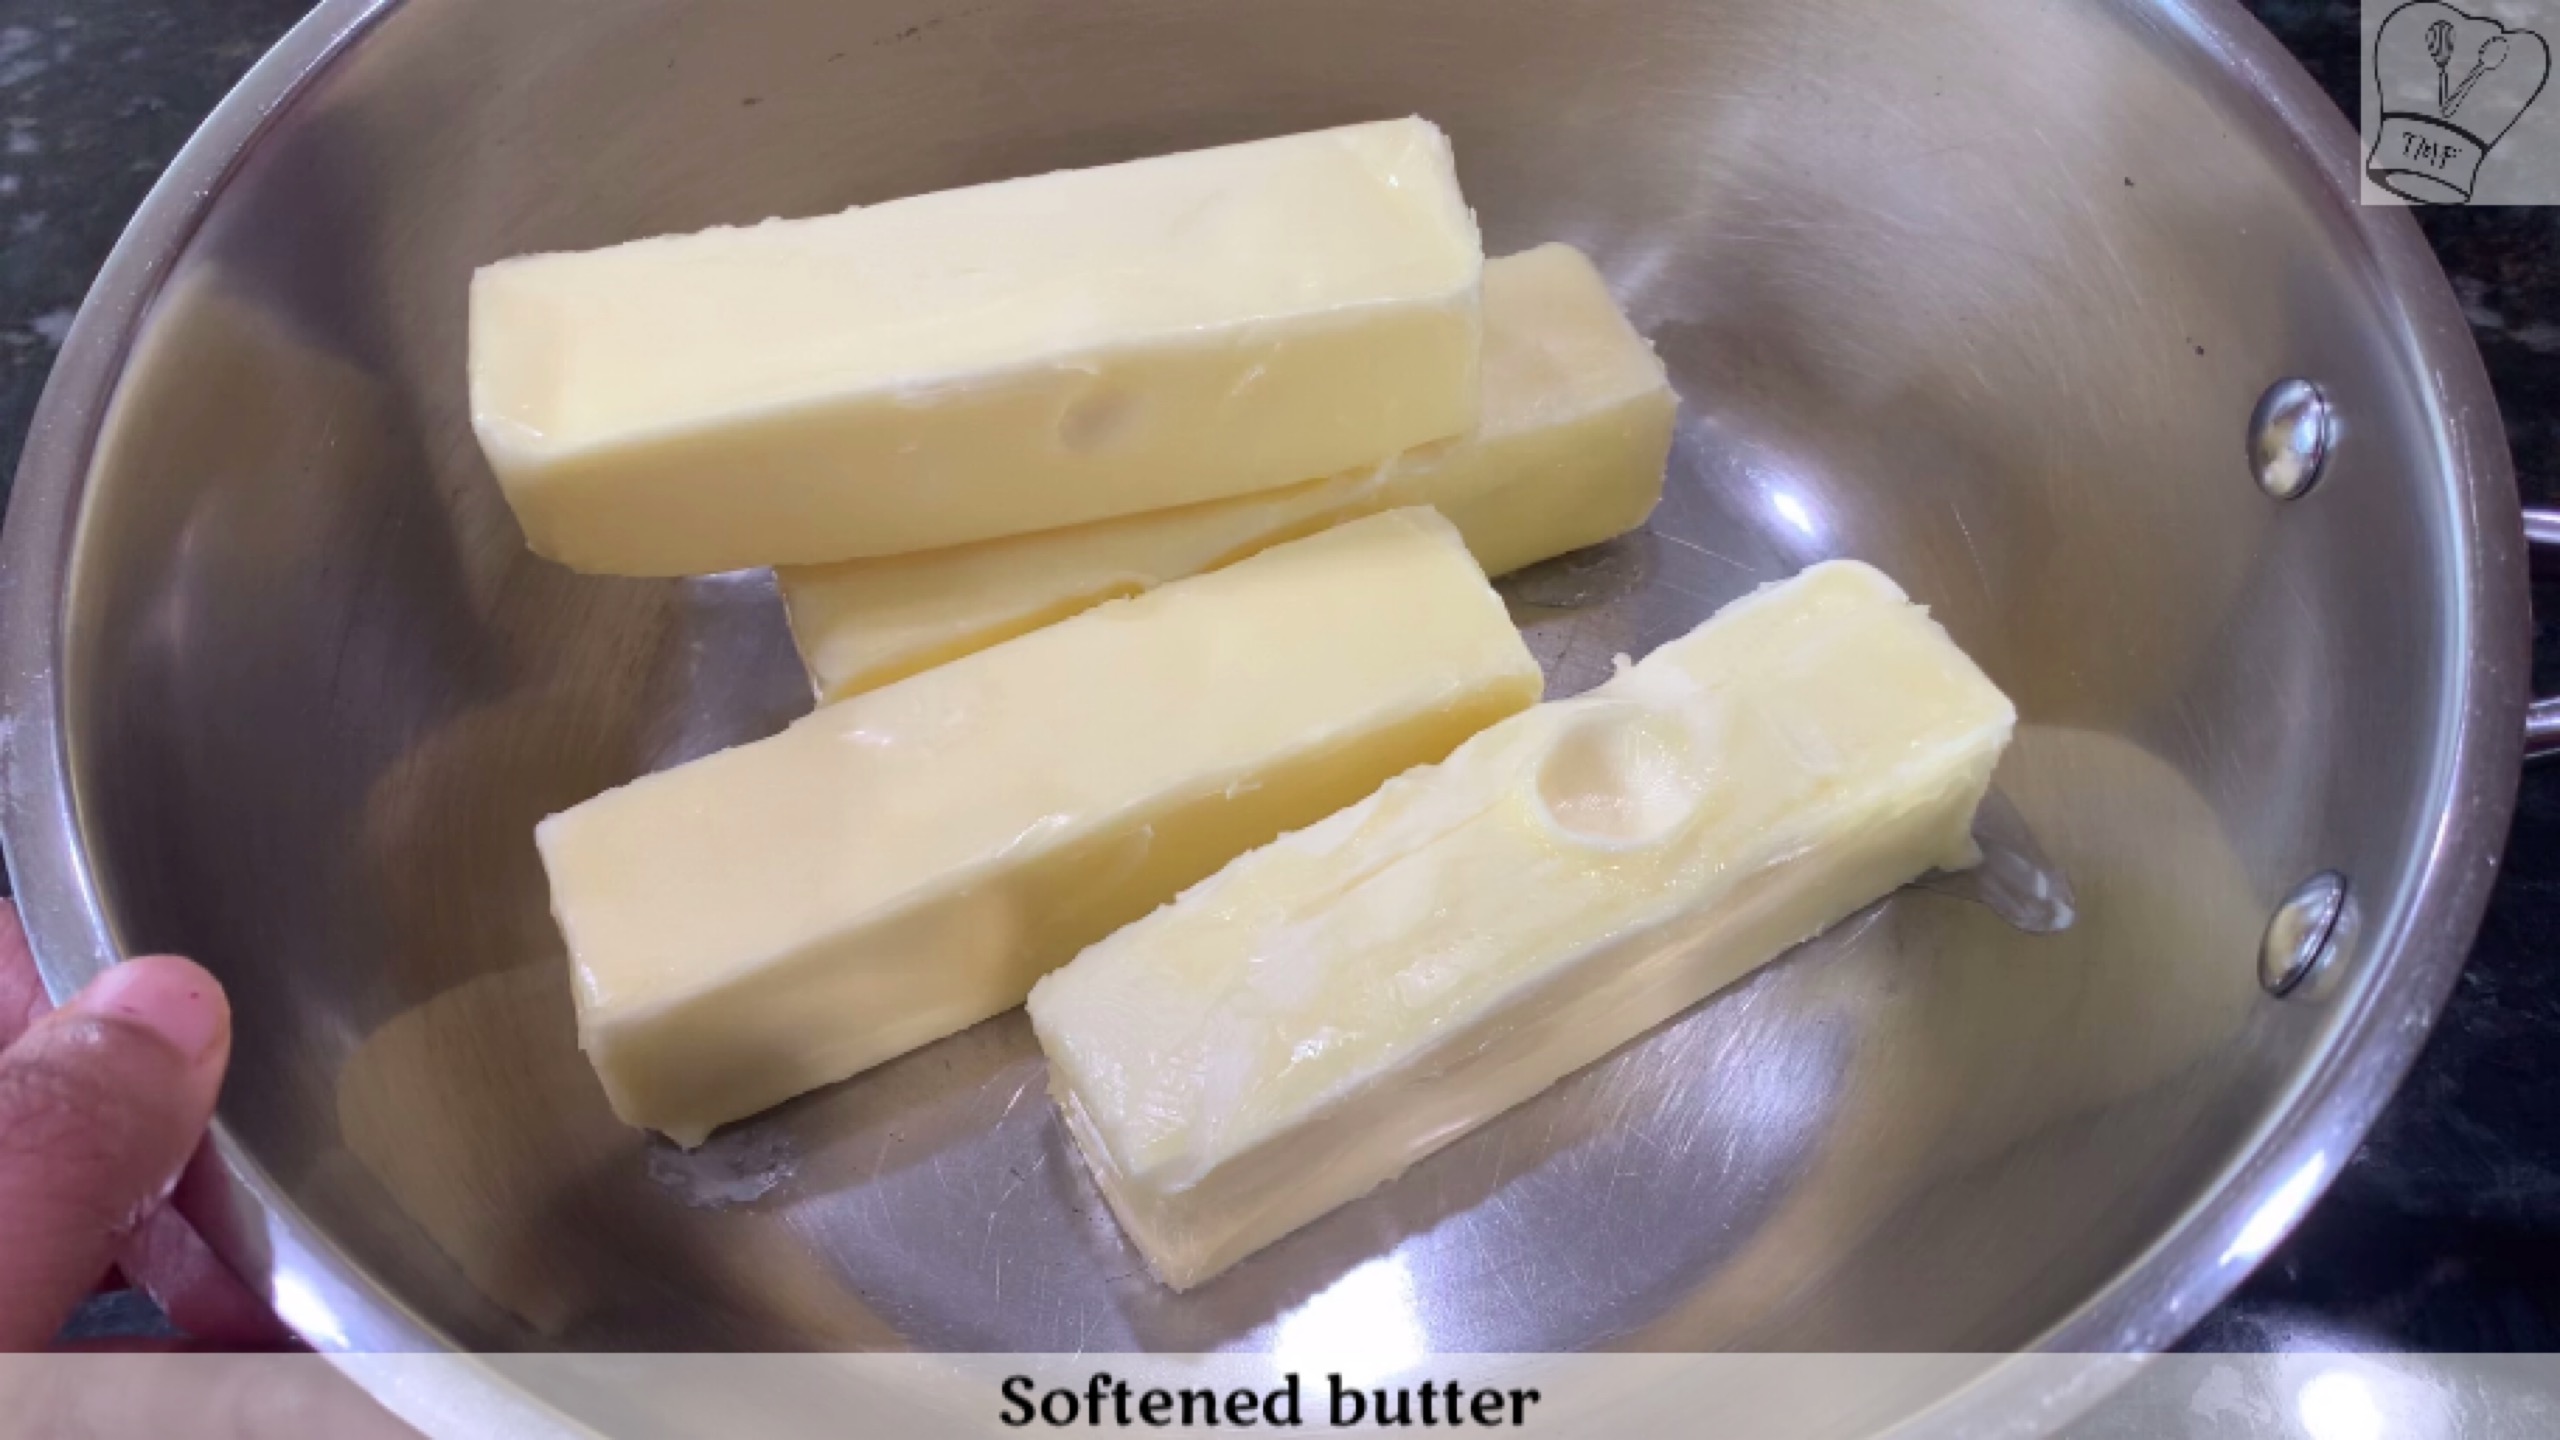
First, take the butter out from the fridge and keep it at room temperature for at least 1 hour before making ghee.
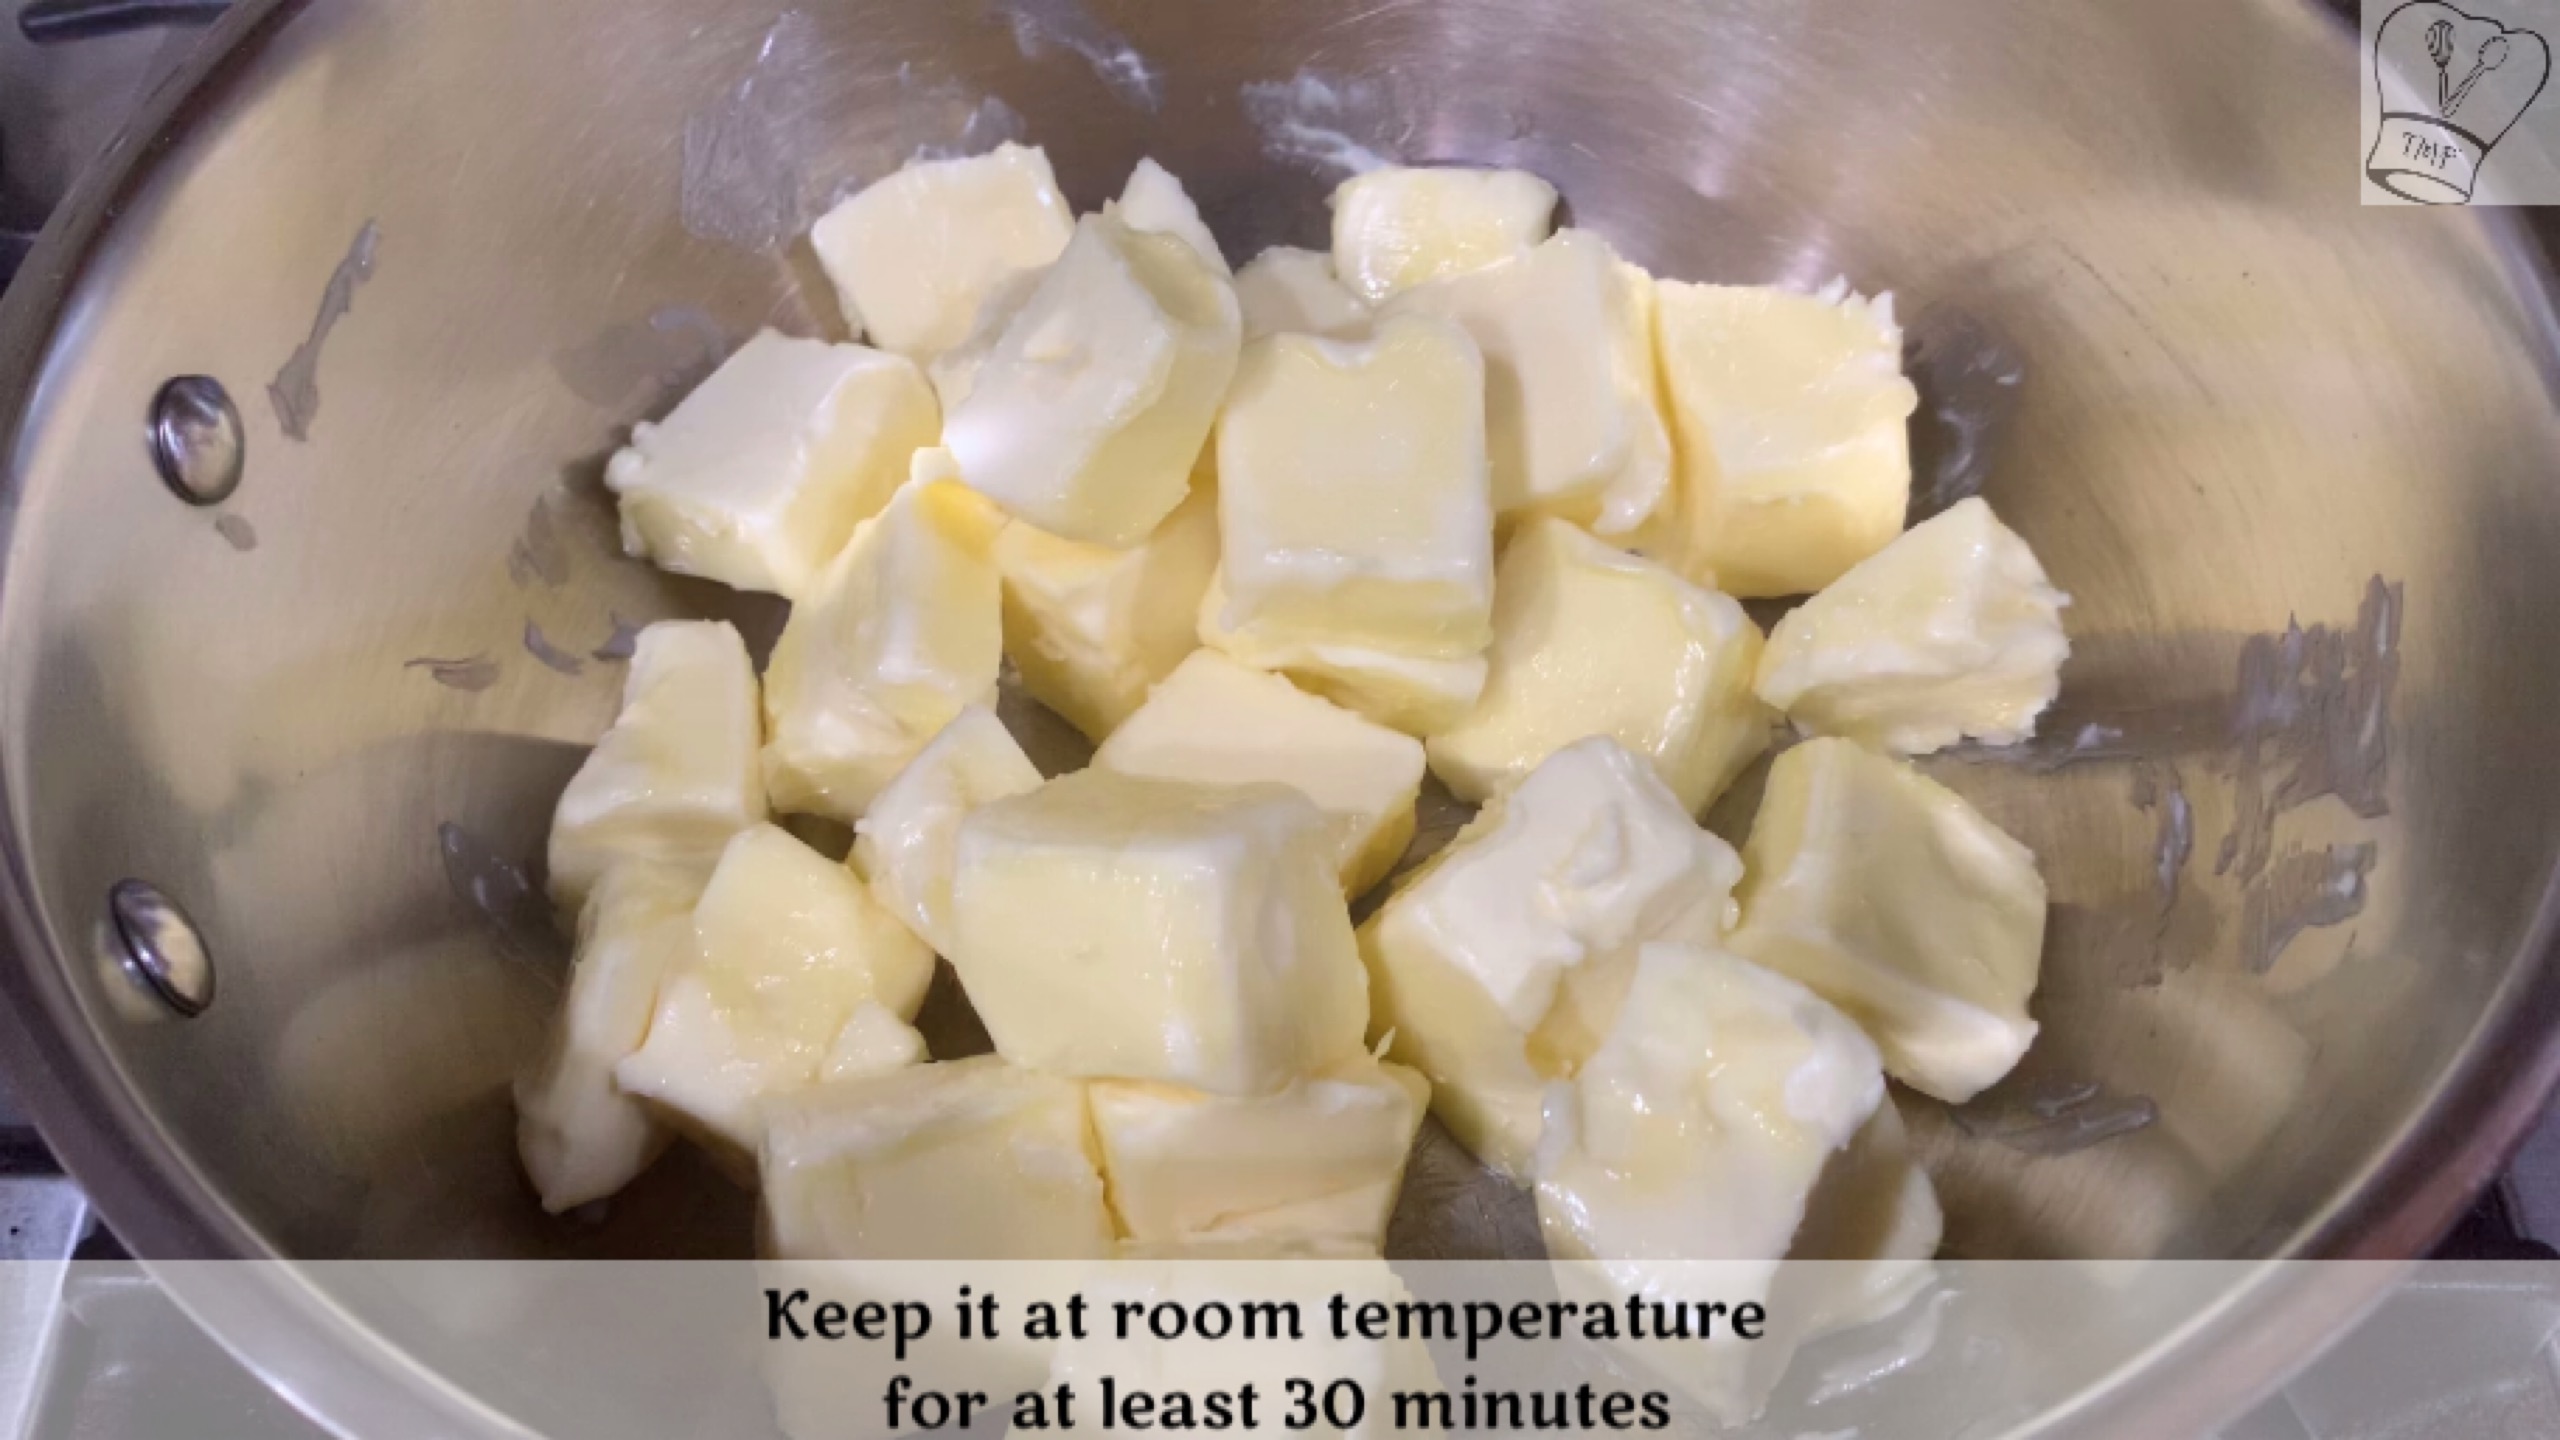
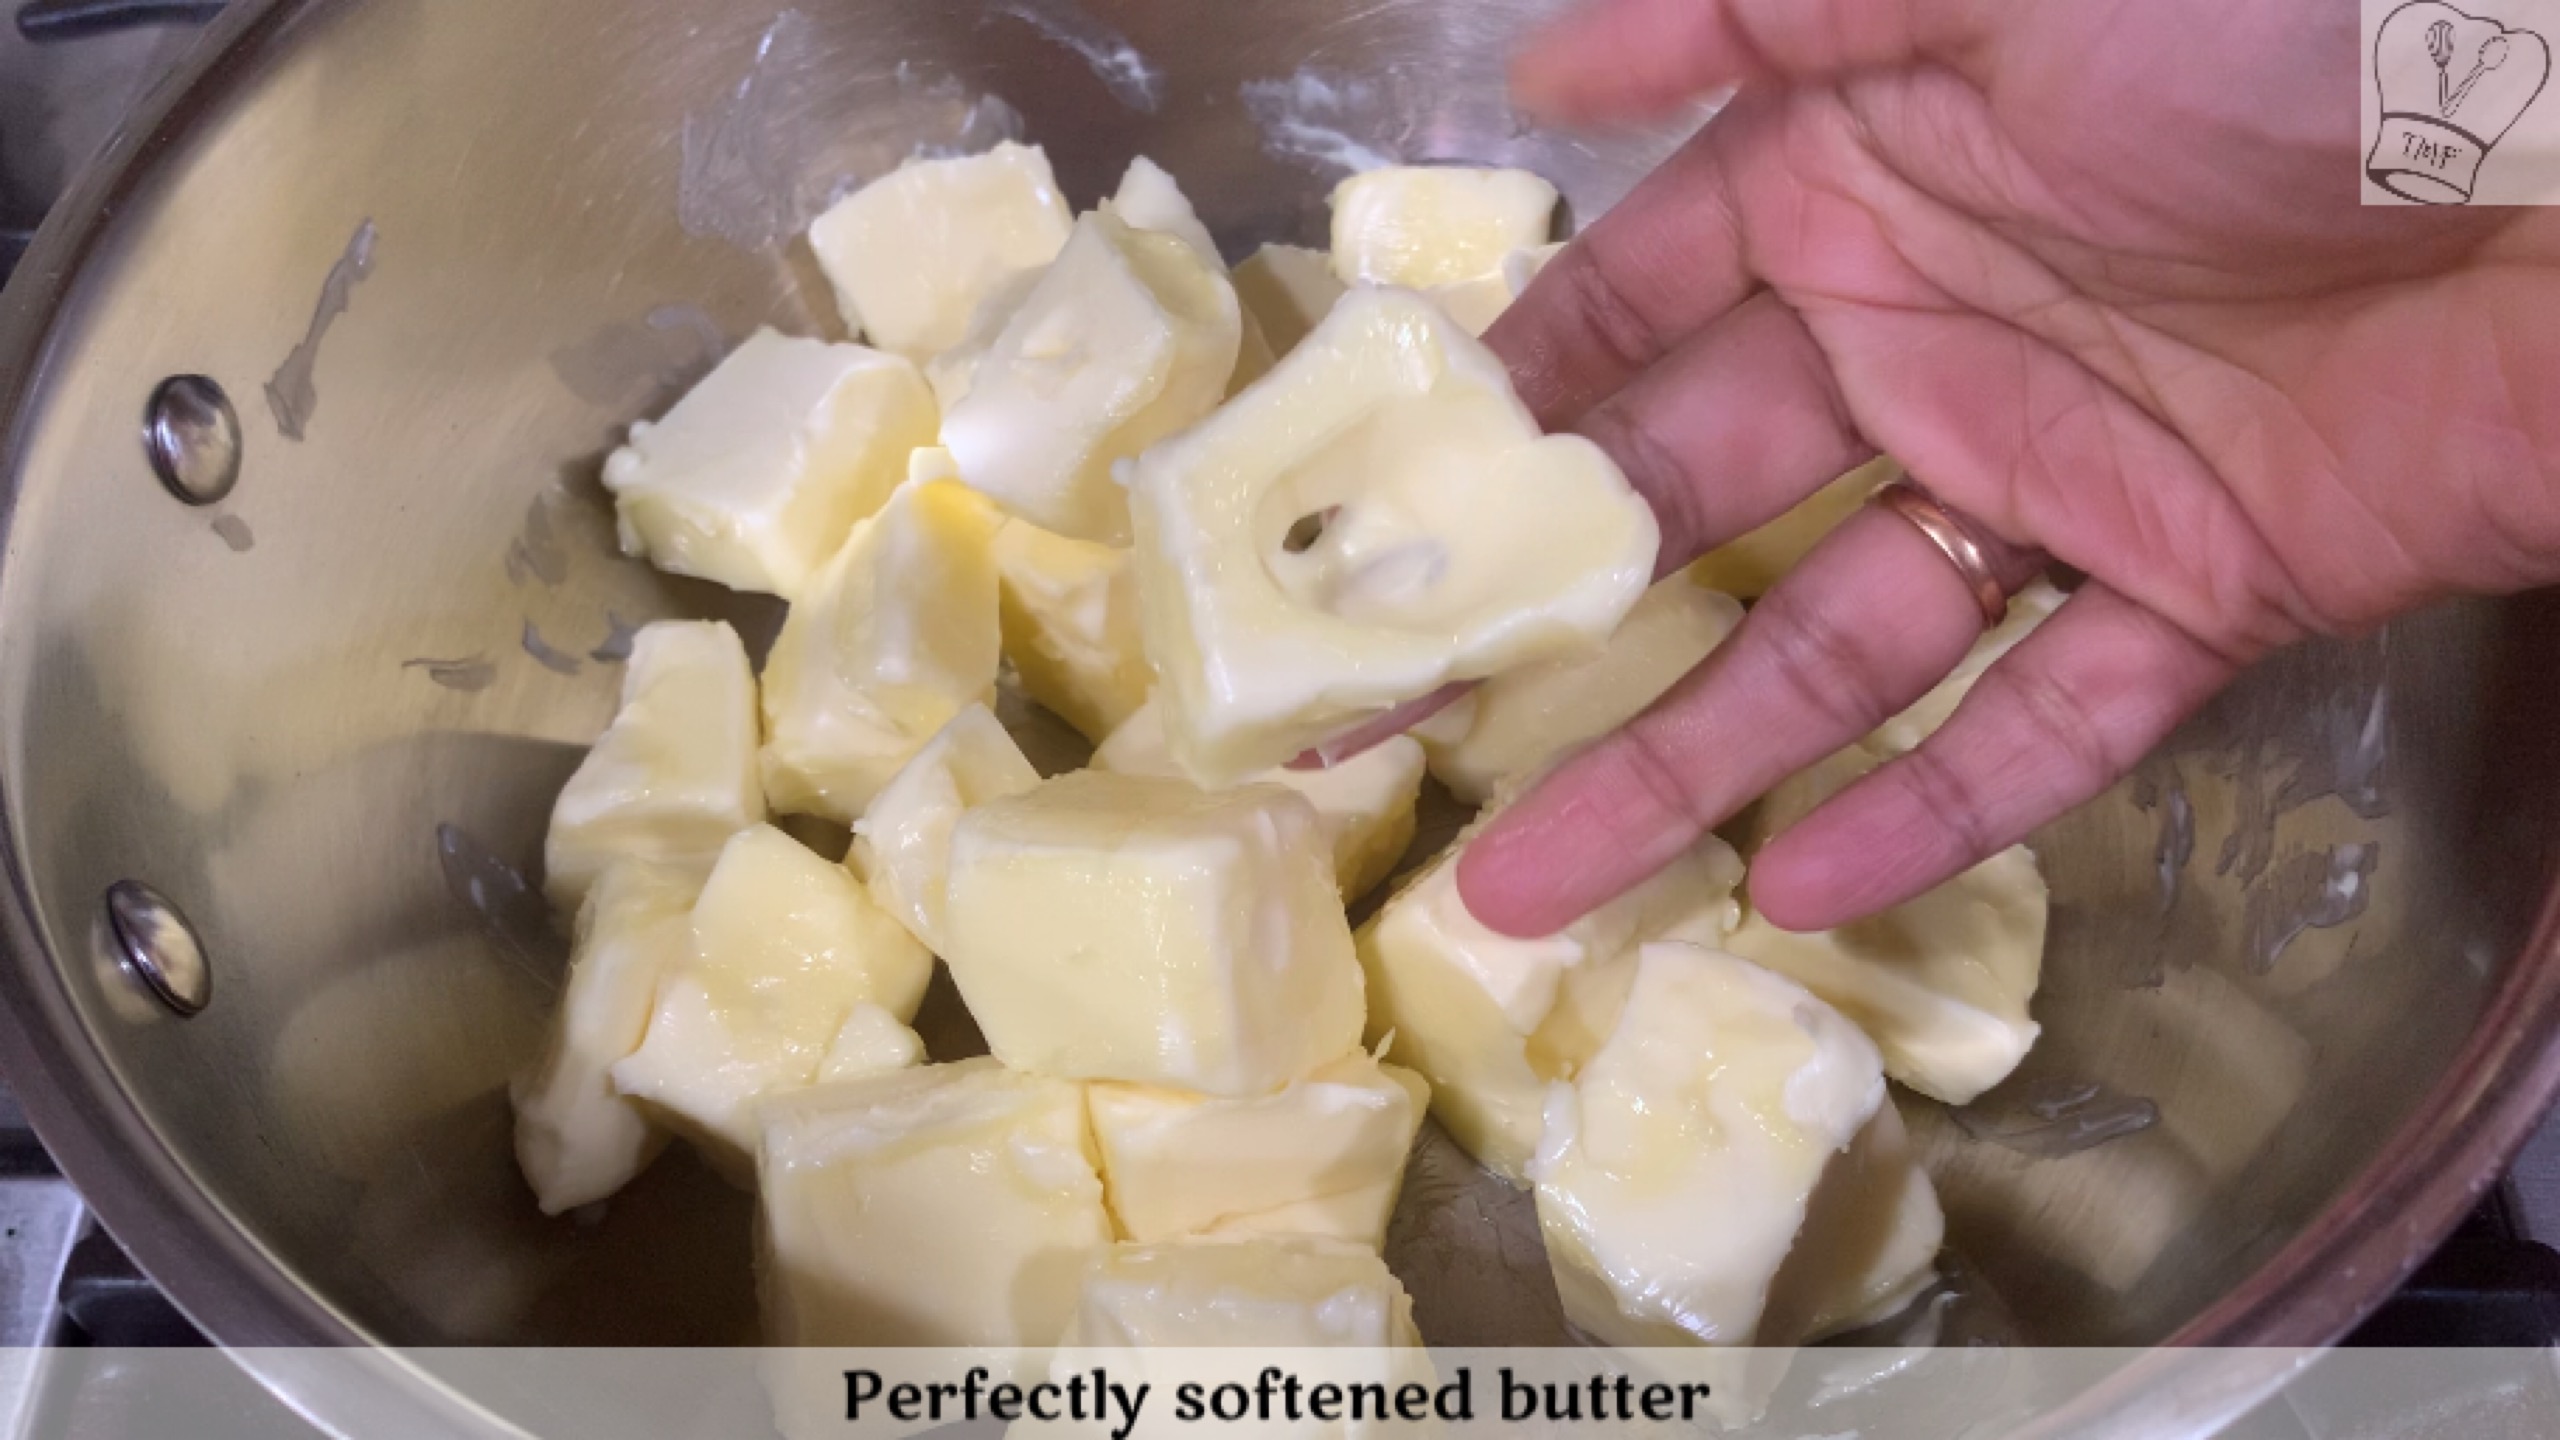
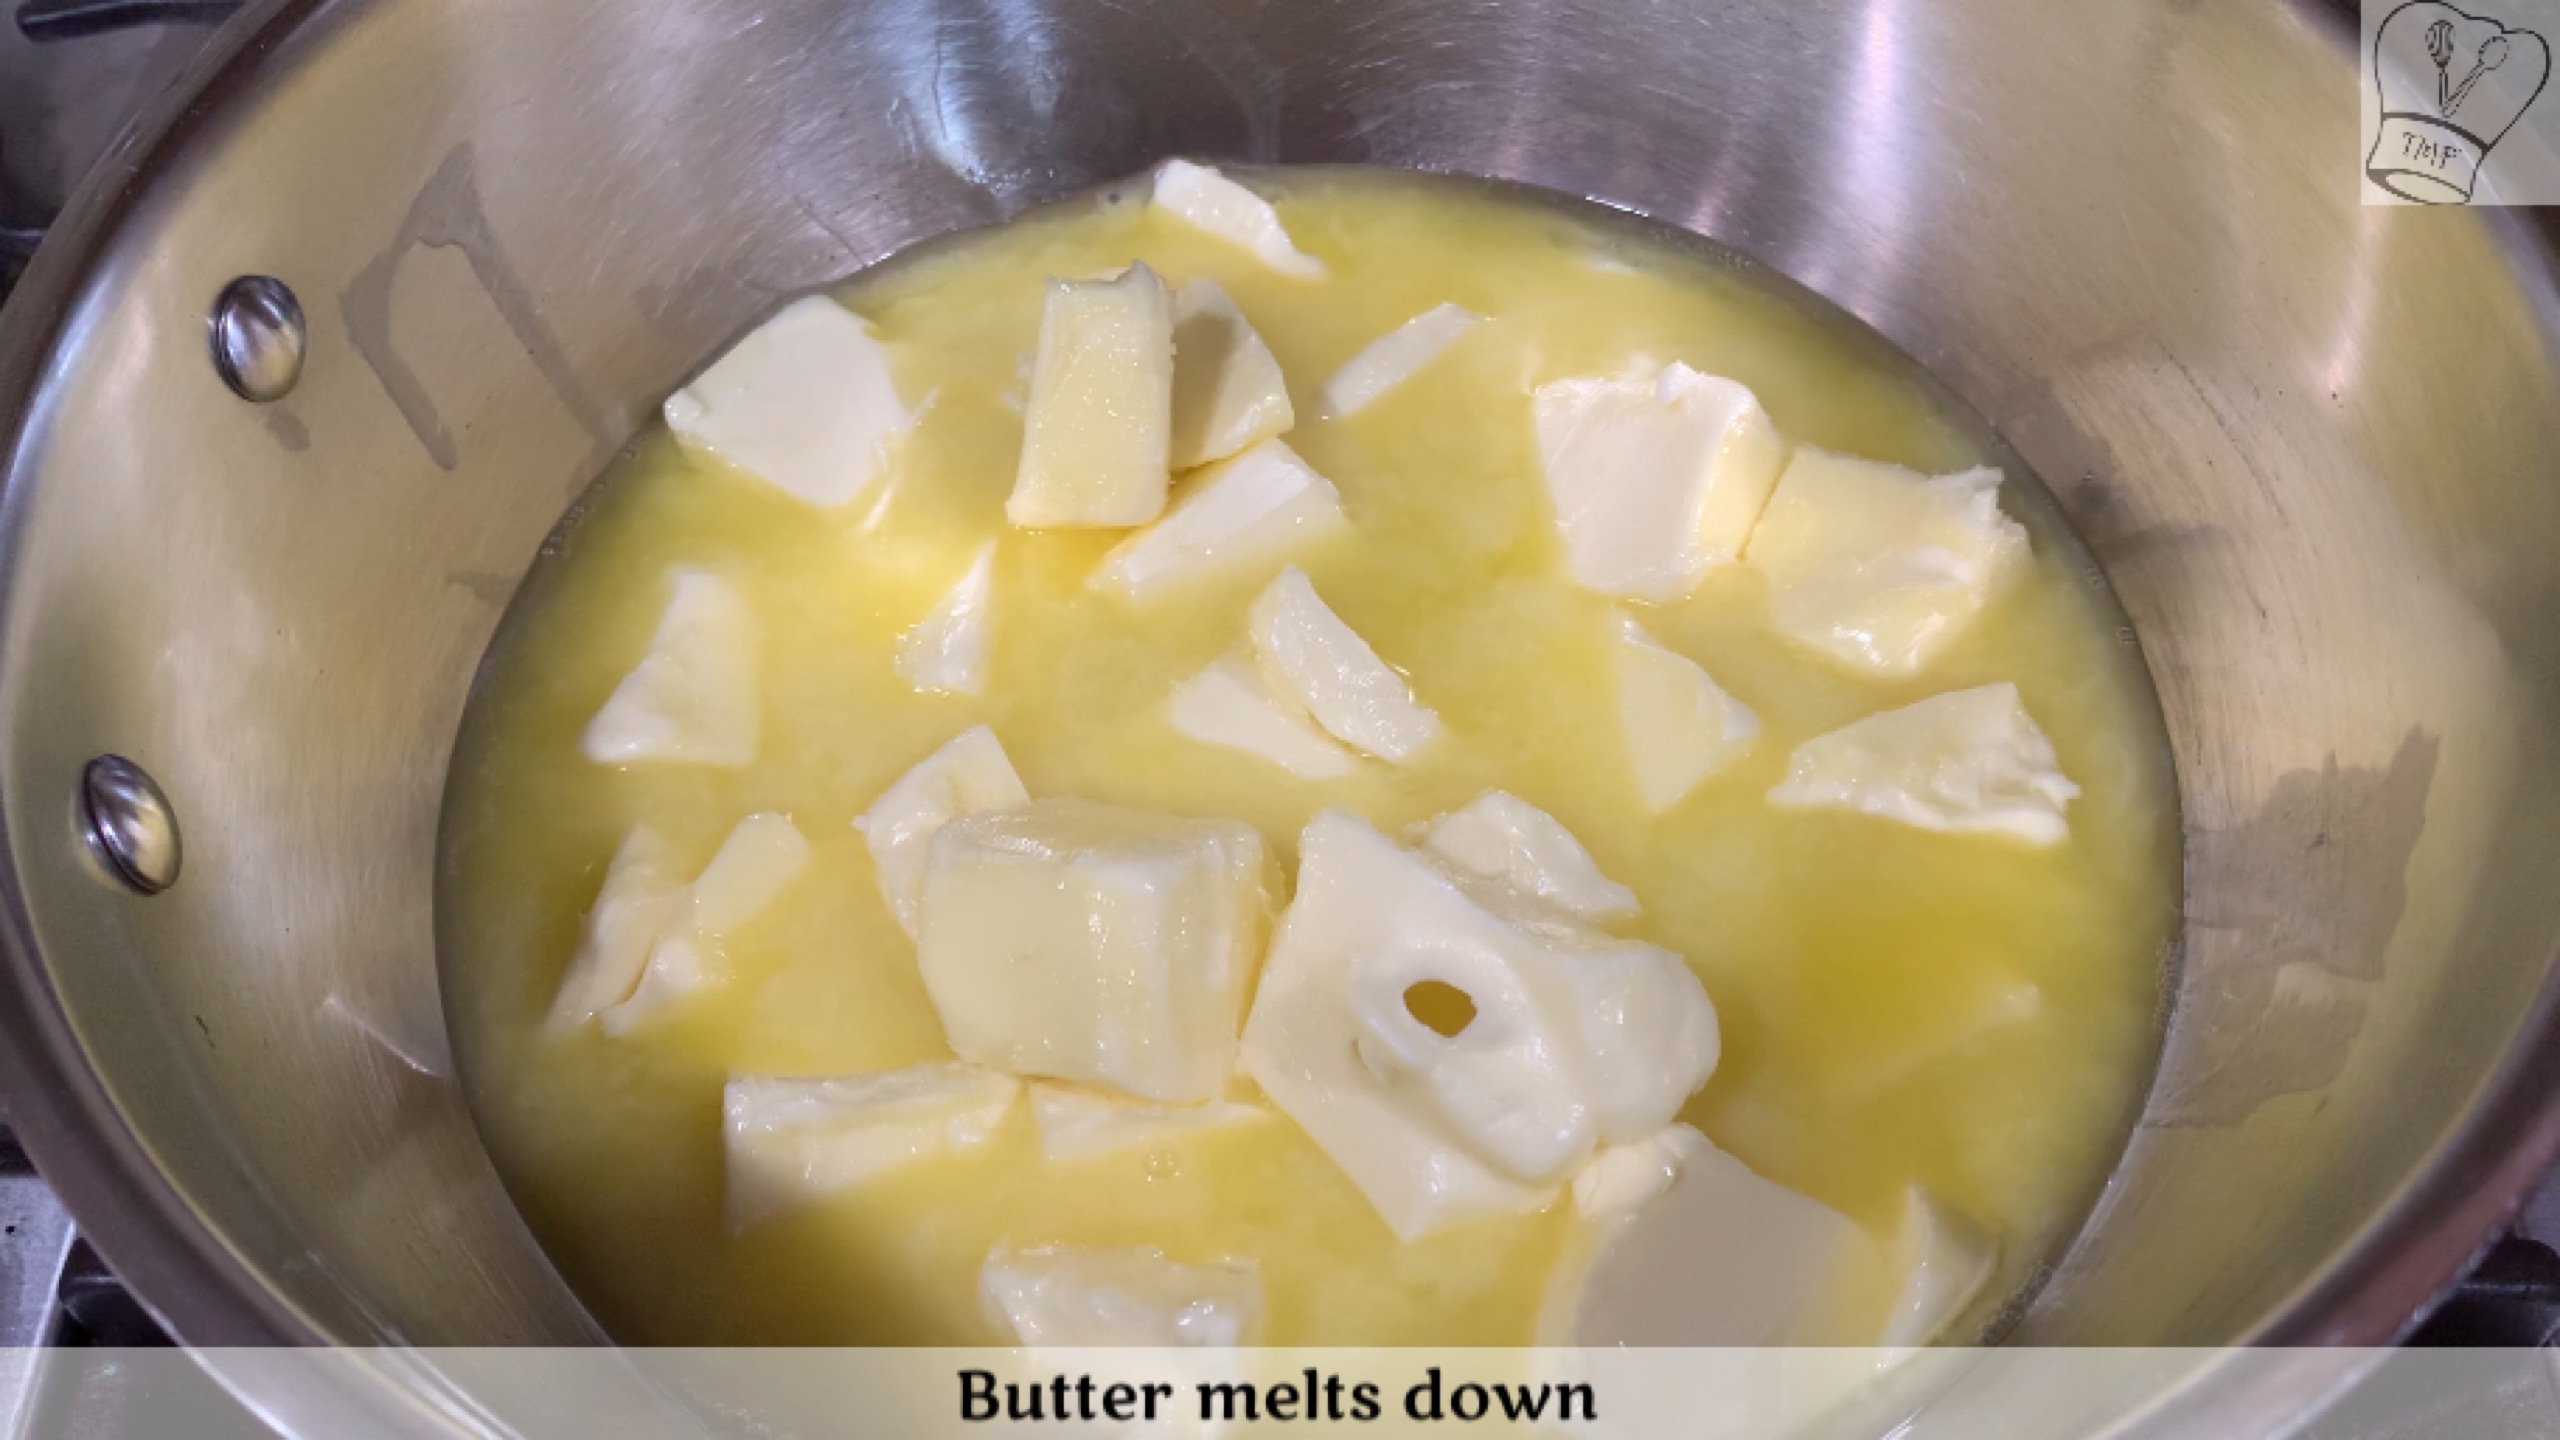
Place the butter in a wide heavy bottomed vessel and cut it into chunks. Let them sit for at least 30 minutes after cutting, till the butter turns soft
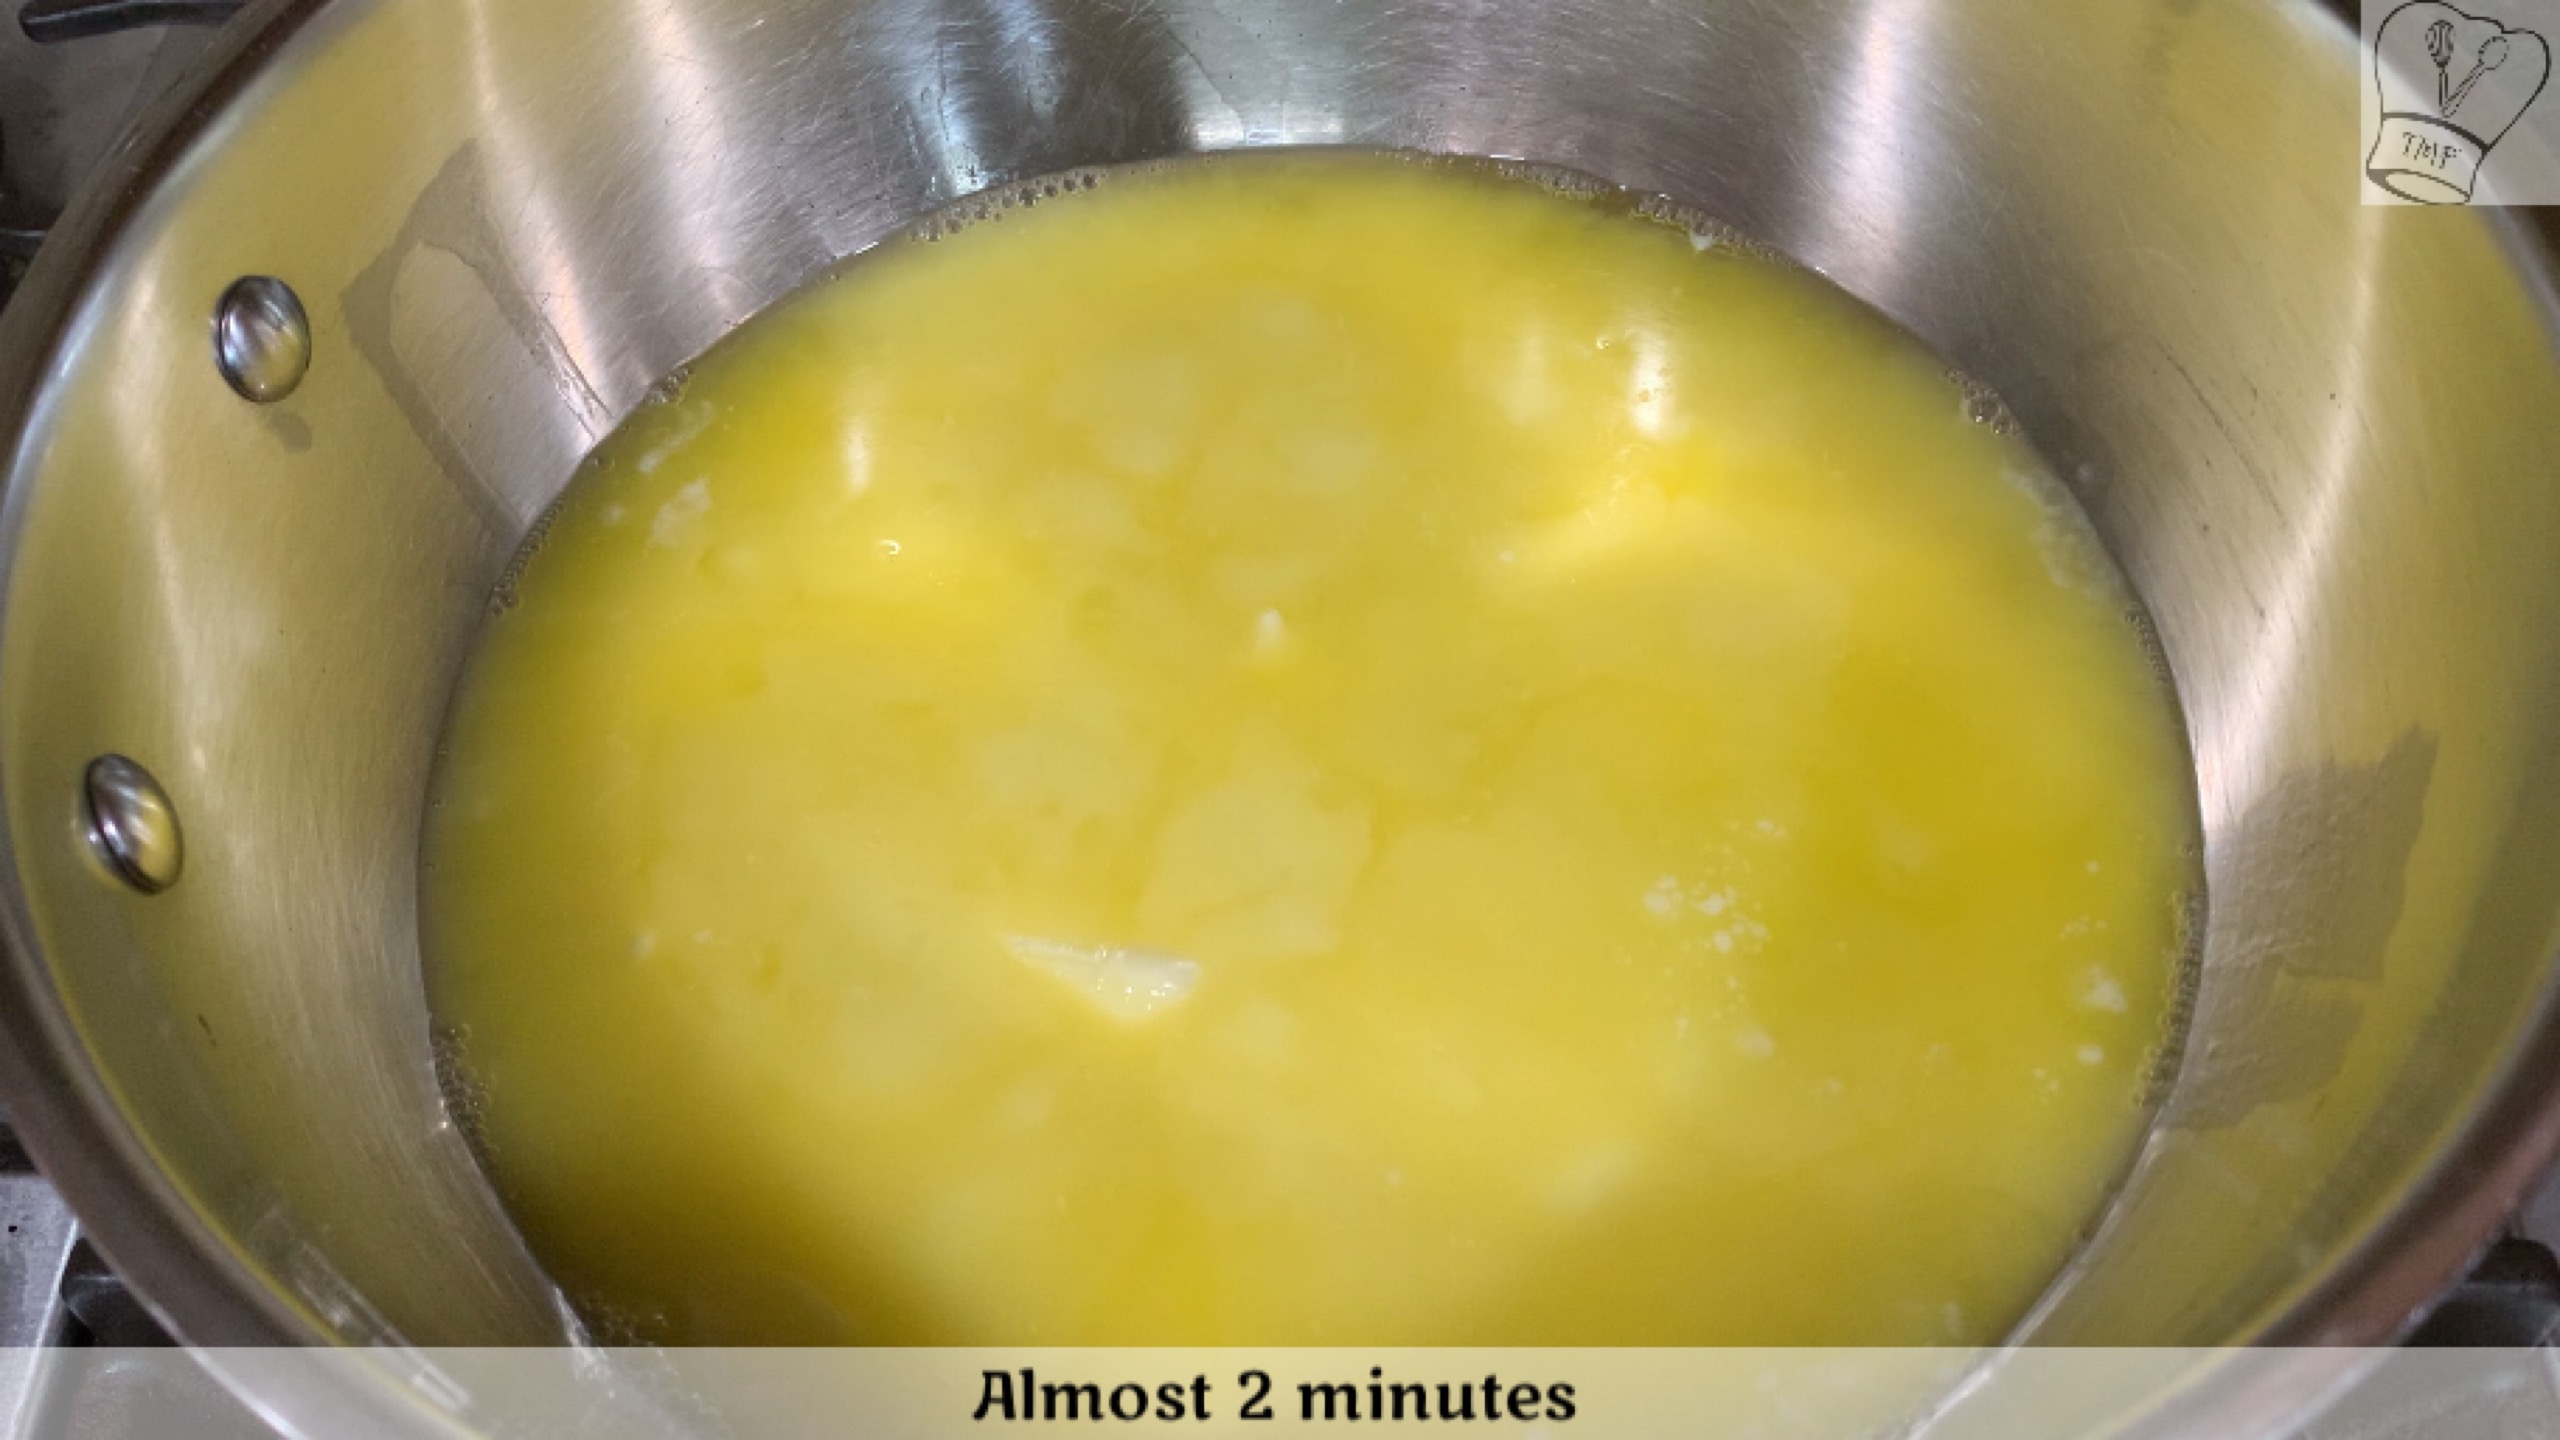
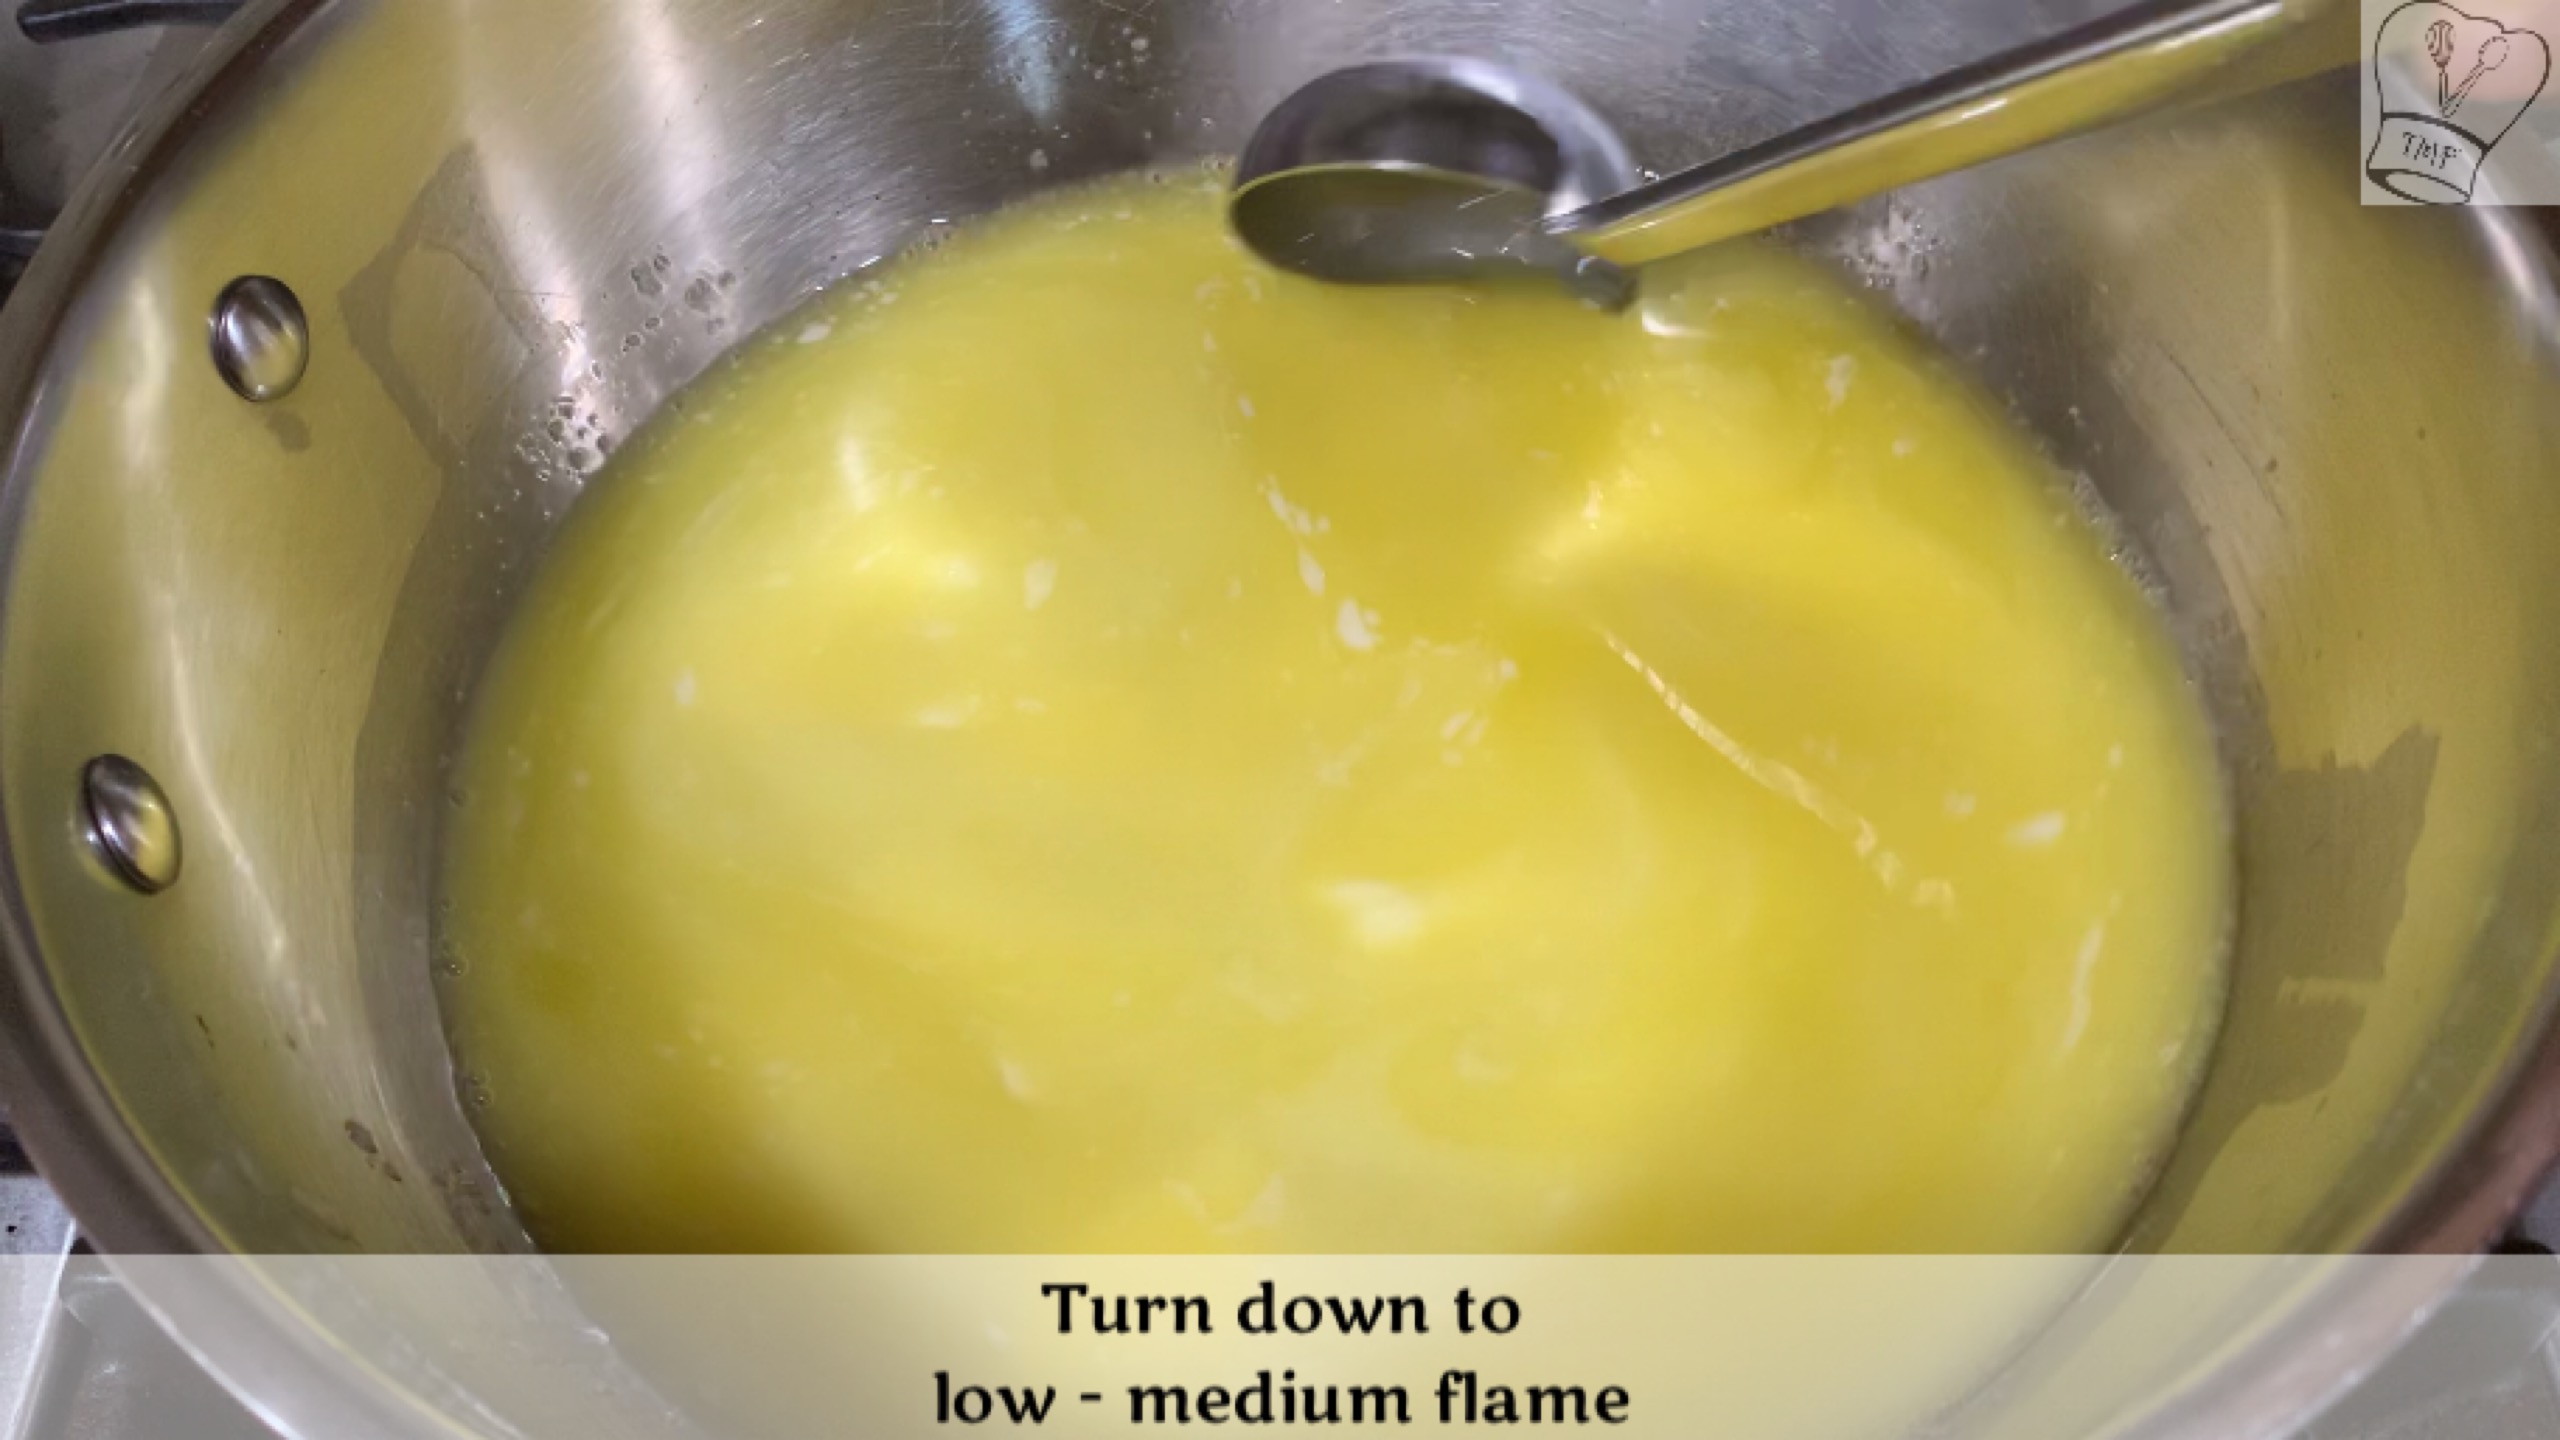
Turn on the stove to low - medium heat. Place the pan and let the butter melt
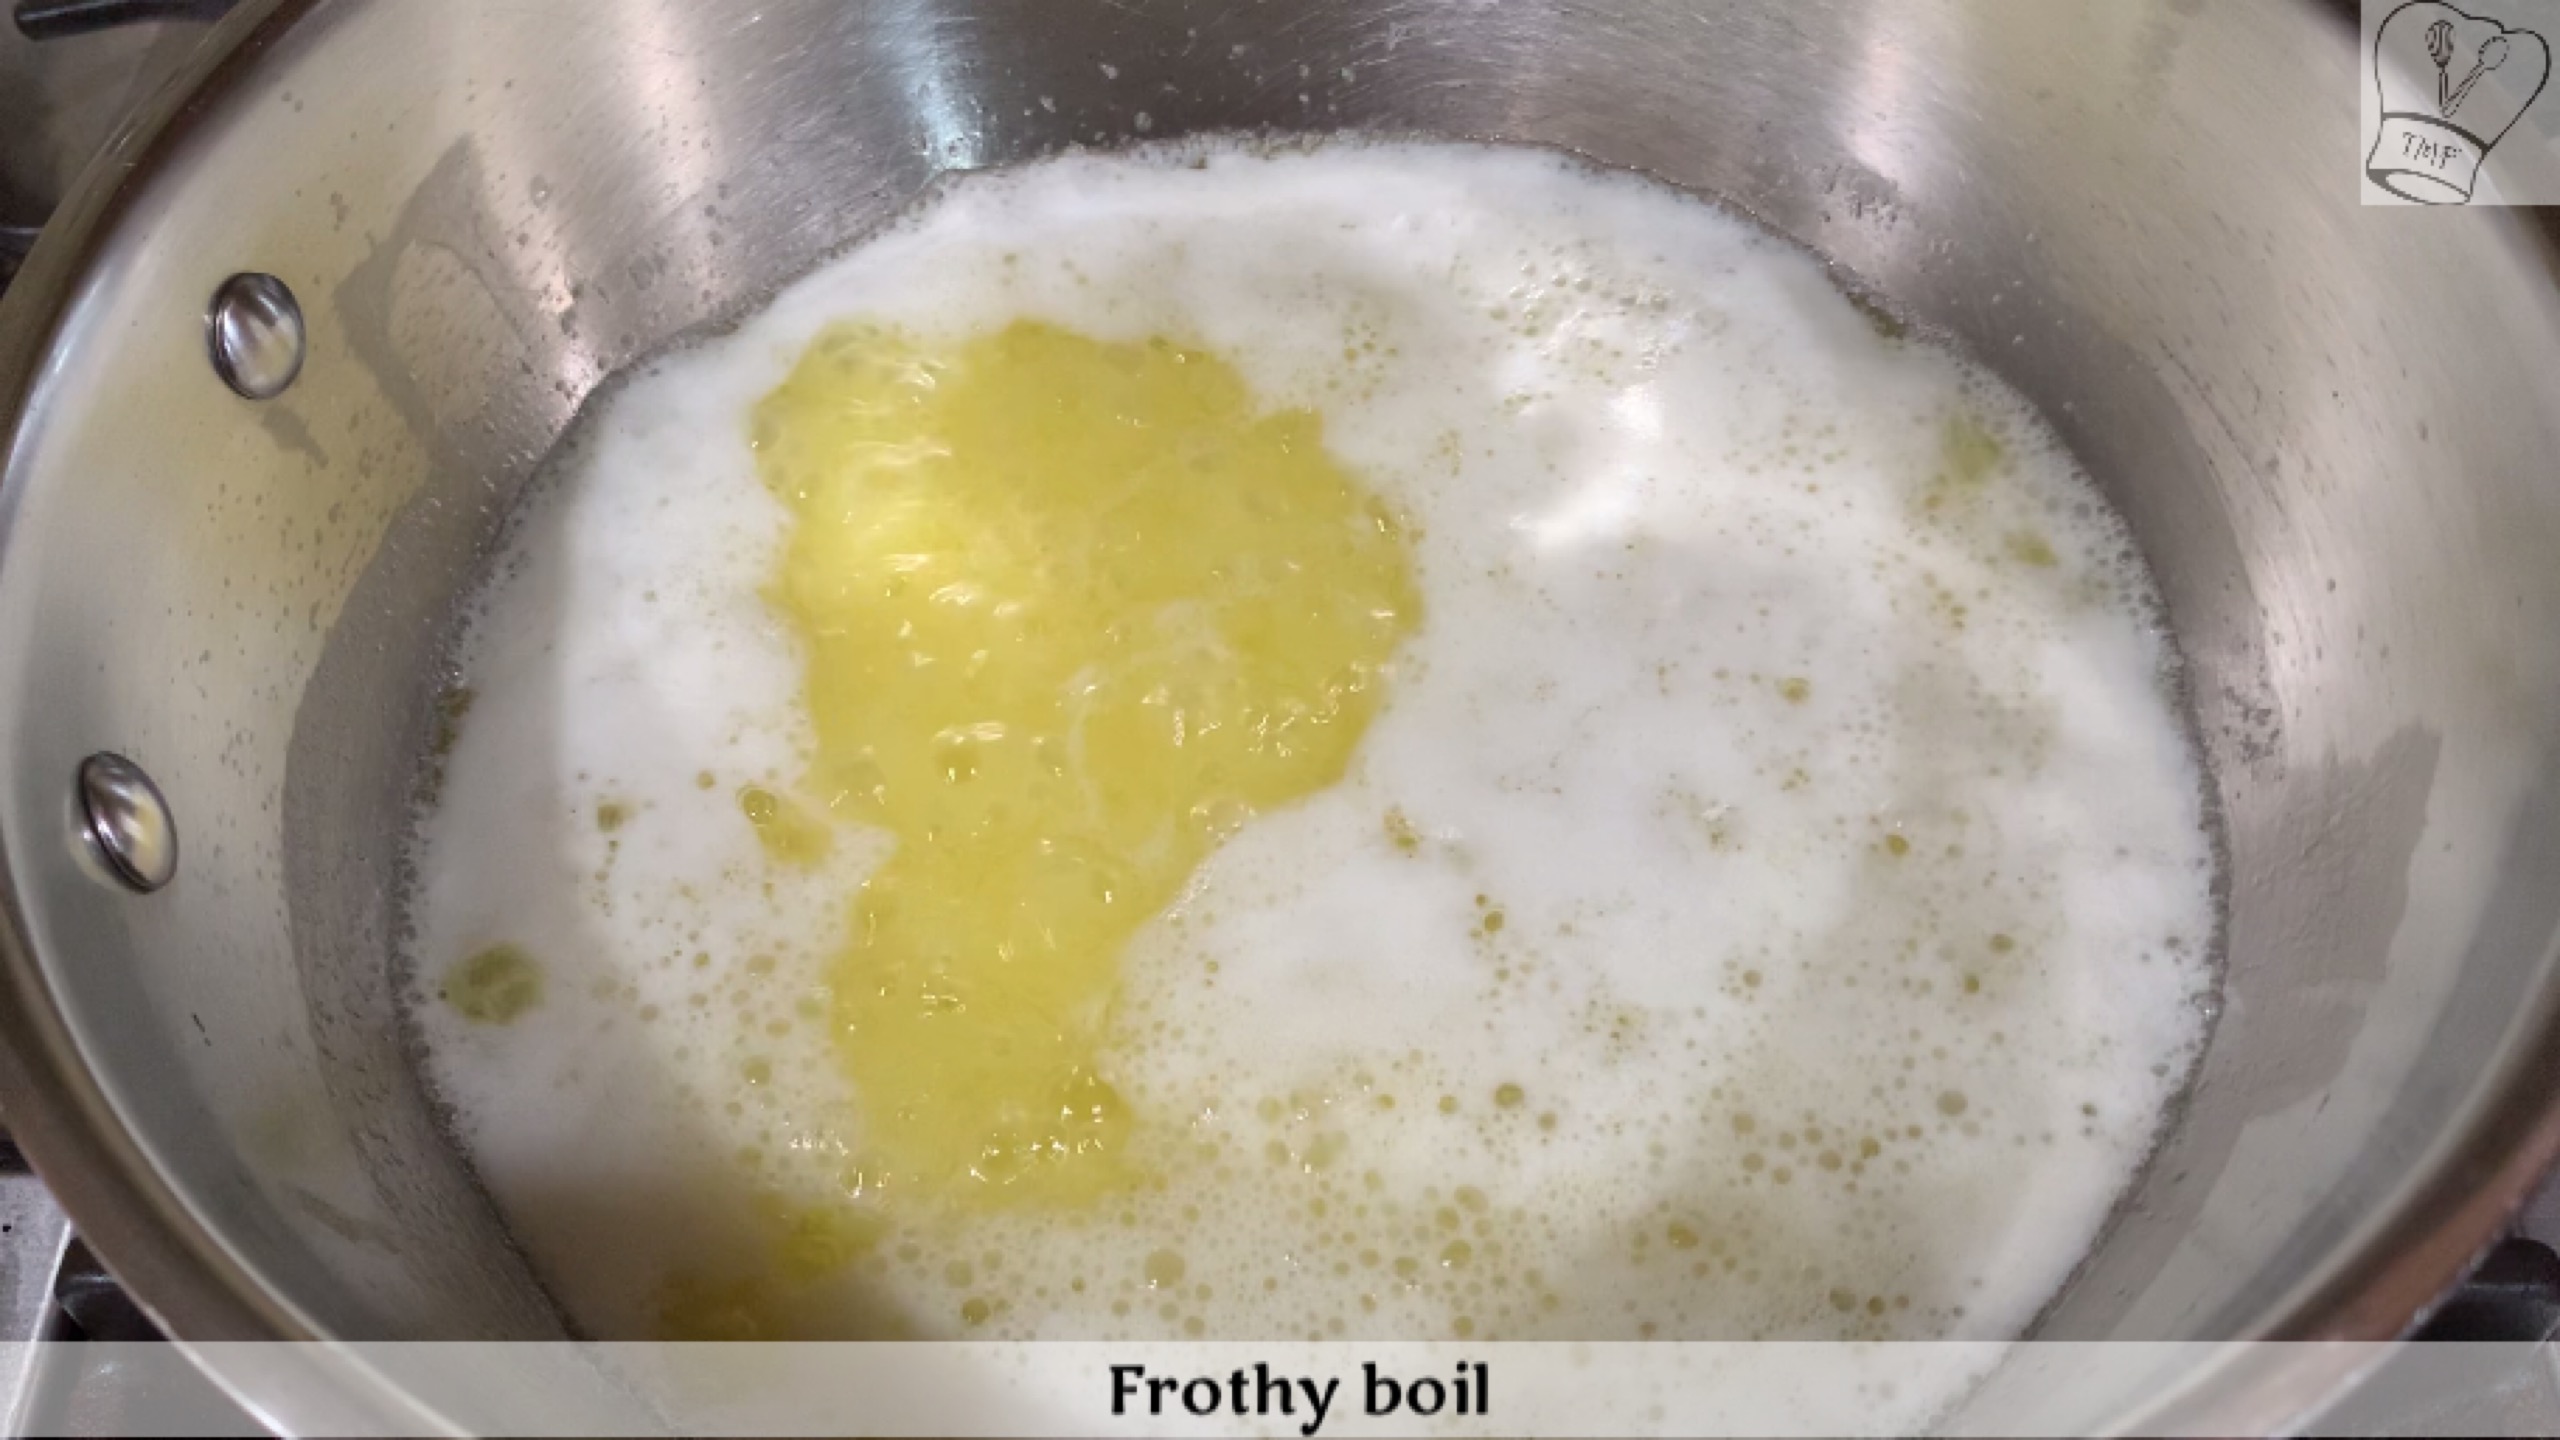
Once the butter is all melted it starts to boil
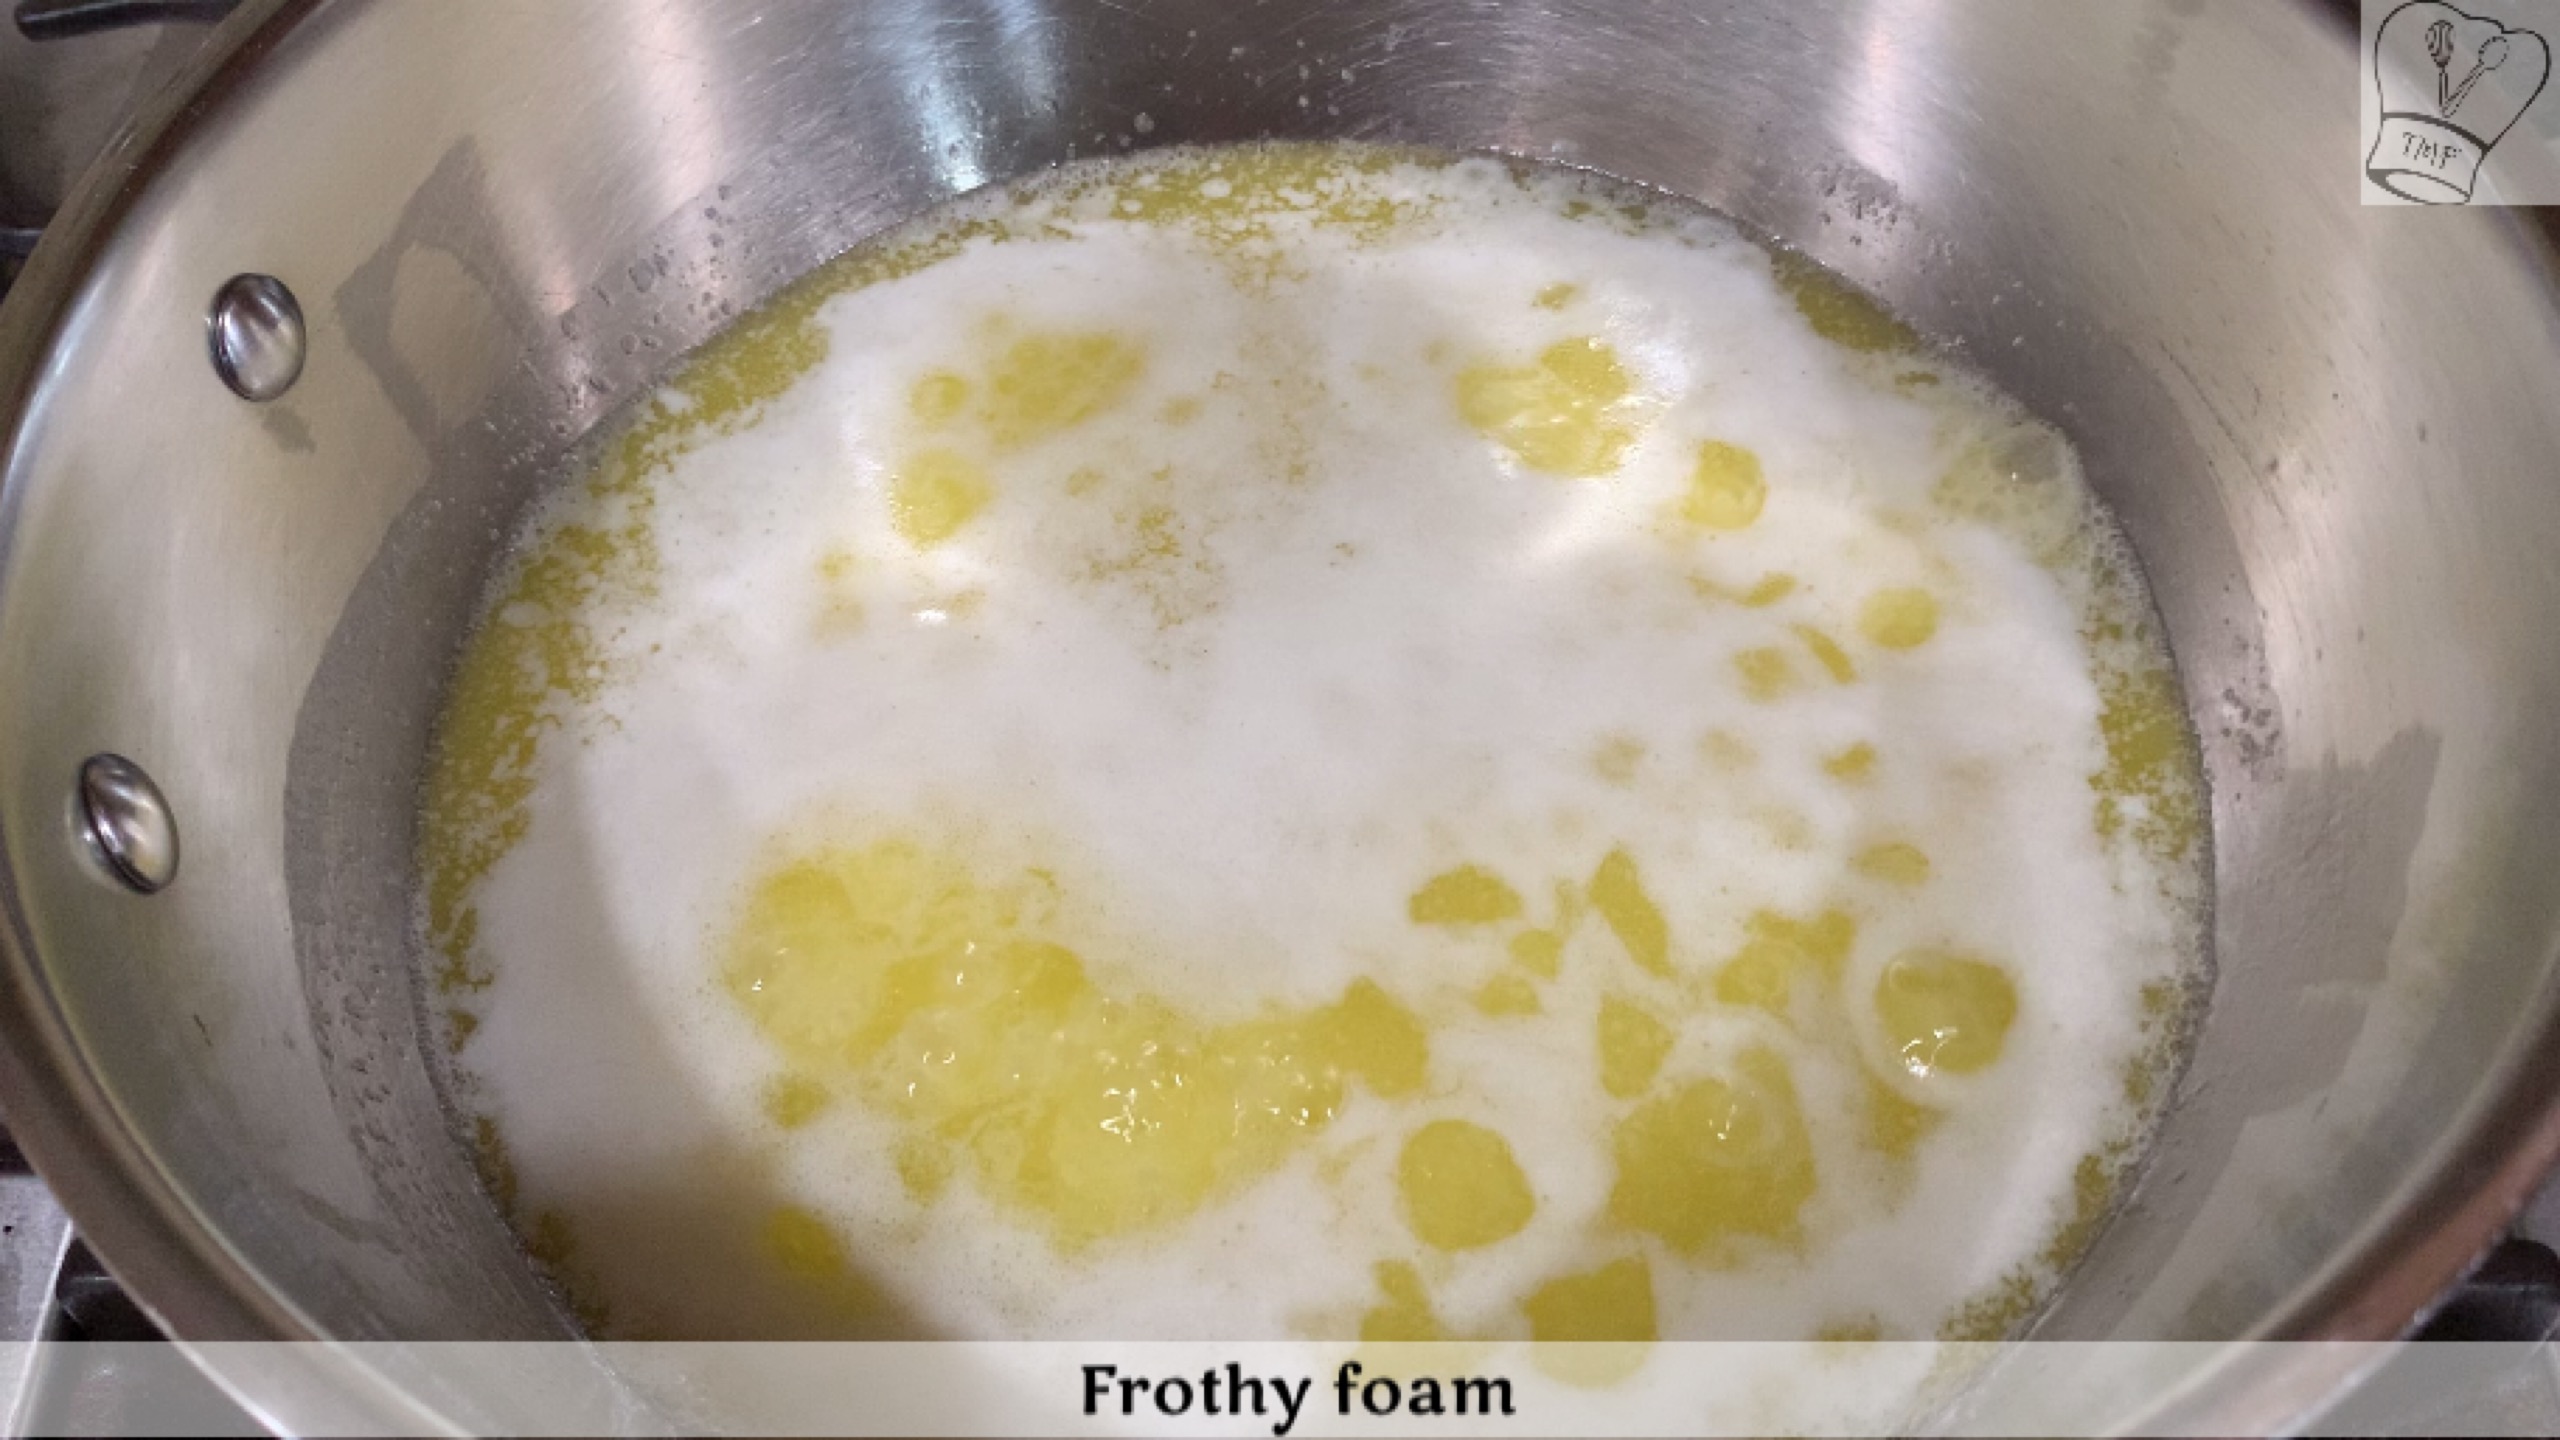
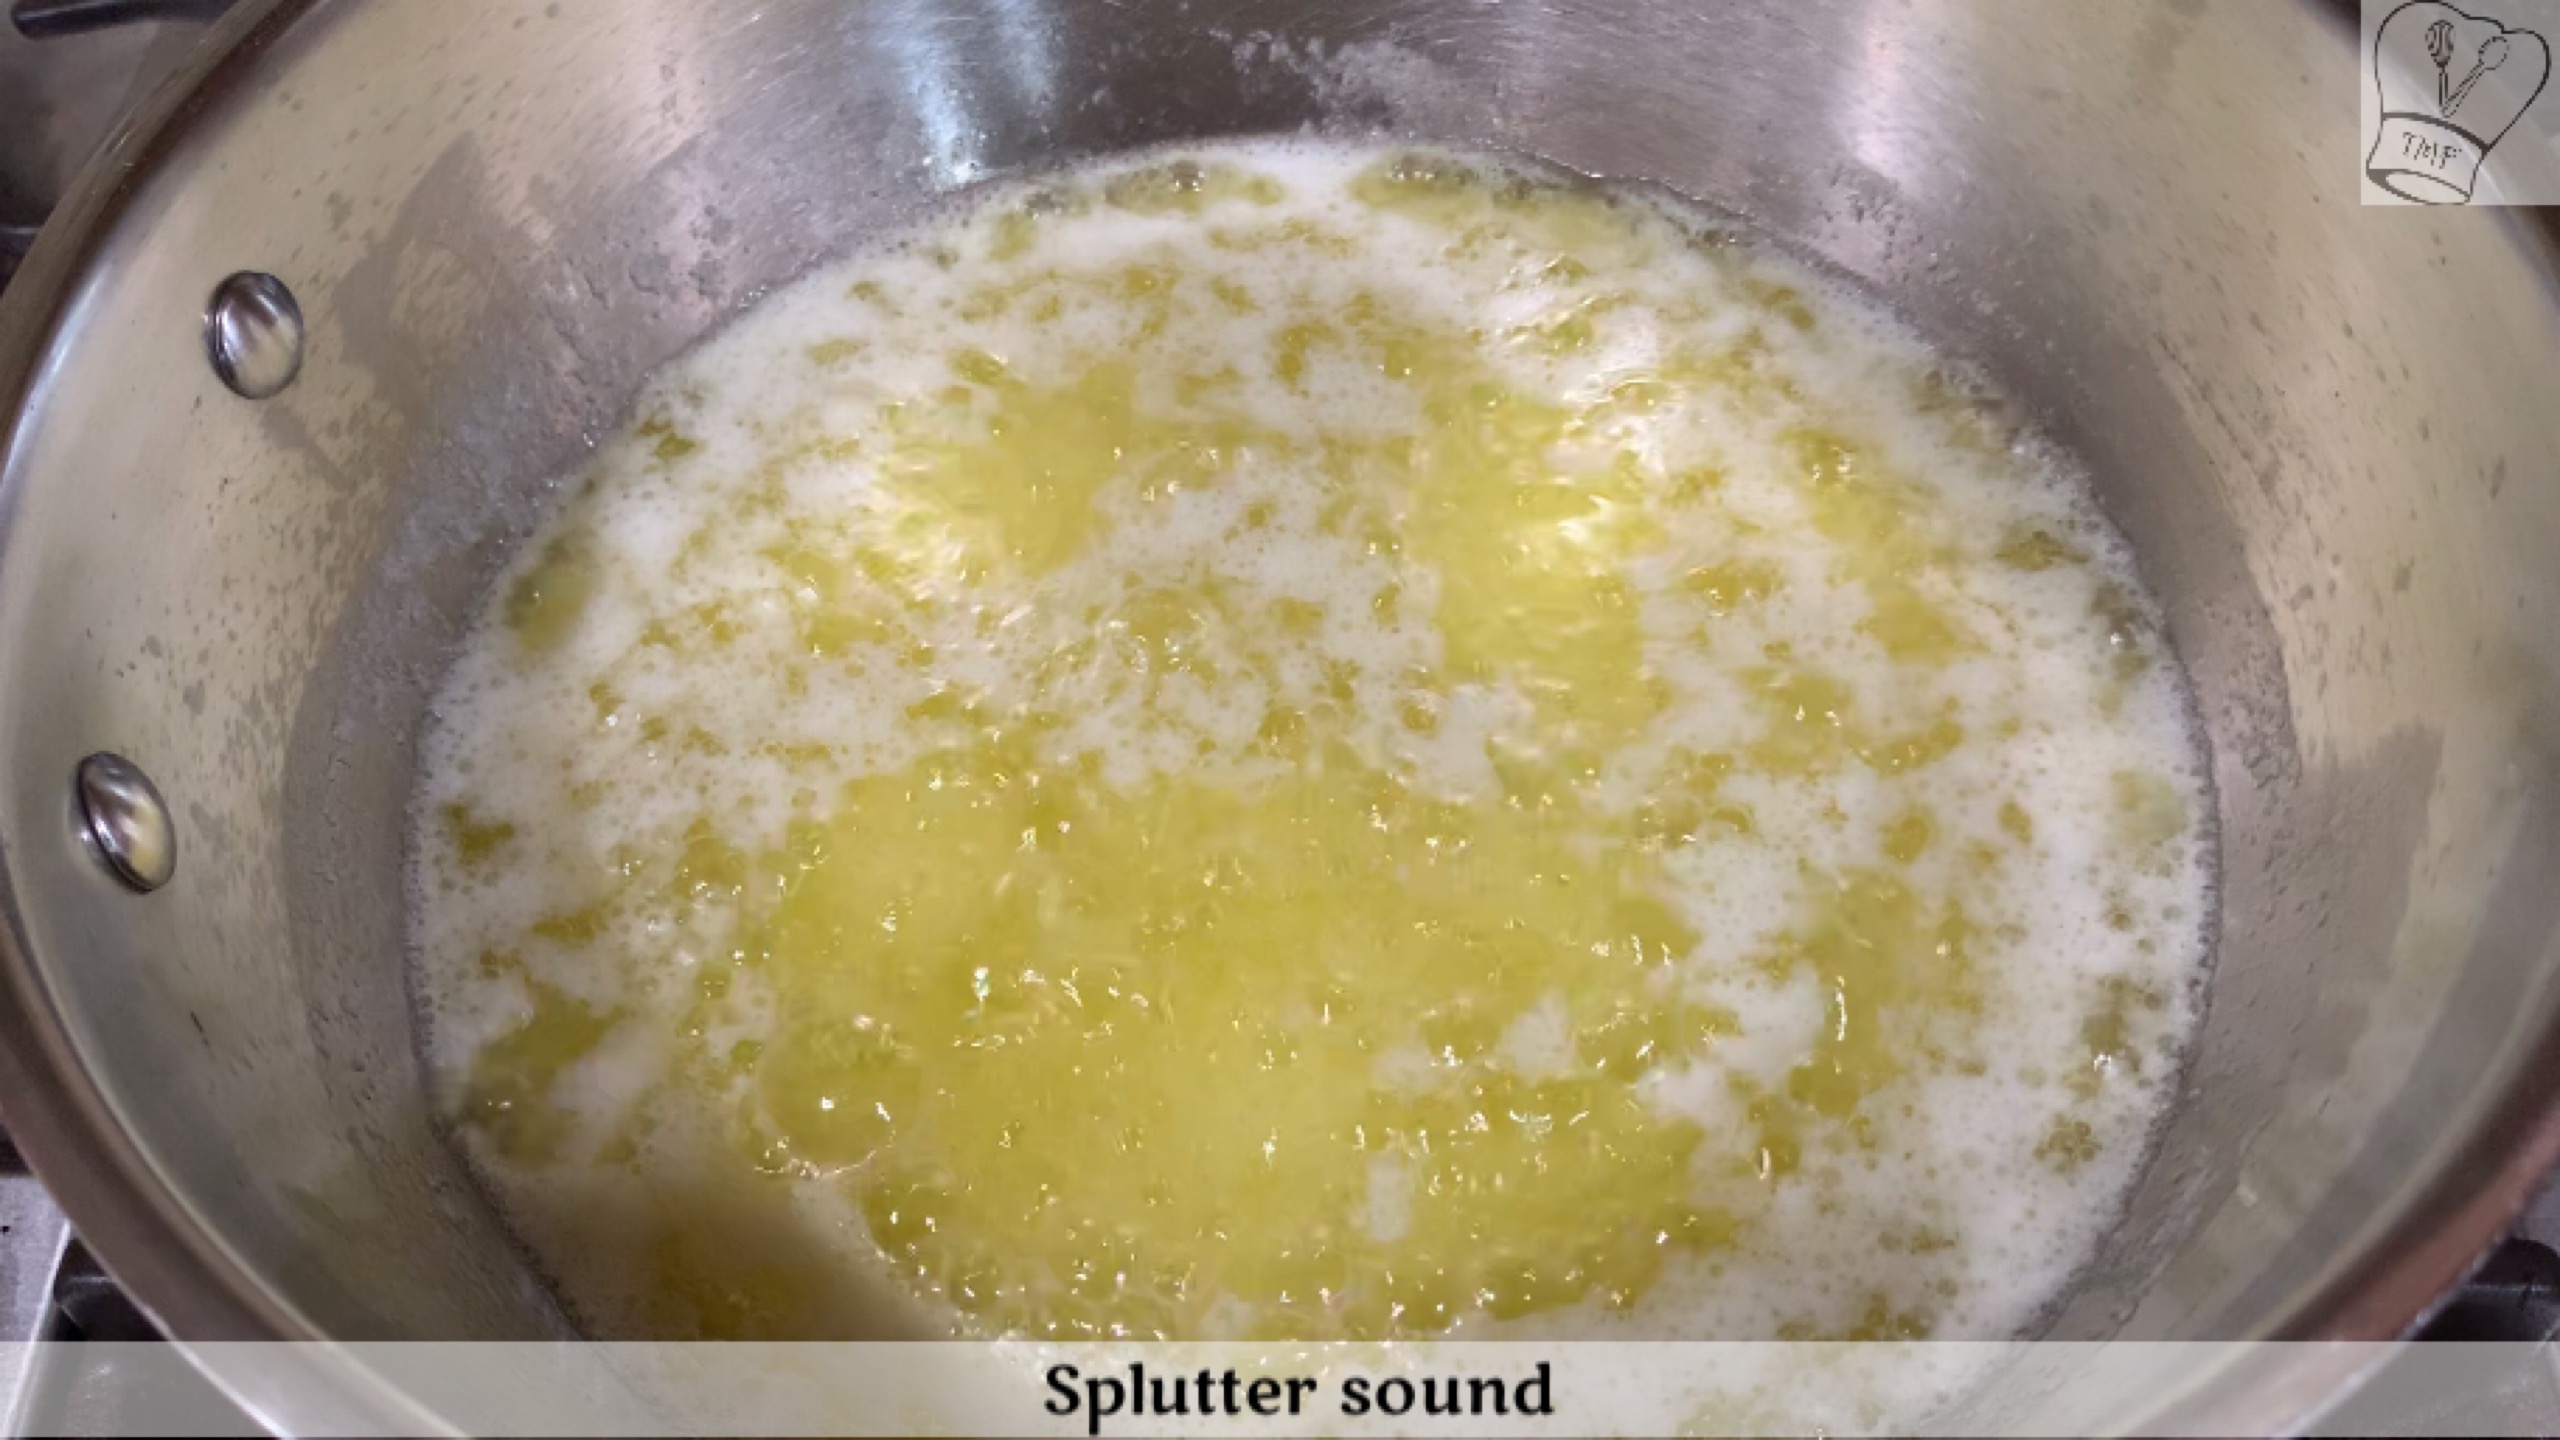
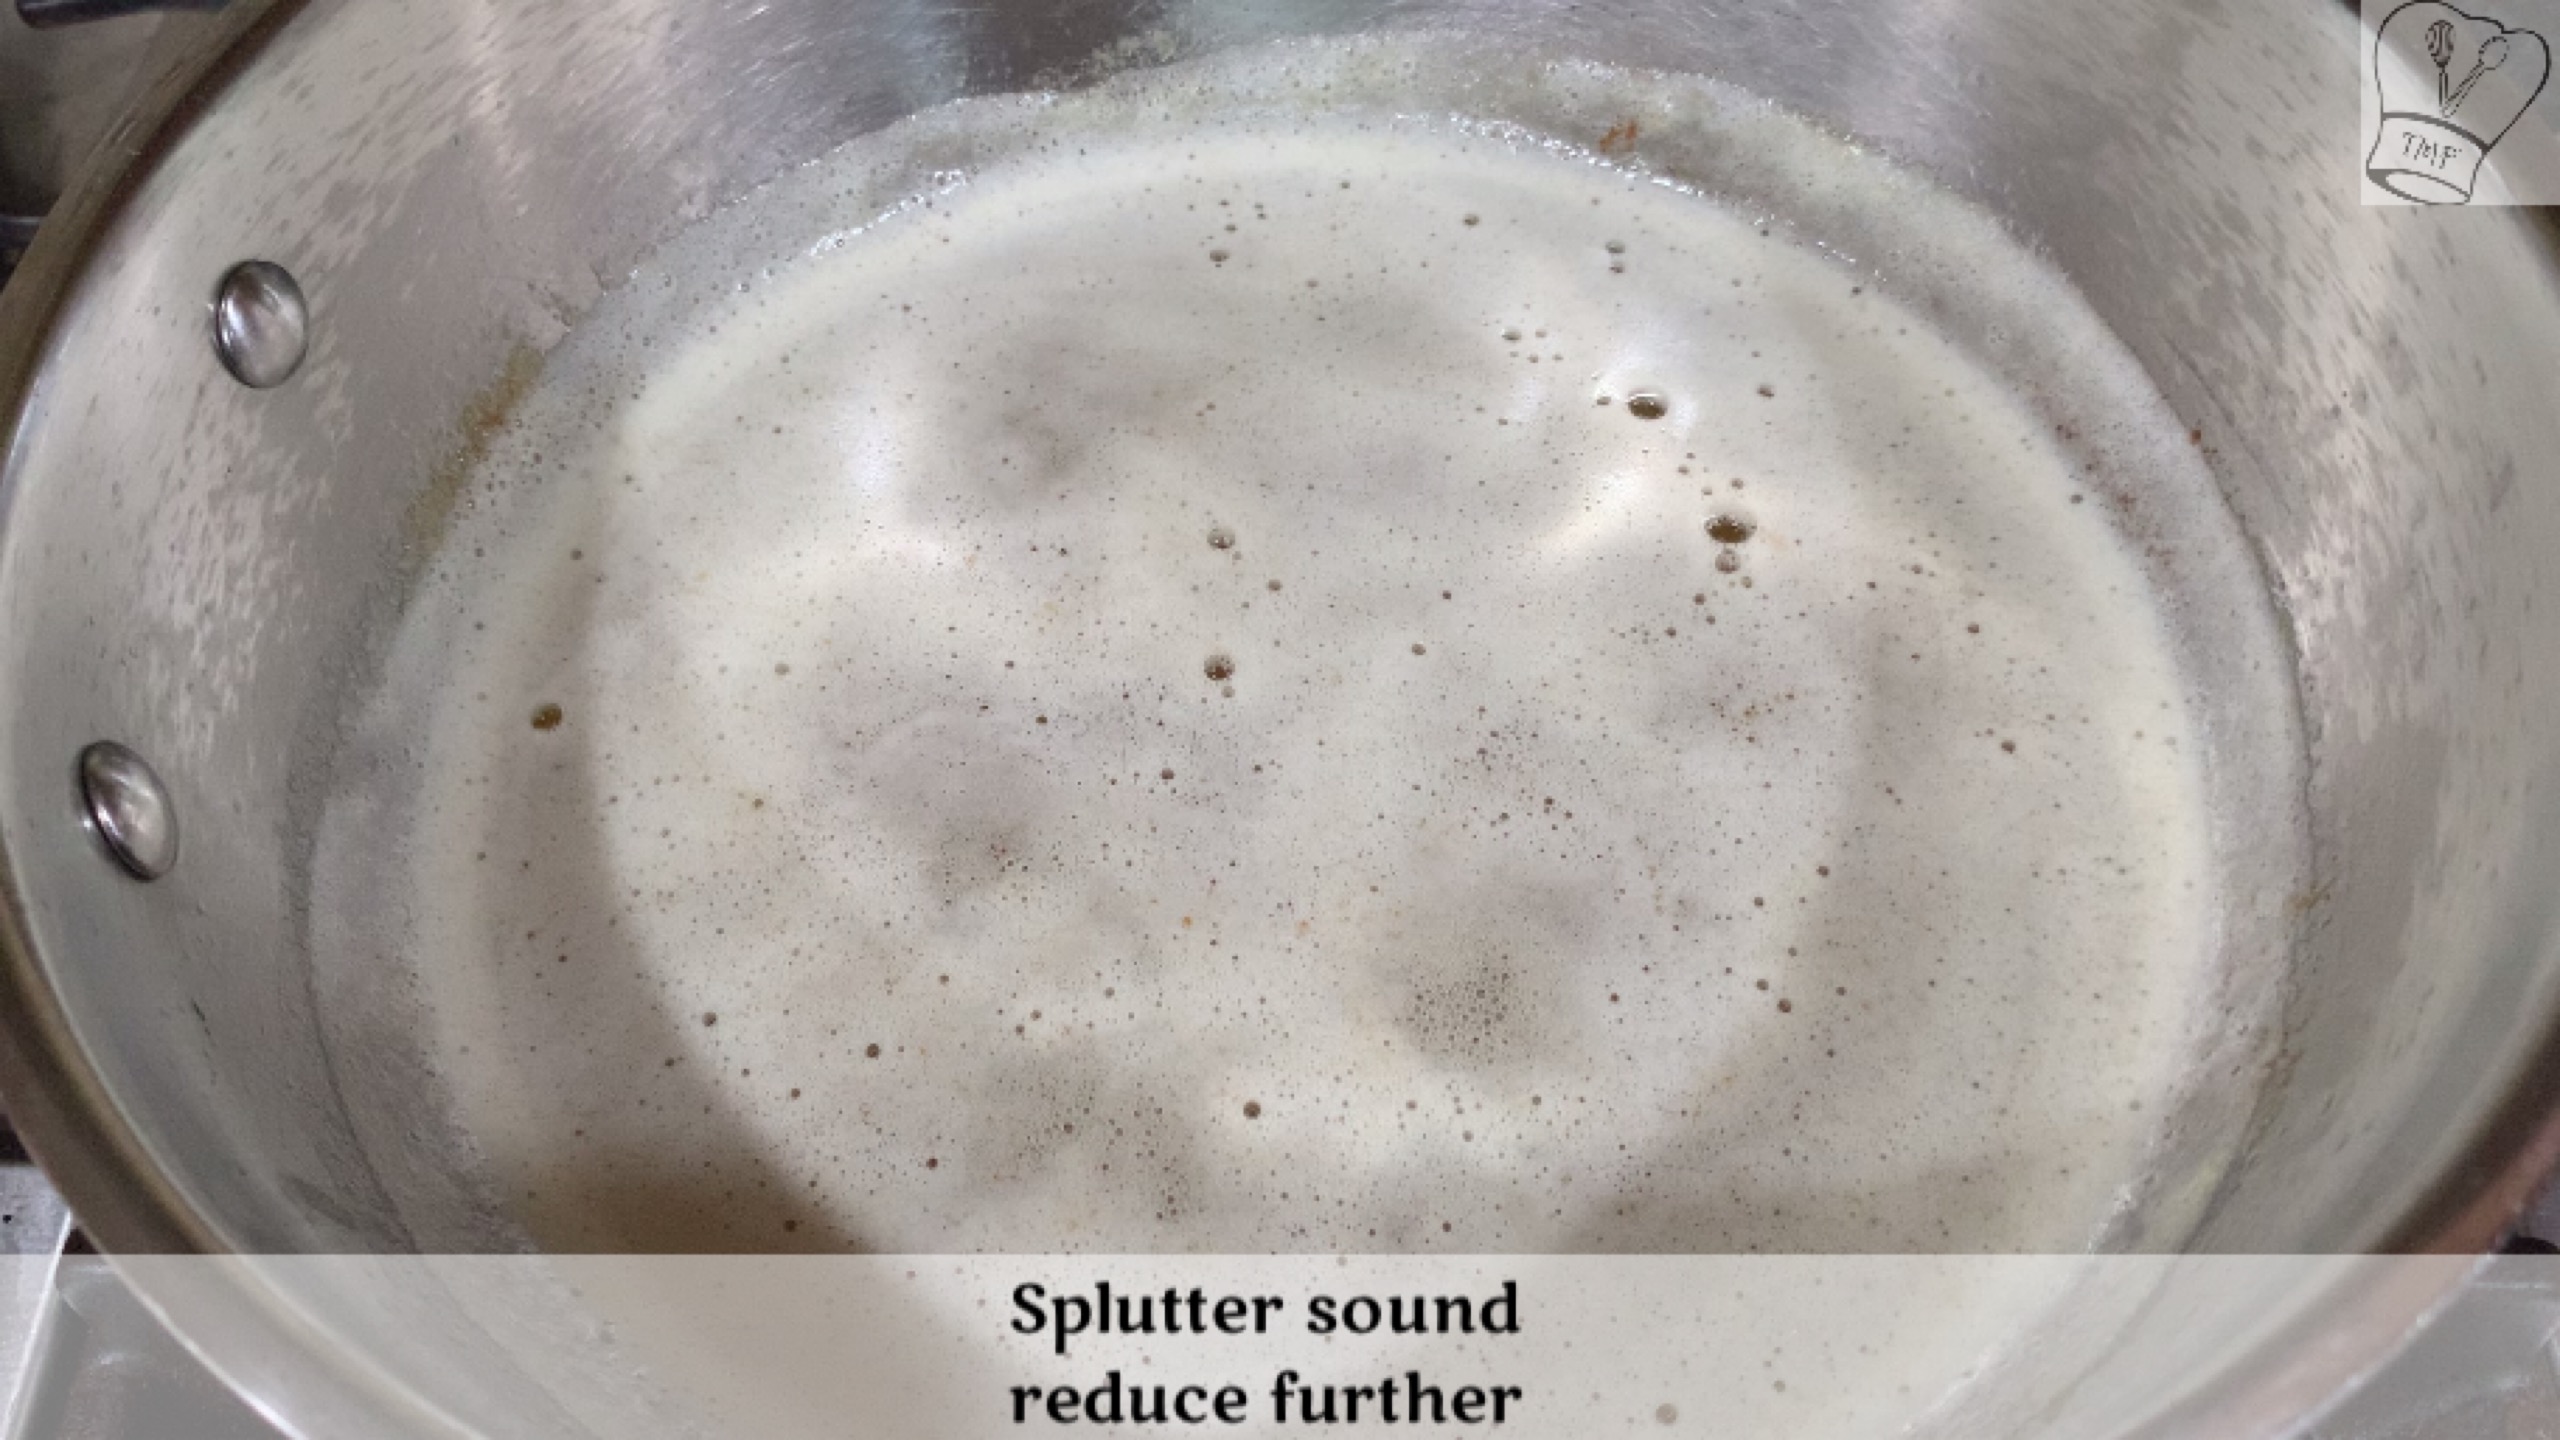
Frothy foam is seen on the top and you will hear a spluttering sound
Turn down the flame to low and continue melting
You can skim the foam if you prefer, but I generally stir them once in a while with a ladle and continue melting
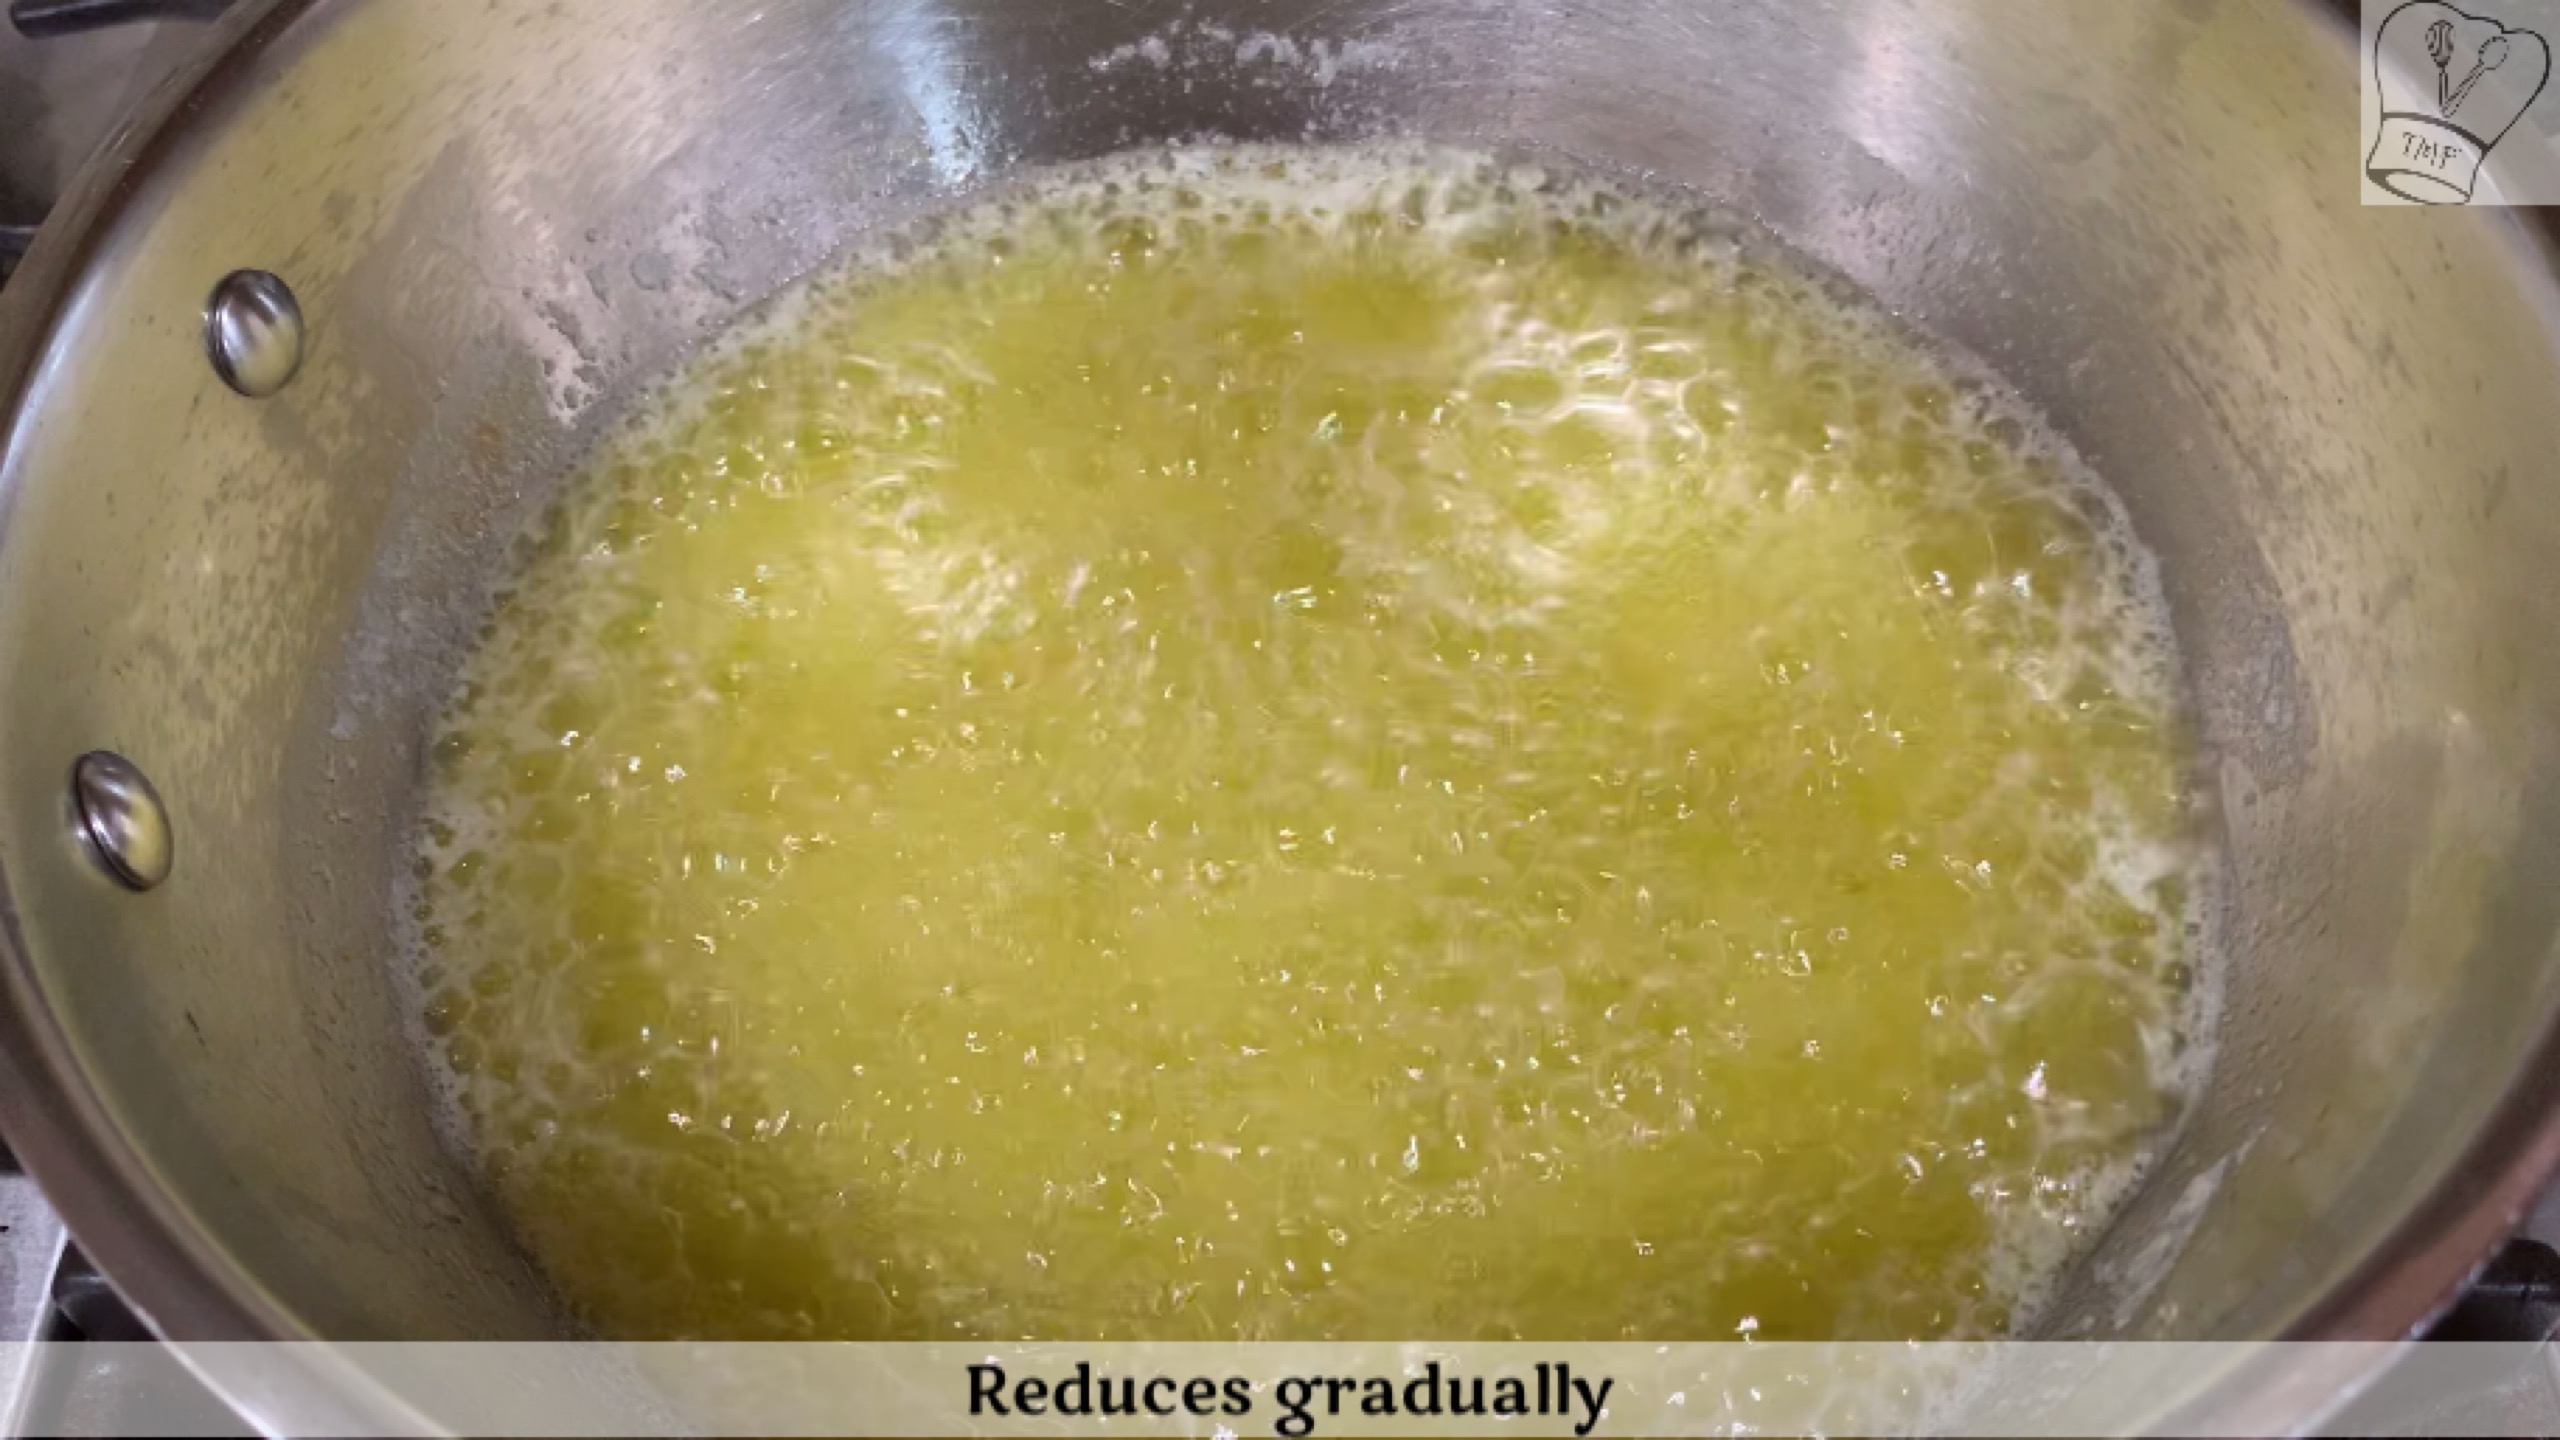
As you continue melting the foam turns into bubbles
Splutter sound starts reducing and the frequency of the spluttering sound also reduces Mix once in a while and continue melting. When splutter sound comes once in 10-12 seconds reduce the flame to a low setting By that time, milk solid sludge sticks to the bottom of the pot
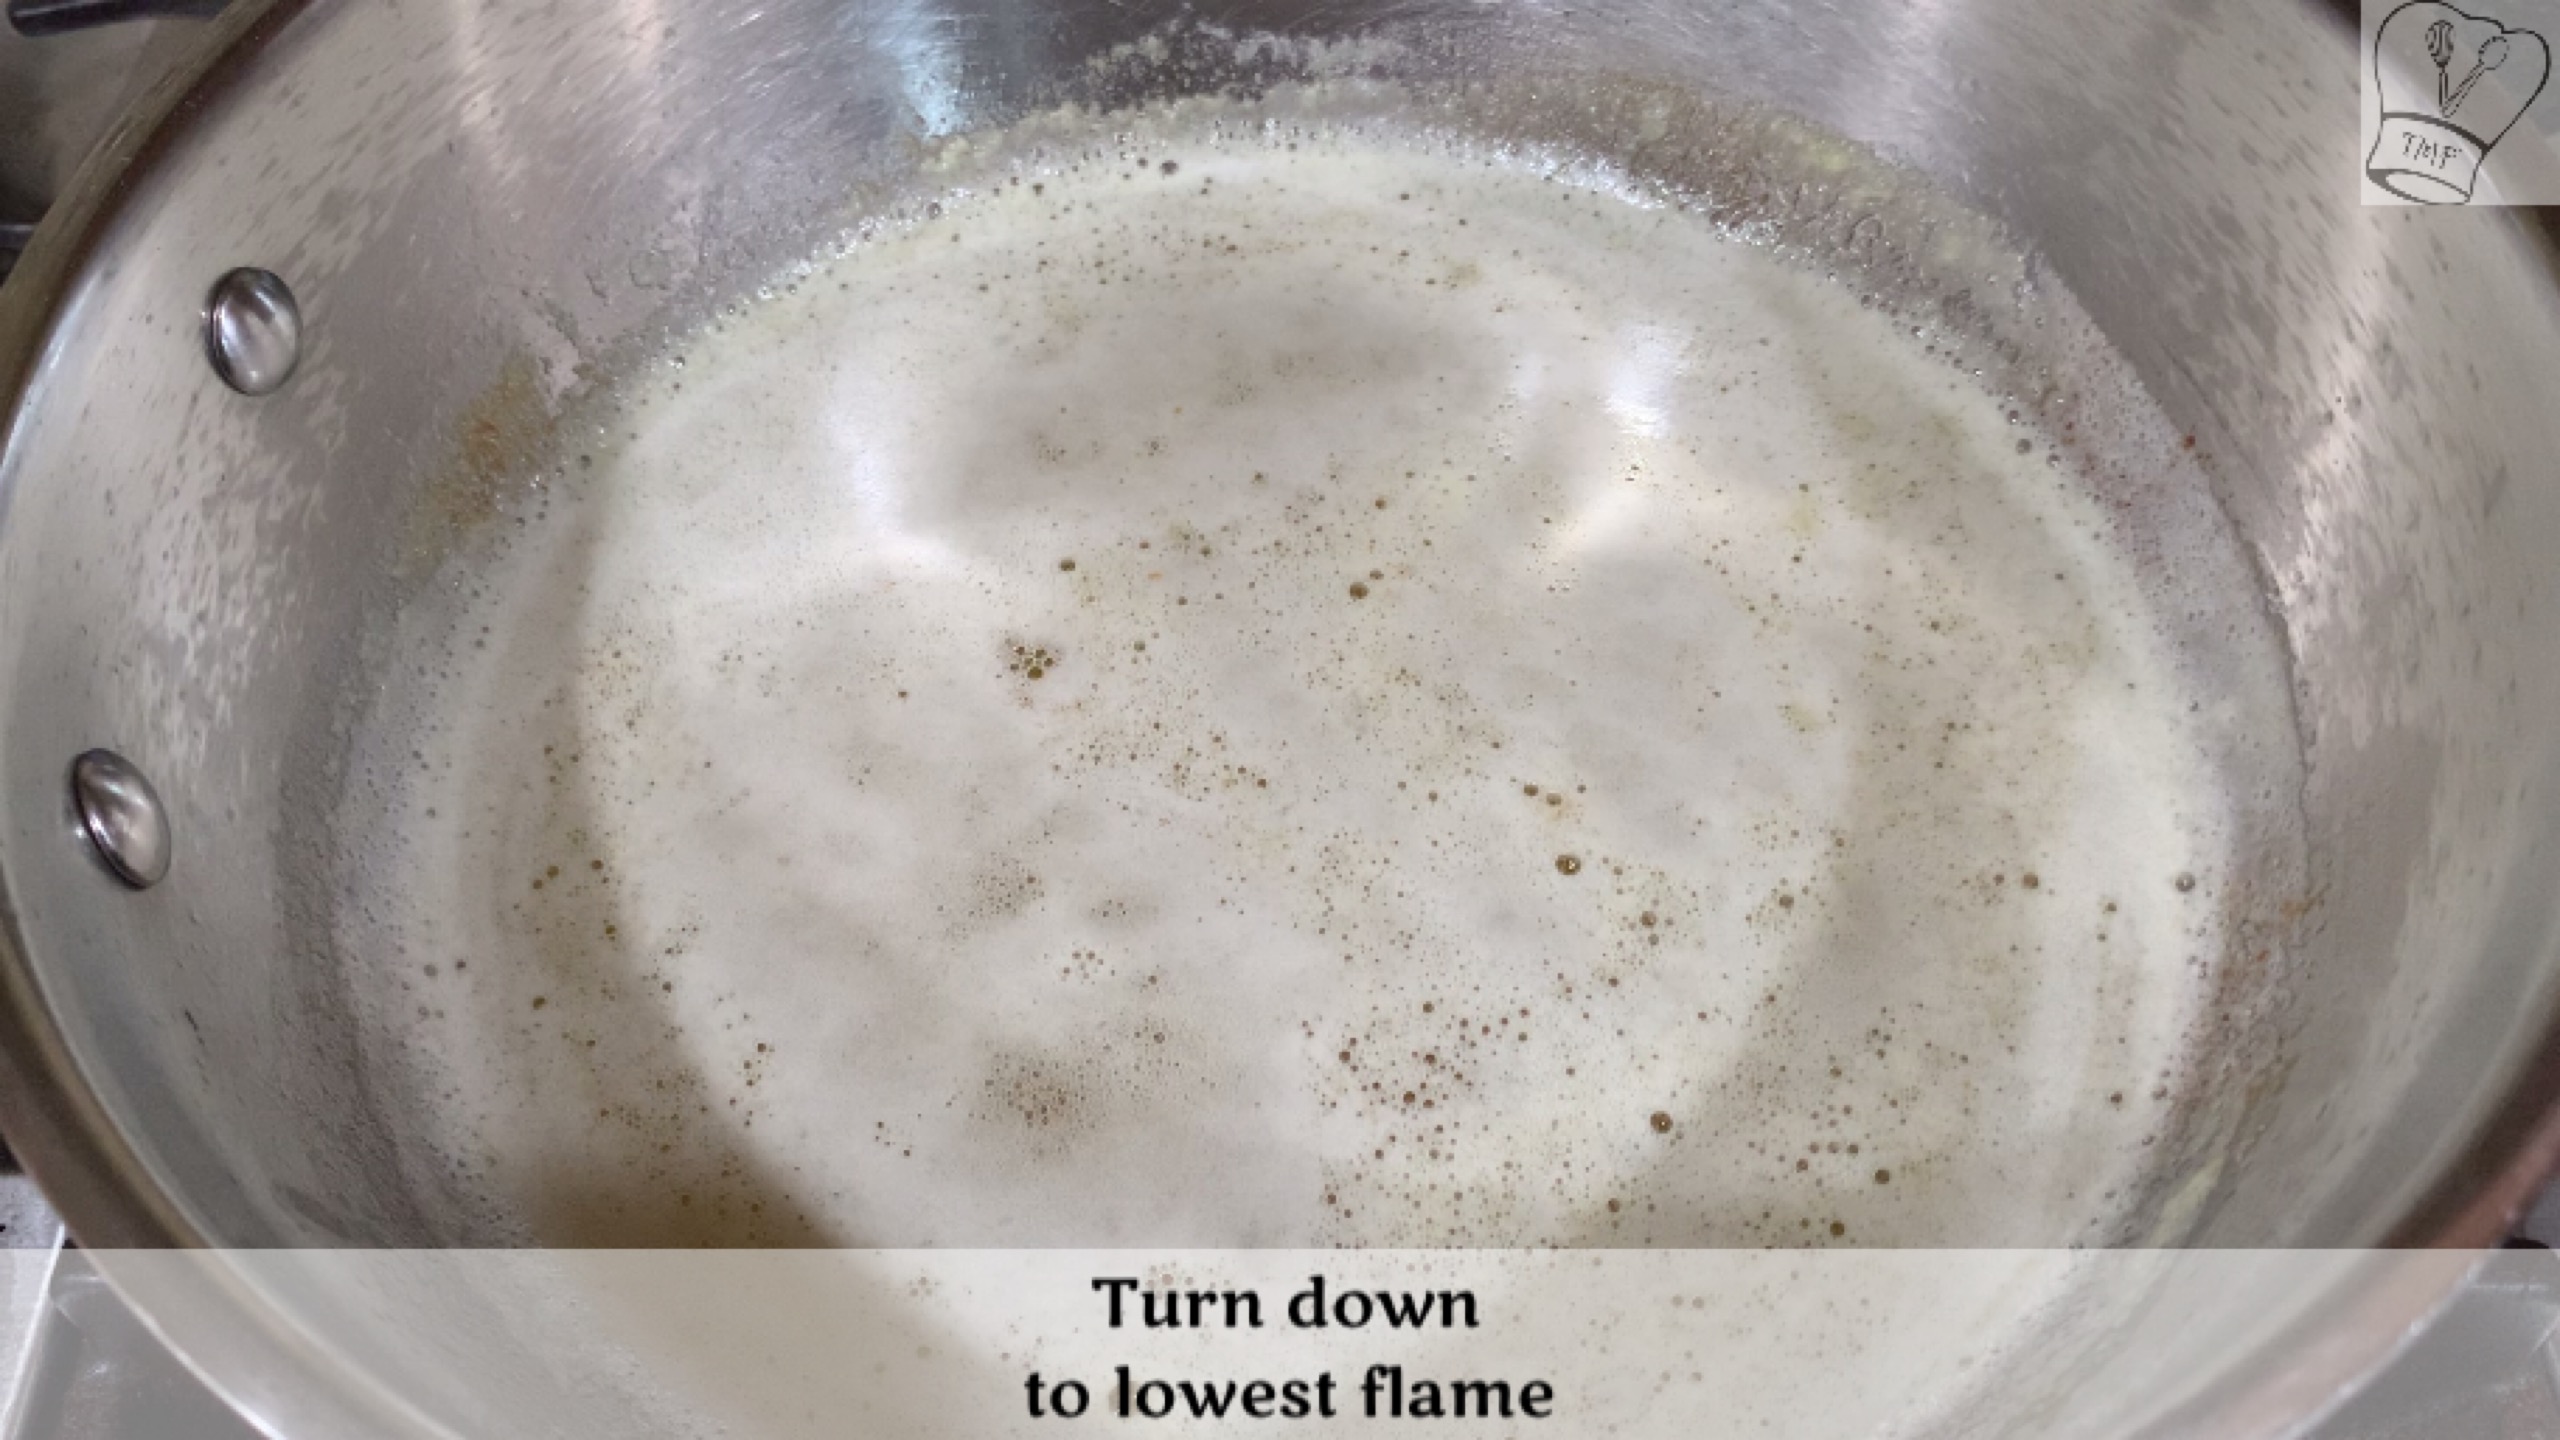
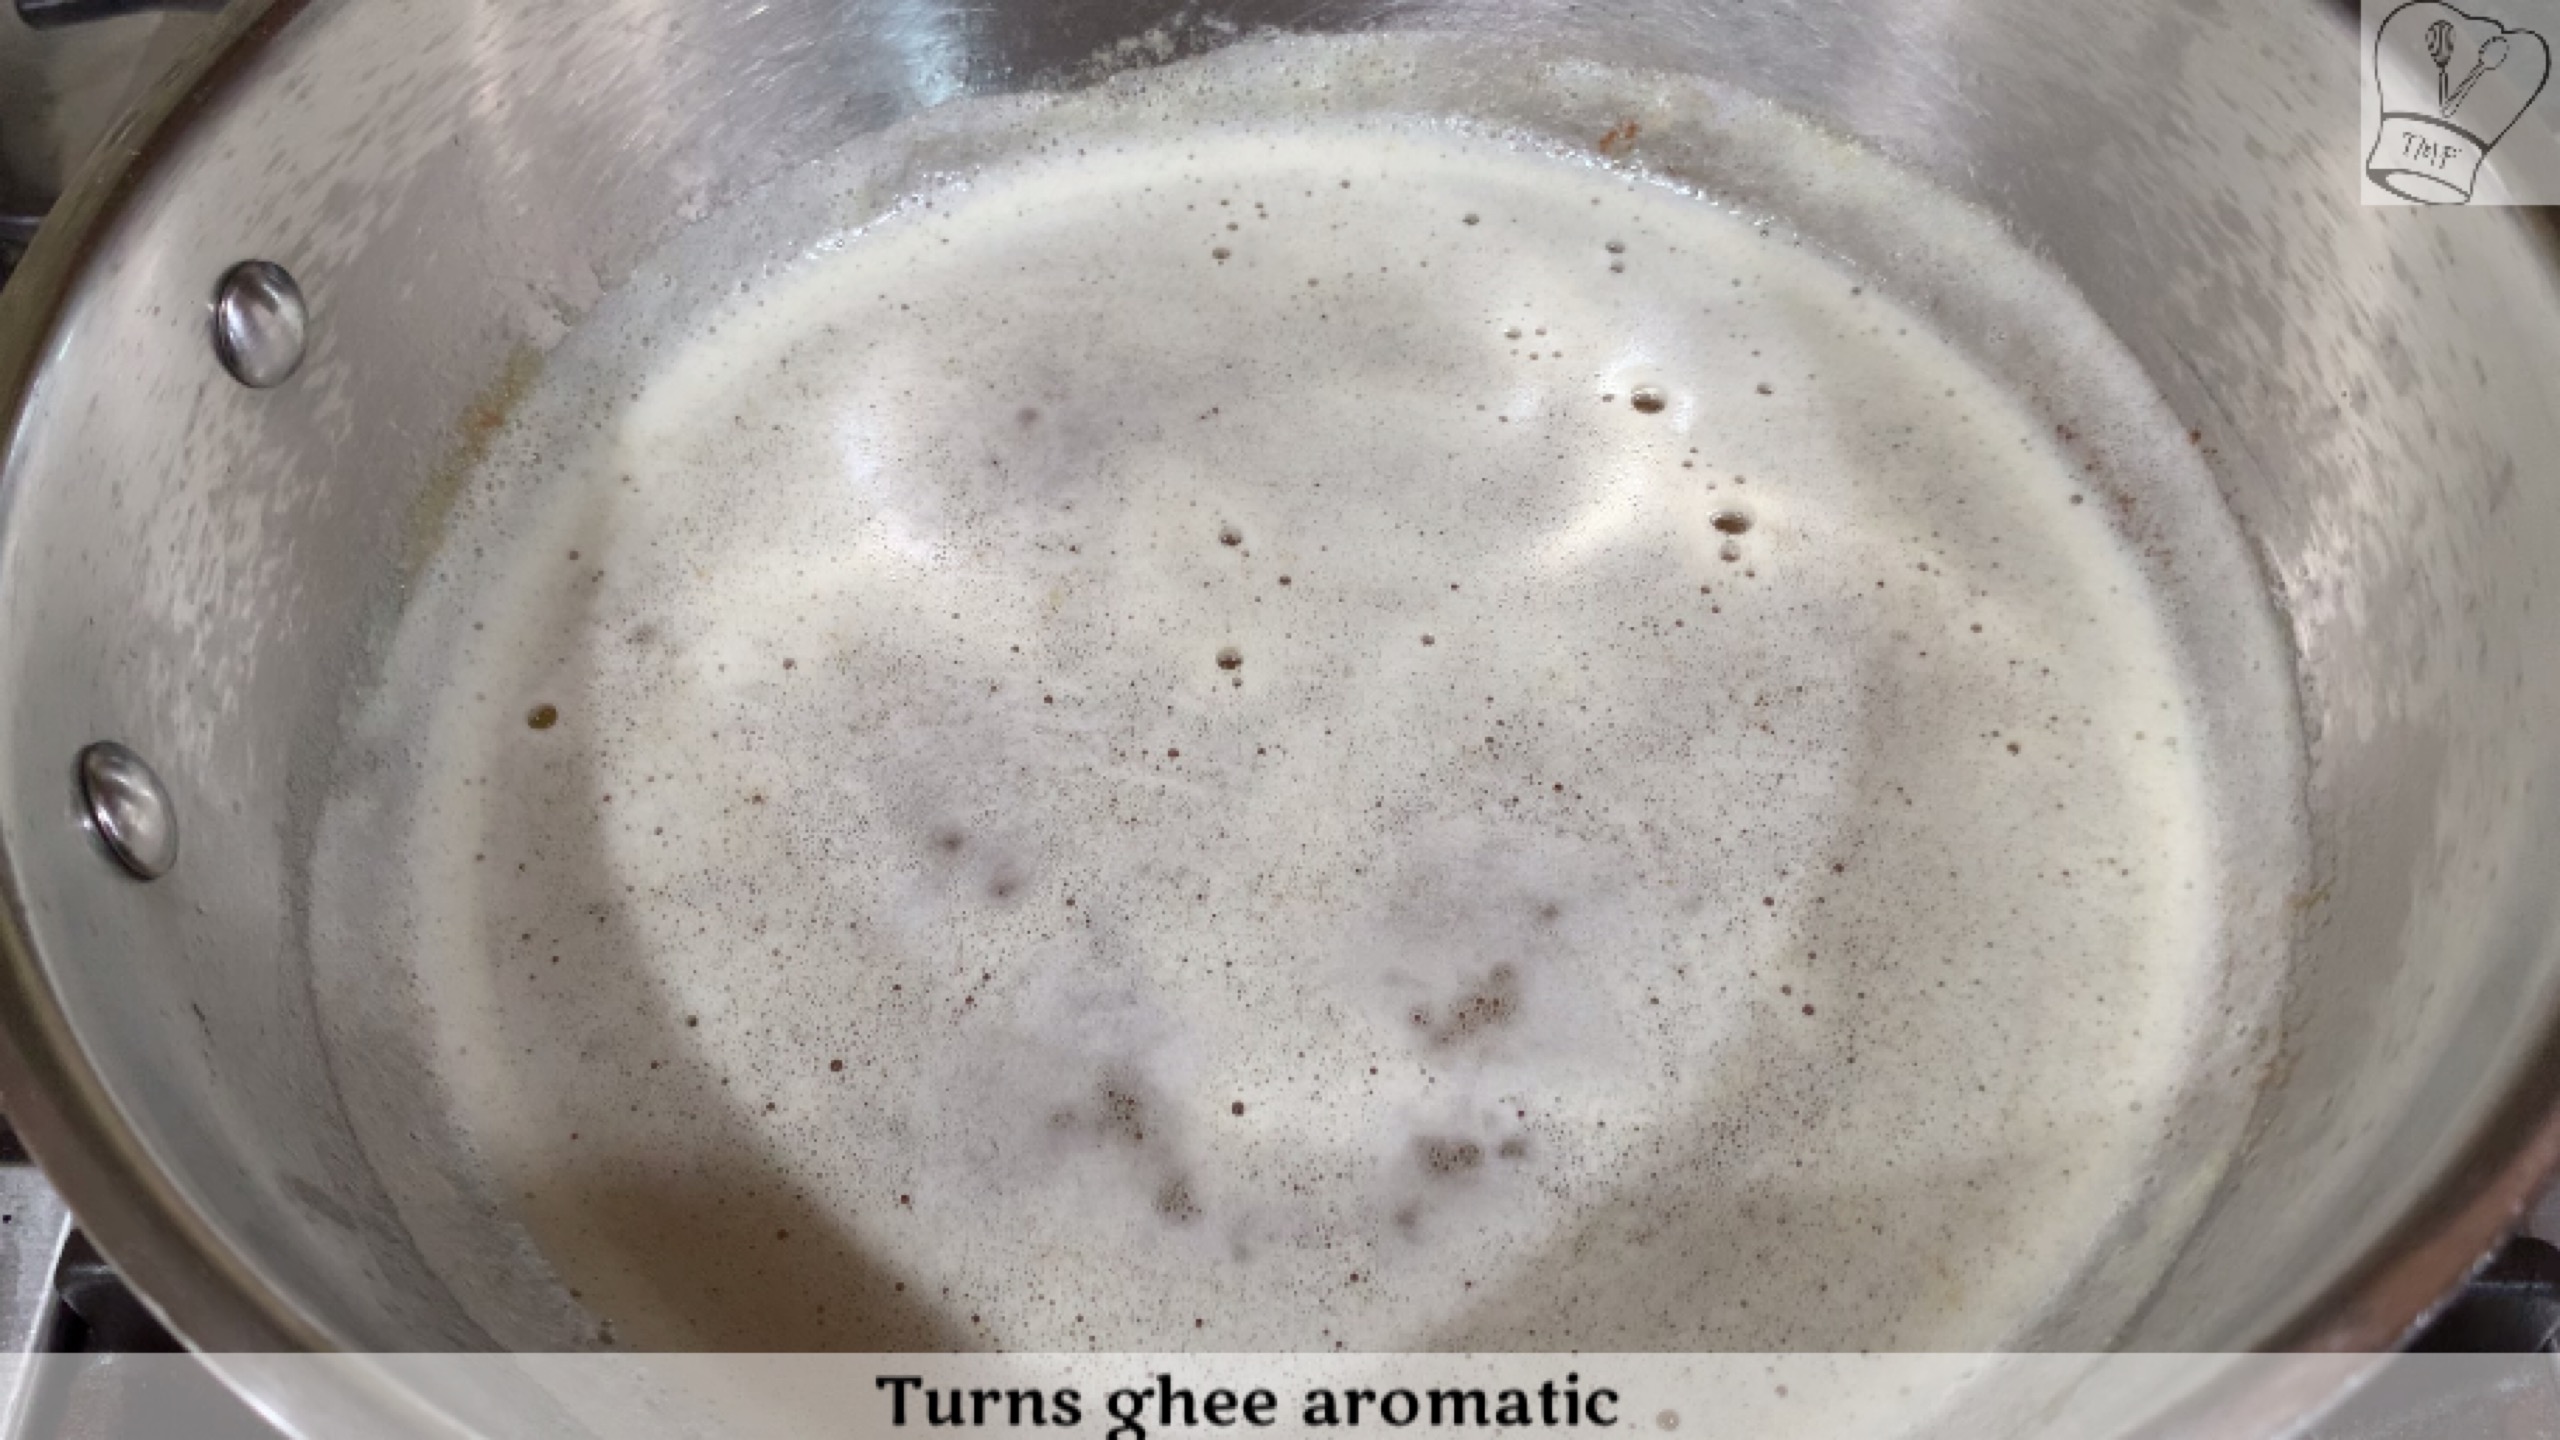
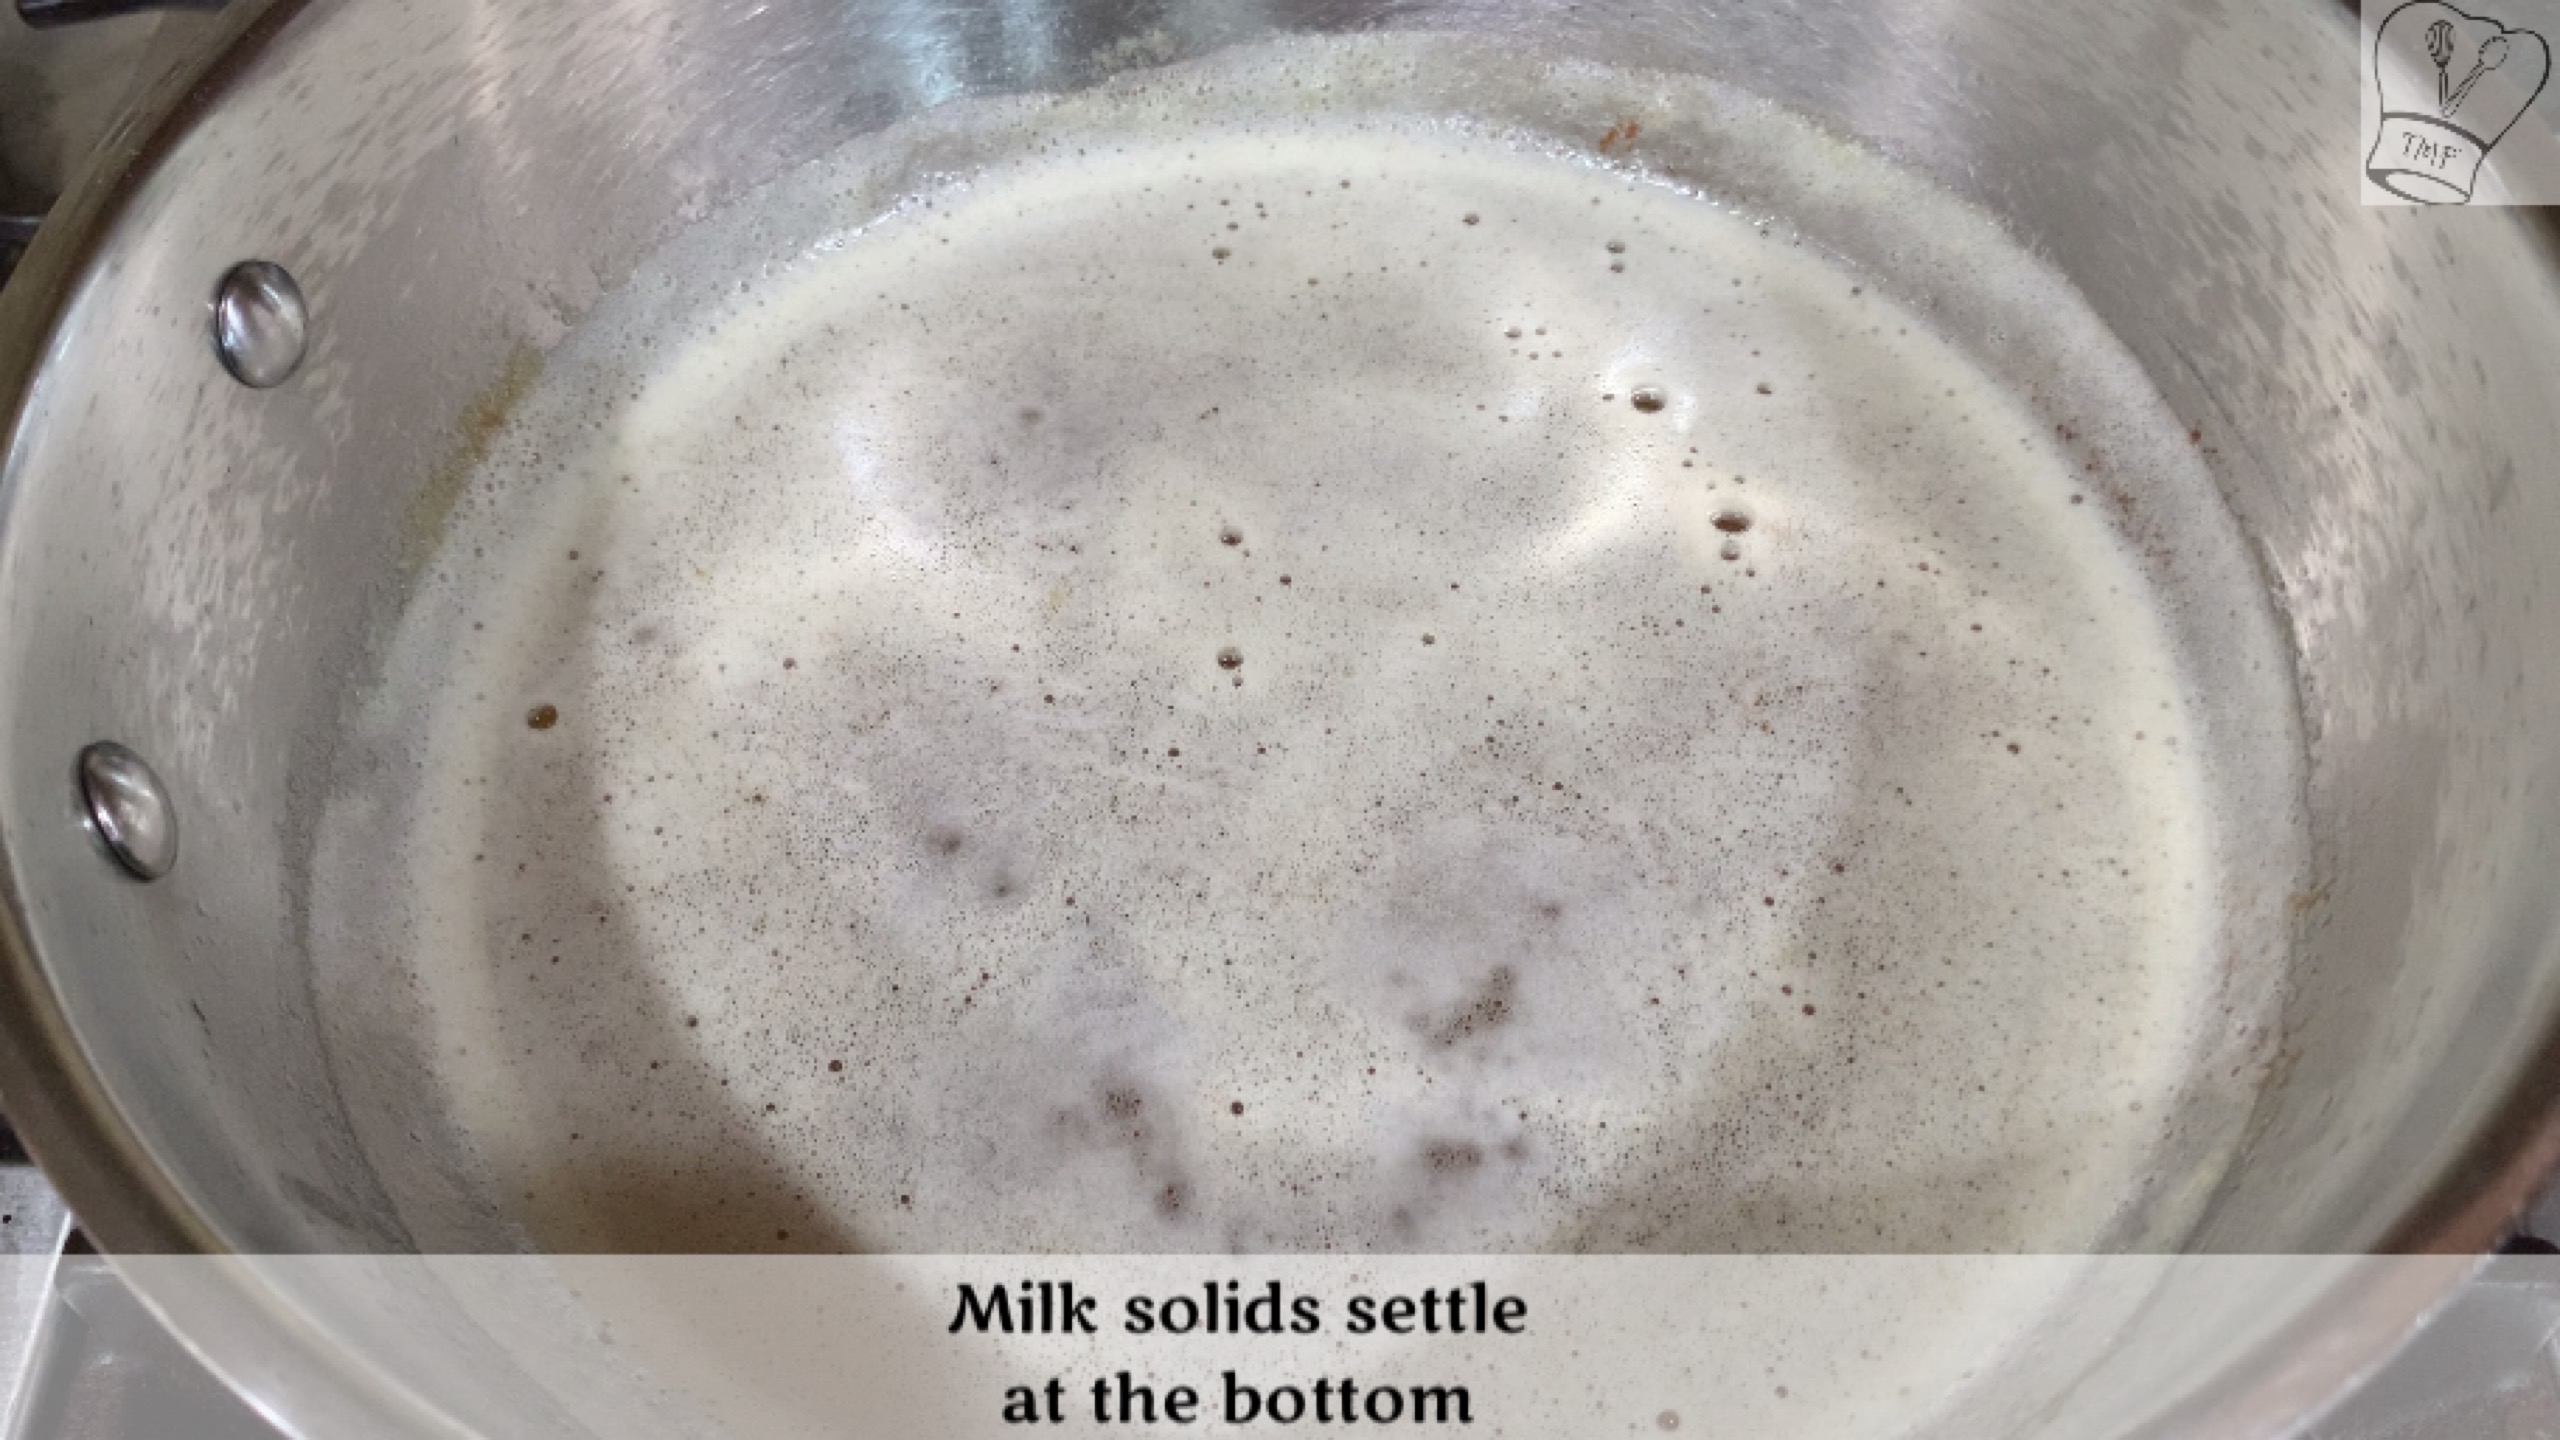
The foam’s color will get pale. When the milk solids sink to the bottom of the pan and its color turns brown, then it’s ready. At that stage, you will feel the aroma of the ghee. Also, the spluttering sound goes off It takes around 10 -12 minutes in low flame
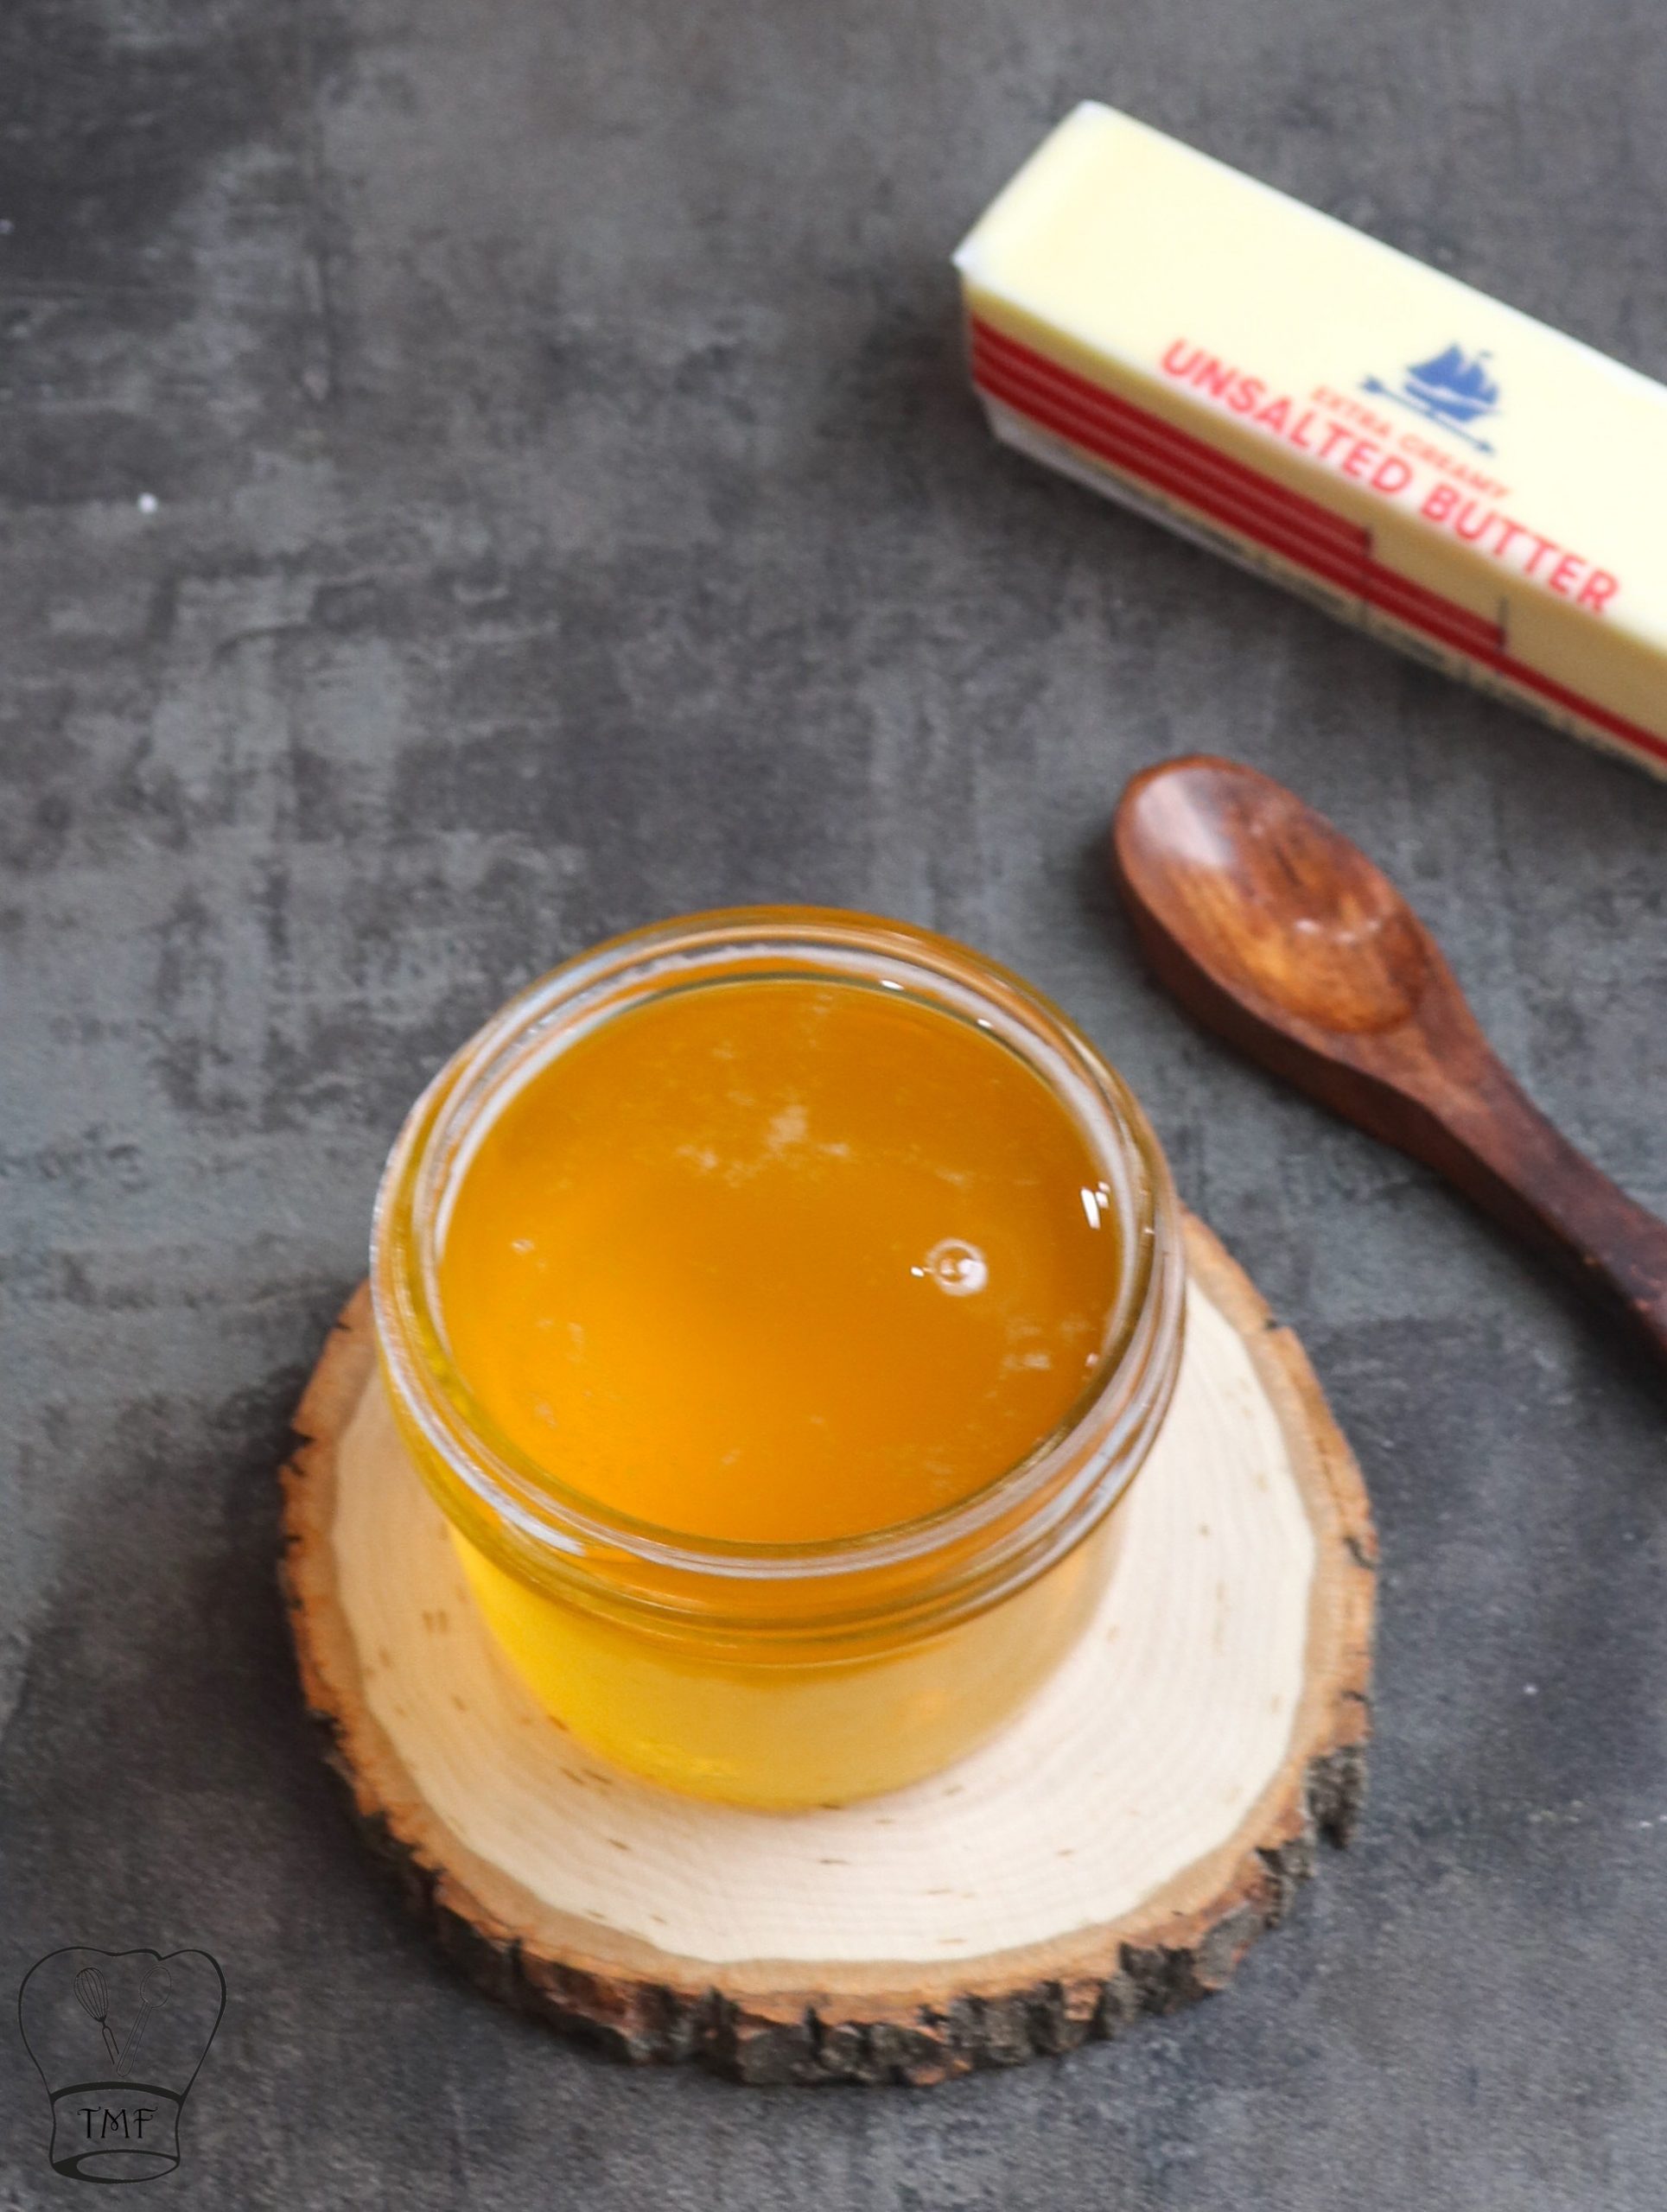
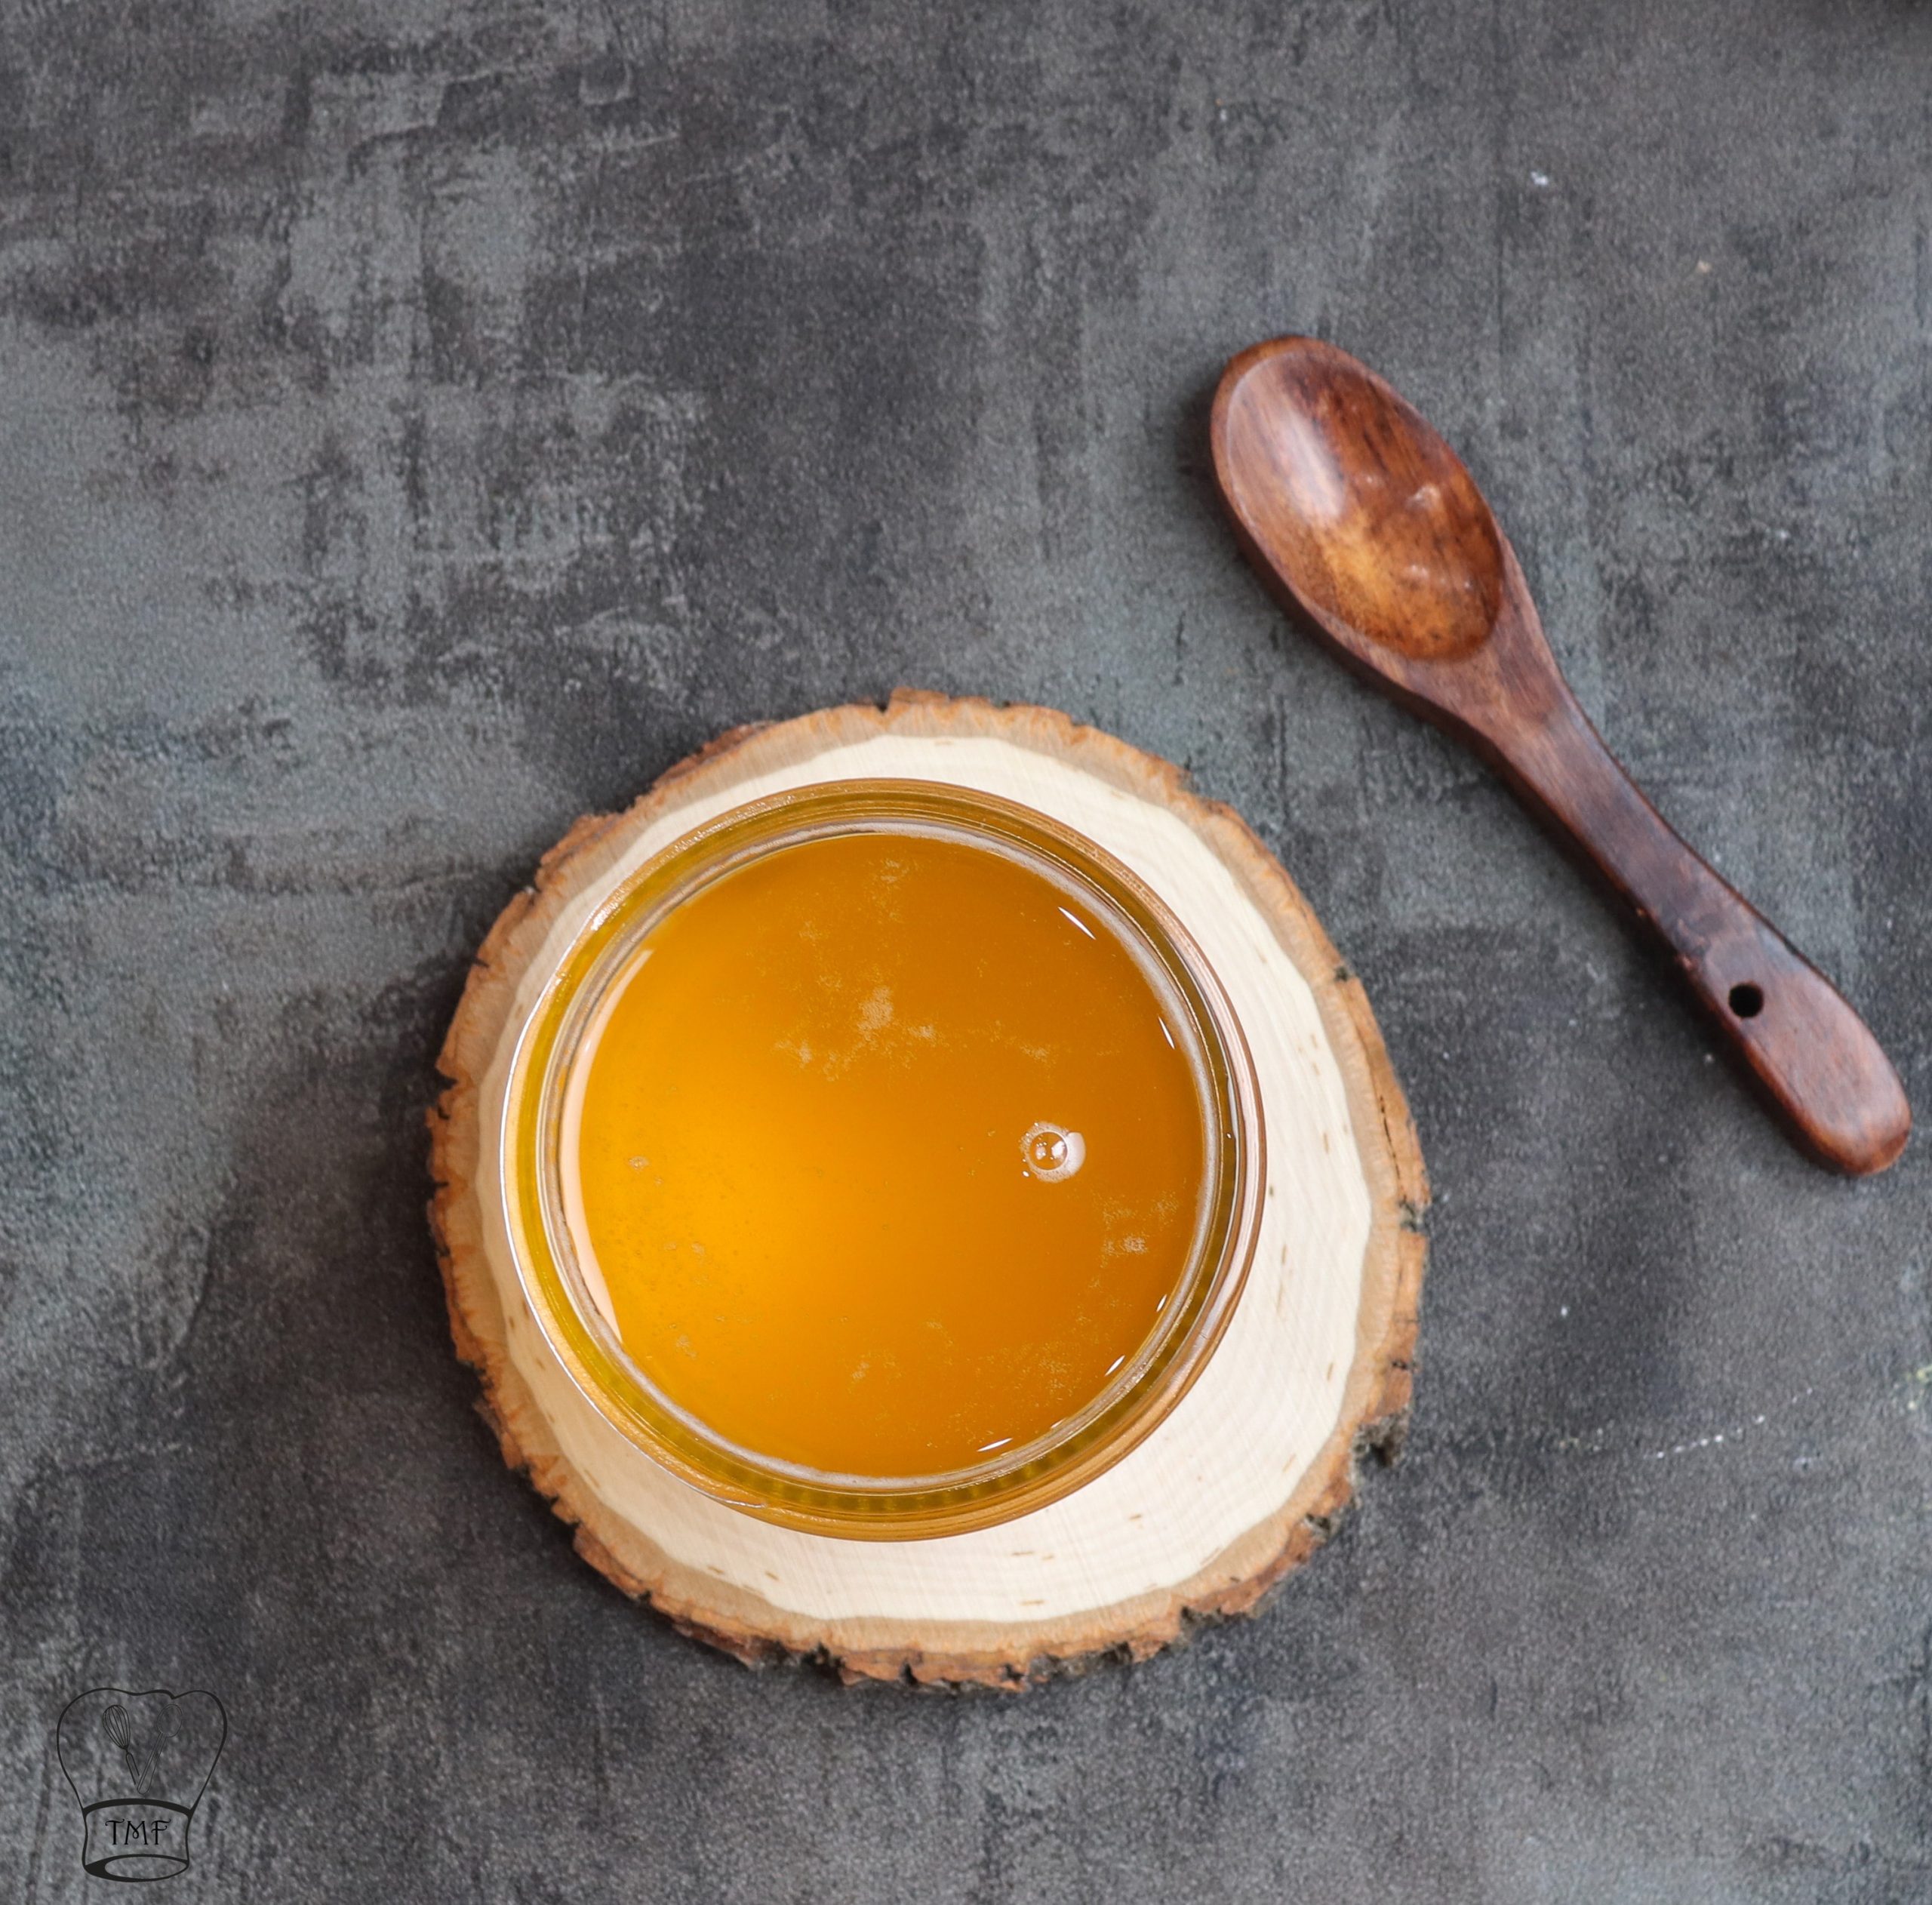
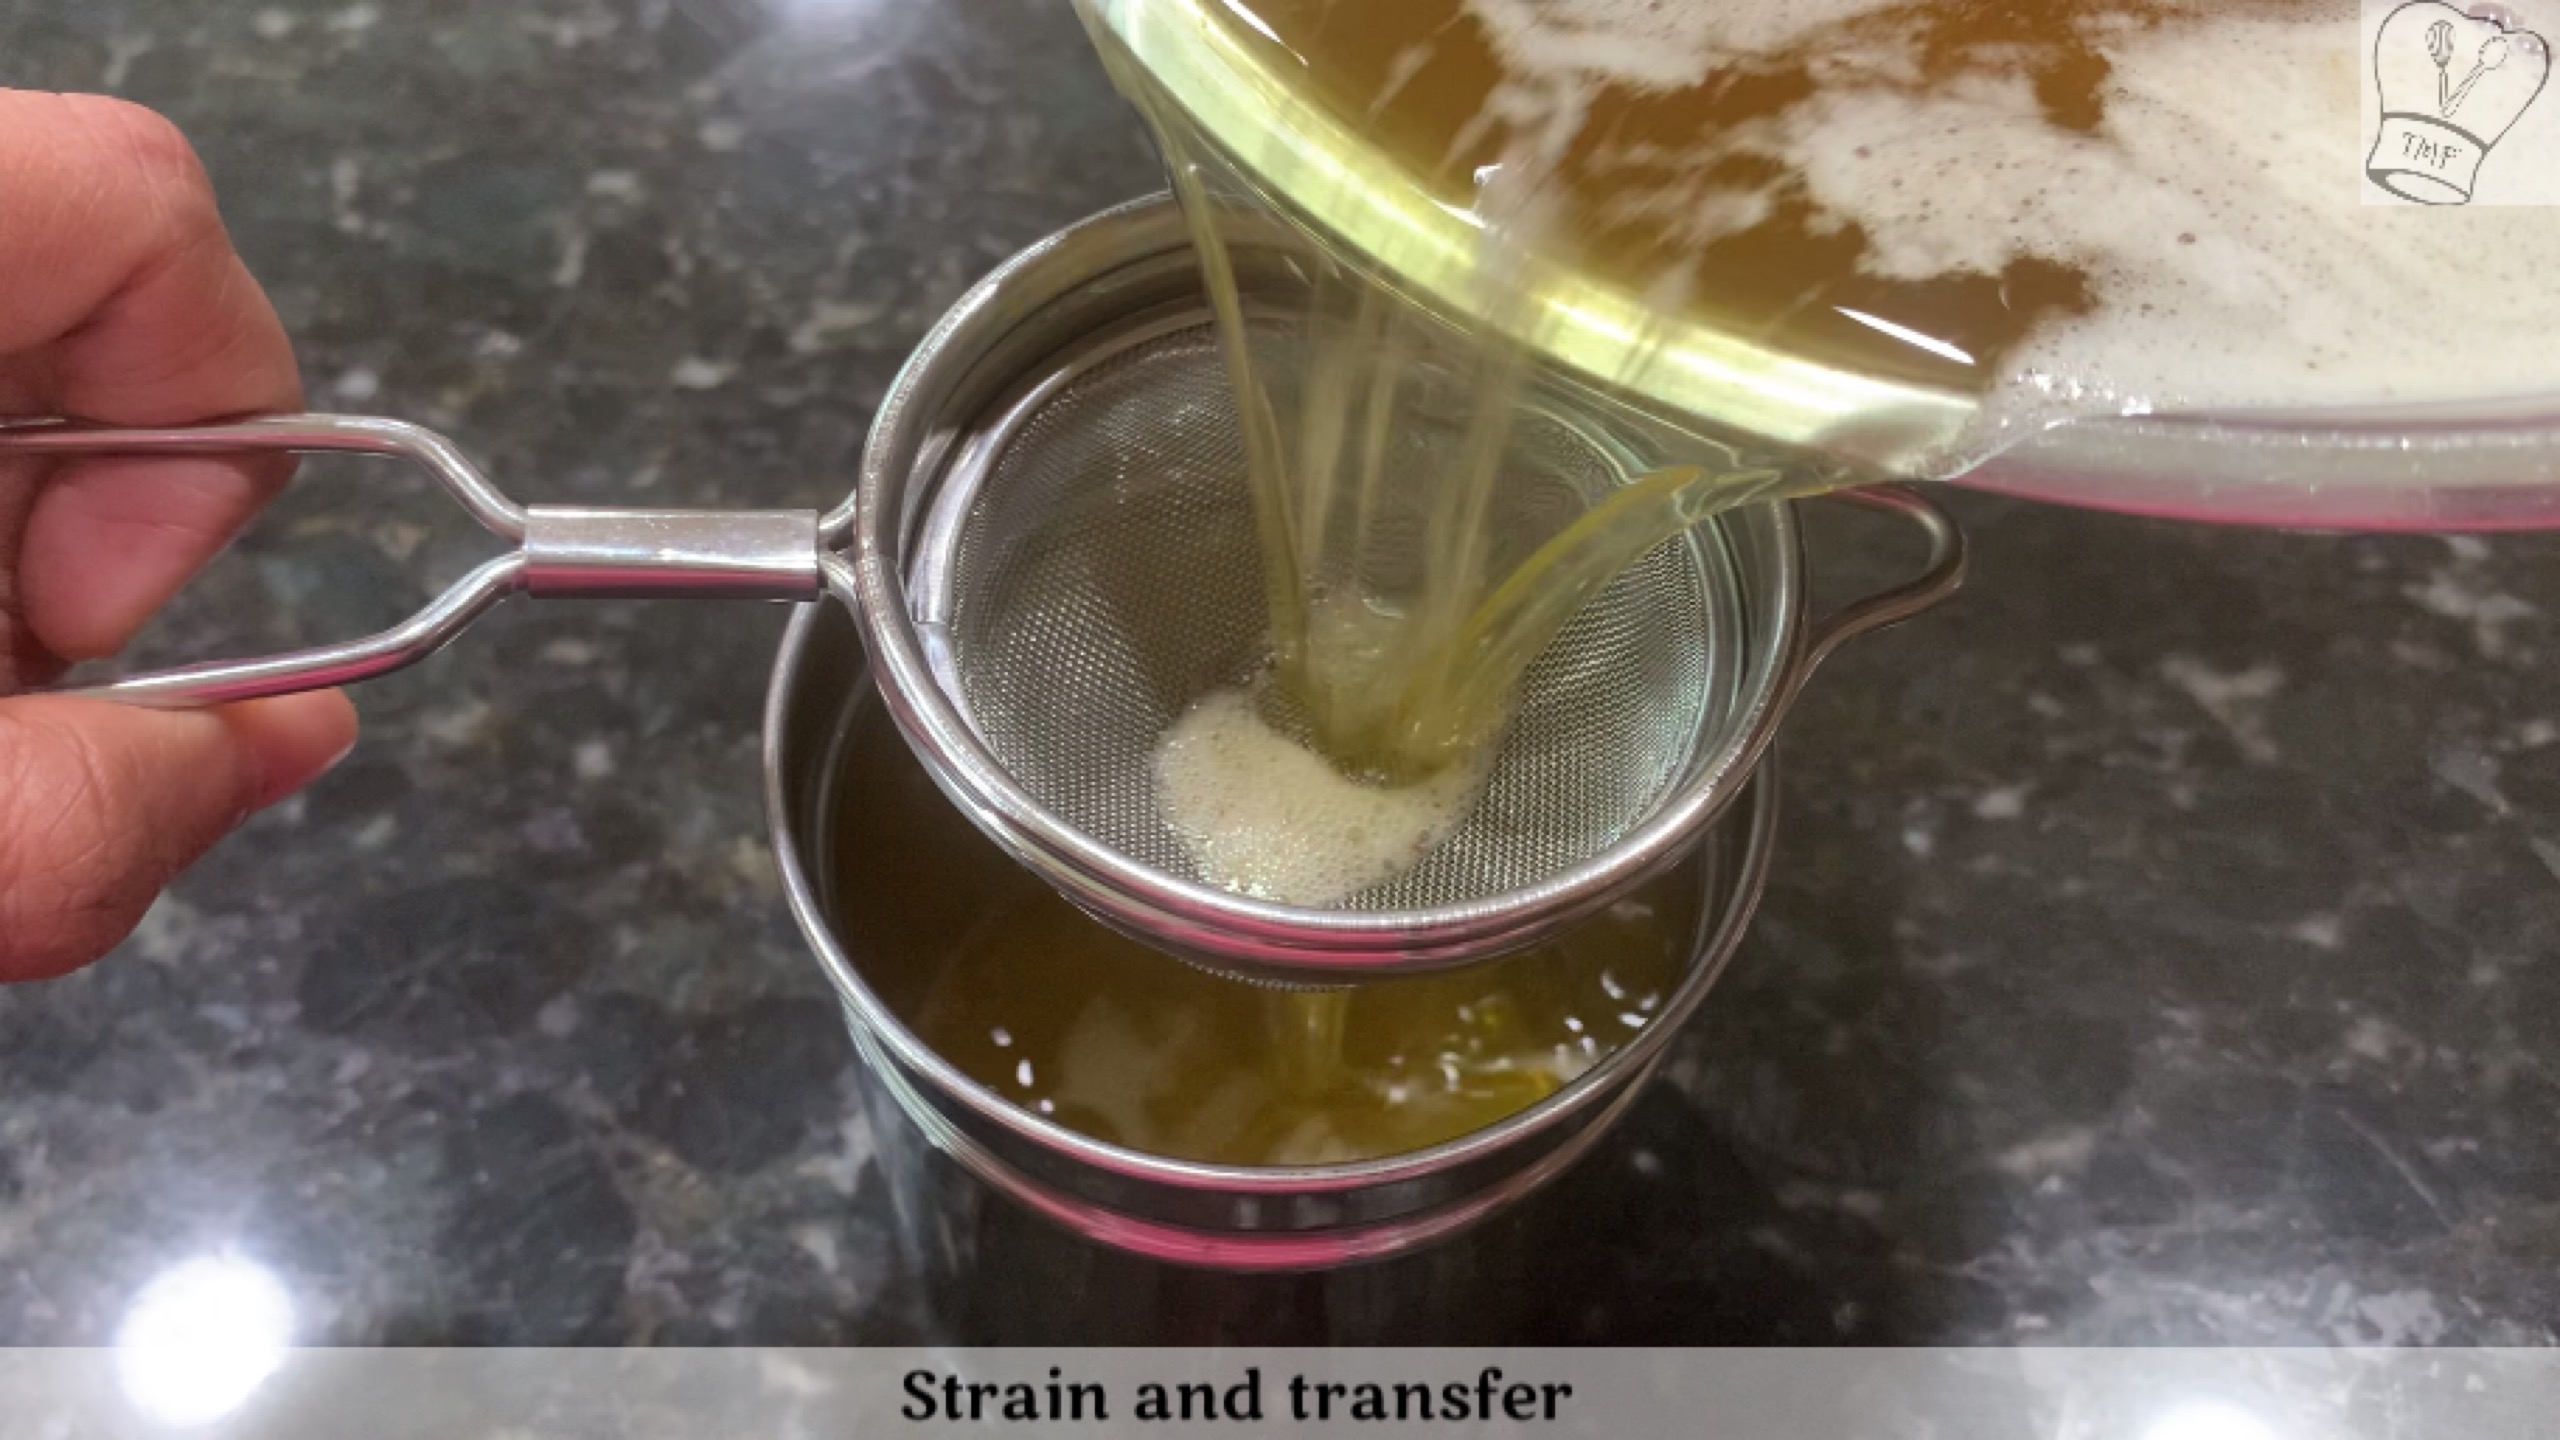
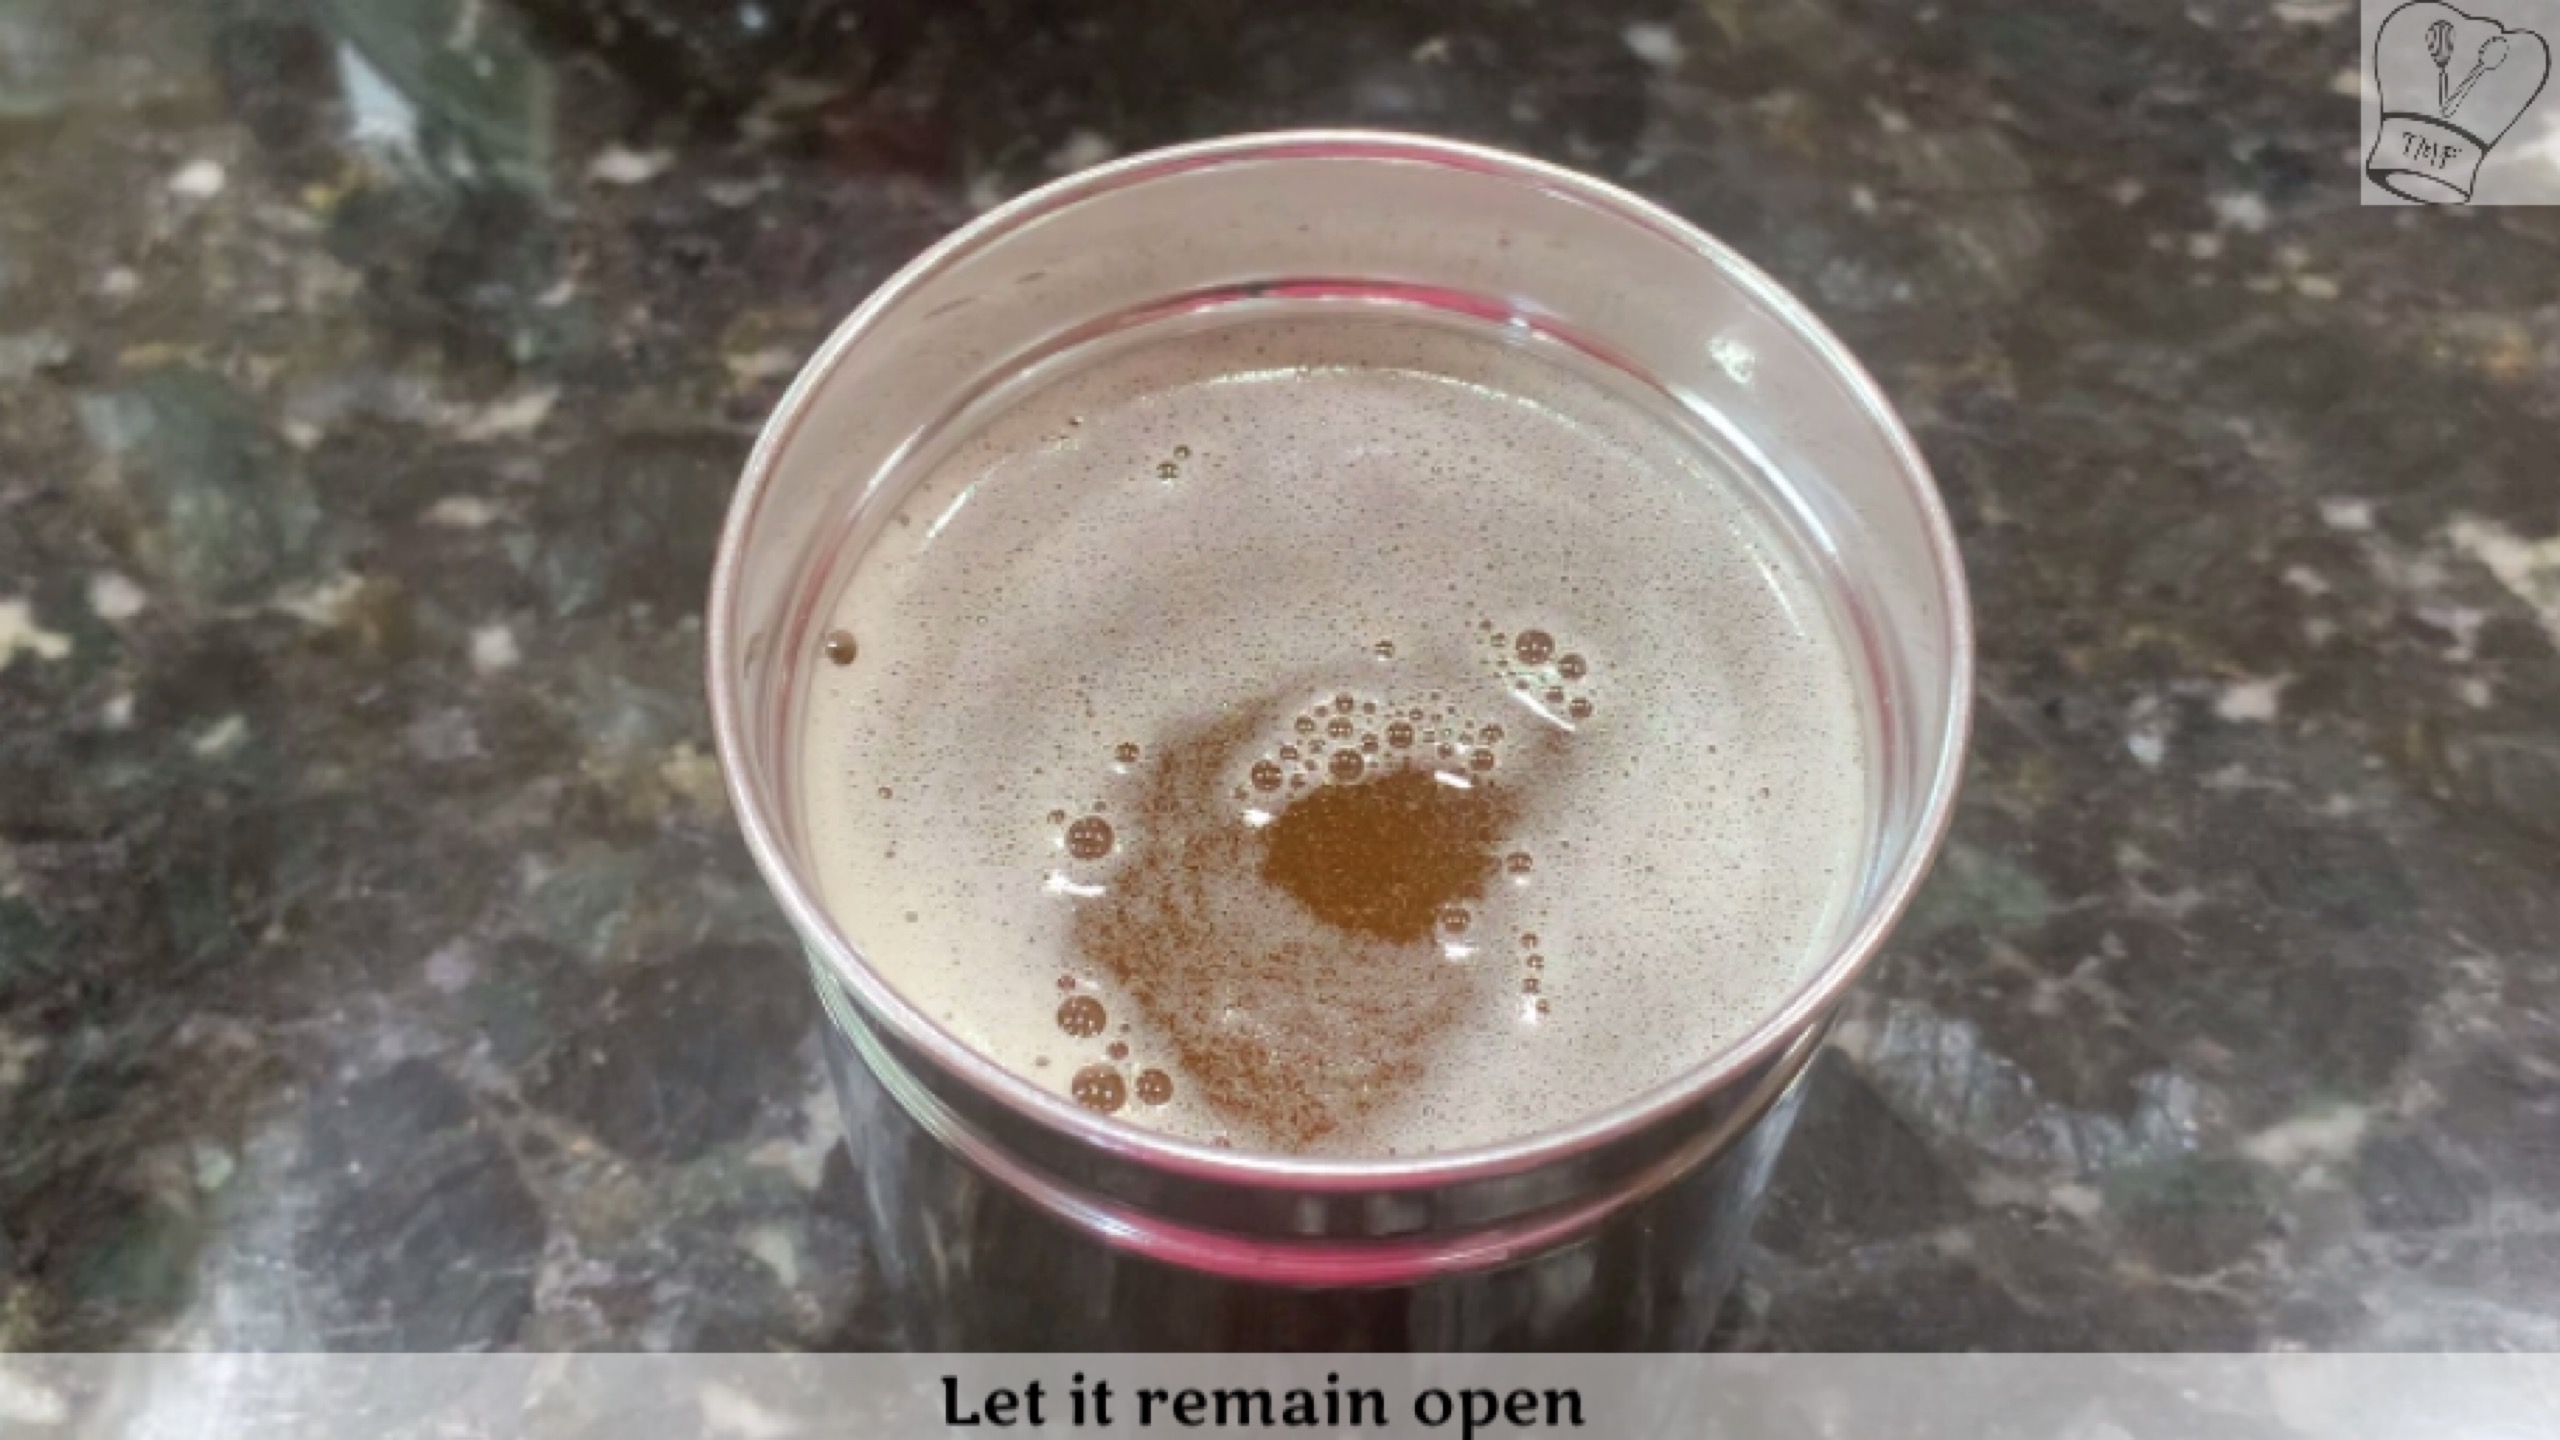
Turn off the stove and immediately move the pan aside Use a stainless strainer or cloth and strain the ghee into the ghee storage stainless or glass container Let the container remain open until the ghee is completely cool When in a liquid form, it’s more transparent than regular clarified butter and has a golden color. Ghee turns light yellow as it cool